

This blog is part of the series I am doing about The Dwarves. Hansbrix is a Hunter (with a pet named Fridge) and Bradanna is a Priest. My husband and I are leveling them up together as we complete zones in World of Warcraft. This blog focuses on the things they encountered in the Arathi Highlands zone. I also add in my own commentary, where needed.
The screenshots you see in this blog were taken on April 20, April 21, April 22, April 23, and April 25, 2015.
Previously, The Dwarves finished The Wetlands. The next thing to do was cross the Thandol Span and enter the next zone: Arathi Highlands.
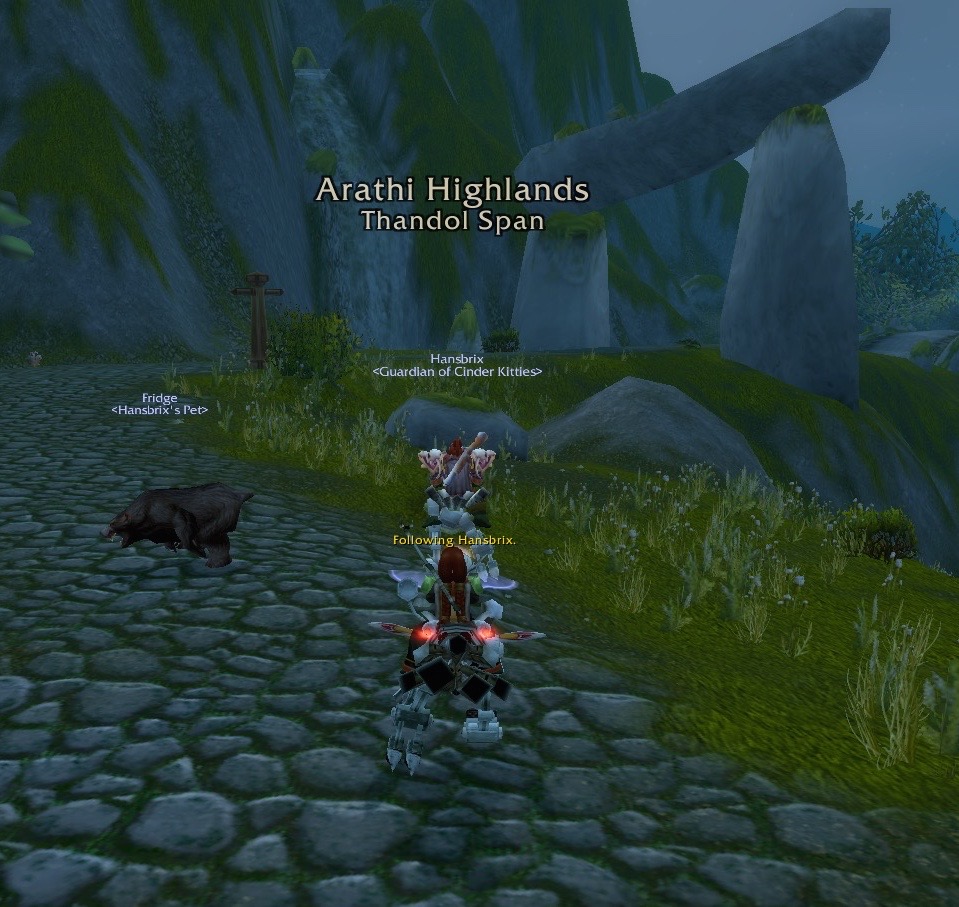
They had been given a quest to travel to Refuge Pointe for the purpose of telling Captain Nials to keep an eye out for Twilight’s Hammer cultists. That’s just enough story line to move players from The Wetlands to Arathi Highlands.
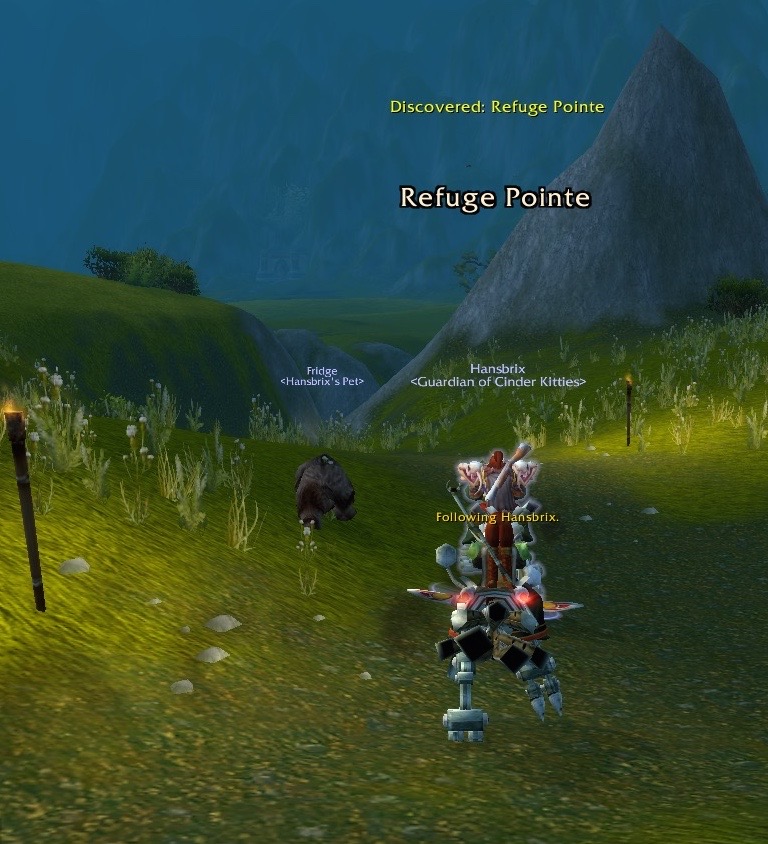
The Dwarves discovered Refuge Pointe before they actually managed to enter the part with all the NPCs (non-player characters). Refuge Pointe is the only quest hub in Arathi Highlands (for Alliance characters). By the time The Dwarves were done with Arathi Highlands, there was only one place on the map that they hadn’t been sent to. Based on this, I suspect Hammerfall is the Arathi Highlands quest hub for Horde characters.
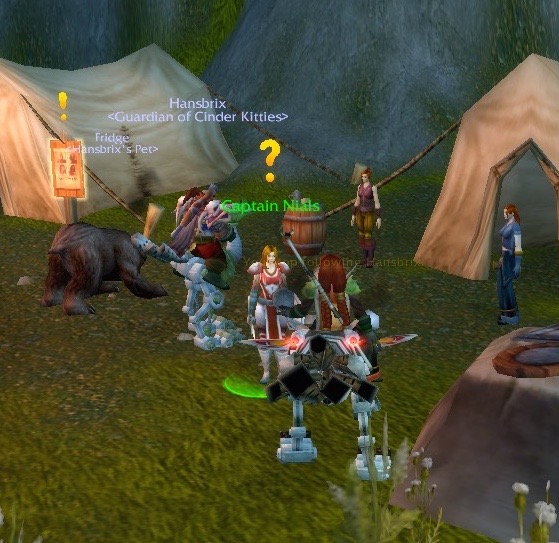
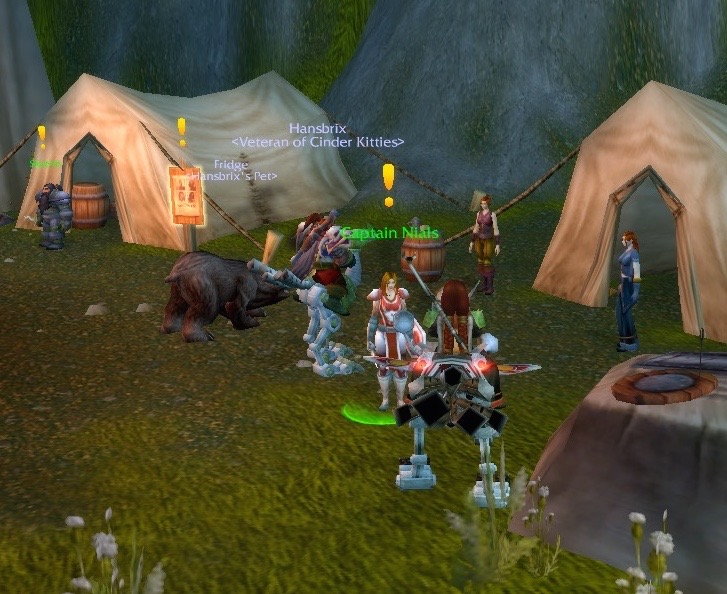
The Dwarves immediately sought out Captain Nials. She has several quests to give to players. Refuge Pointe has tons of quests in it, that come from several NPCs. Instead of putting every detail, about all the quests, into this blog – I’m just going to point out the ones that I thought were the most interesting.
As a player, you can pick up a bunch of quests at the same time, run around Arathi Highlands to finish them, and then return to Refuge Pointe to turn in all the quests. This was very different from The Wetlands, where players were sent to multiple quest hubs that were scattered across the map.
Refuge Pointe also has an “instance” within it. There’s a portal that players can enter if they want to get into the Arathi Basin battleground. The Dwarves skipped over it.
One of the quests I liked was called “Quae and Kinelory”. It was given to The Dwarves from an NPC named Commander Amaren.
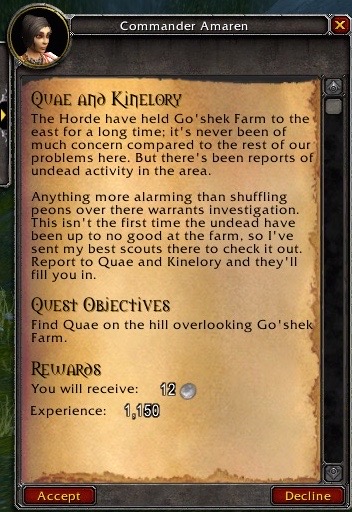
Commander Amaren: The Horde have held Go’shek Farm to the east for a long time; it’s never been of much concern compared to the rest of our problems here. But, there’s been reports of undead activity in the area.
Anything more alarming than shuffling peons over there warrants investigation. This isn’t the first time the undead have been up to no good at the farm, so I’ve sent my best scouts there to check it out. Report to Quae and Kinelory and they’ll fill you in.
Refuge Pointe has a lot of female NPCs that are in positions of power. The Dwarves were sent to find Captain Nials (who is a female Human). Commander Amaren is also a female Human. Quae and Kinlorey, two of Commander Amaren’s “best scouts”, are both female.
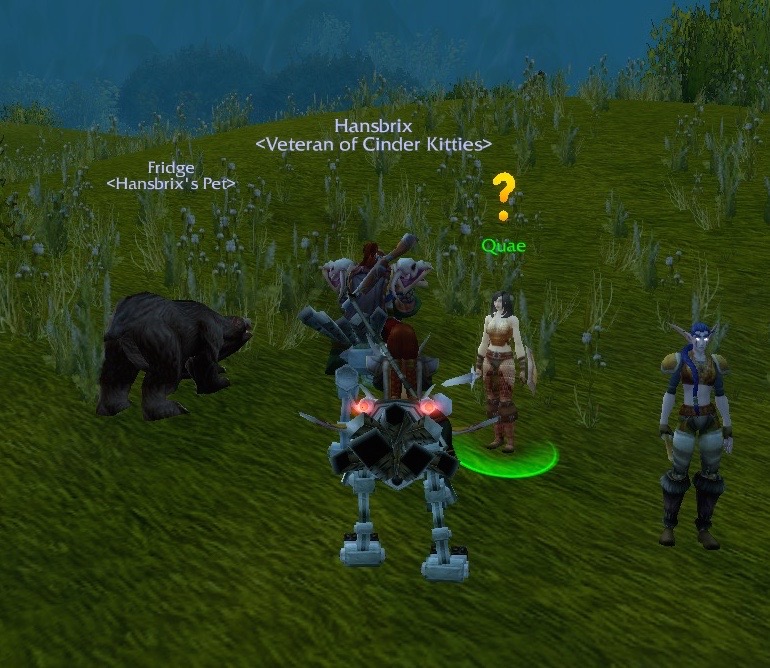
Quae is a Human and Kinelory is a Night Elf. The two are obviously not sisters. Yet, as the quest chain goes on, it becomes clear that they are very close. It is my opinion that these two scouts are in a romantic relationship with each other. I like that Blizzard didn’t feel the need to specifically spell that out for the player, much like Blizzard didn’t quite state that Fradd Swiftgear and Wenna Silkbeard were a couple (back at Swiftgear’s Station).
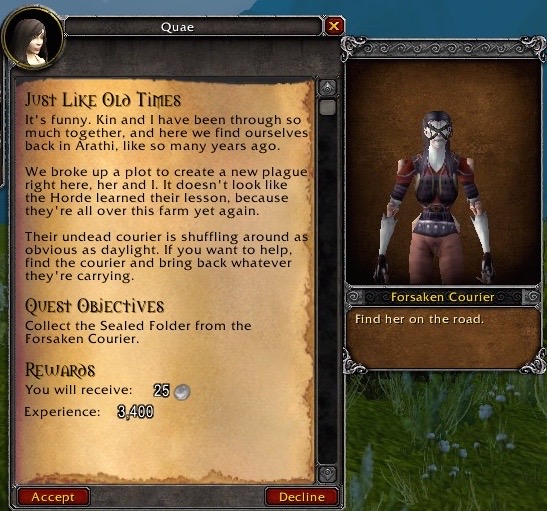
Quae: It’s funny. Kin and I have been through so much together, and here we find ourselves back in Arathi, like so many years ago.
We broke up a plot to create a new plague right here, her and I. It doesn’t look like the Horde learned their lesson, because they’re all over this farm yet again.
Their undead courier is shuffling around as obvious as daylight. If you want to help, find the courier and bring back whatever they’re carrying.

If you look closely, you can see some green Orcs scattered throughout Go’Shek Farm. Yep, the Horde are definitely down there.

The Forsaken Courier is not in Go’Shek Farm. Instead, you have to look for the Forsaken Courier on a path that leads to the farm. This NPC is carrying a Sealed Folder that the player must bring back to Quae.
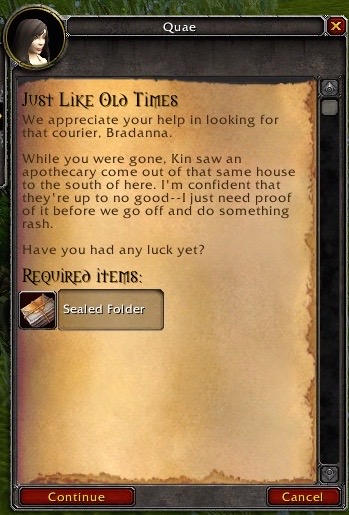
Quae: We appreciate your help in looking for that courier, Bradanna.
While you were gone, Kin saw an apothecary come out of that same house to the south of here. I’m confident that they’re up to no good — I just need proof of it before we go off and do something rash. Have you had any luck yet?
Turn in the quest, and give Quae the Sealed Folder.

<Quae begins to go through the folder.>
Quae: Expansion…control of territory… these undead aren’t cooking up anything new, but they’re planning to roll over all of Arathi. We need to disrupt their plans.
I’ll keep a lookout from up here. You go with Kin, and get those invasion plans. We’re not going to let these walking corpses even know what day it is out here.
And keep her safe, you hear me?
Quae and Kinelory are the “best scouts” that Refuge Pointe has. So, when Quae asks the player to keep Kin safe, she’s not worried about Kin’s abilities. This is clearly a personal request from Quae who doesn’t want to see any harm come to her partner (or, girlfriend) Kinelory.
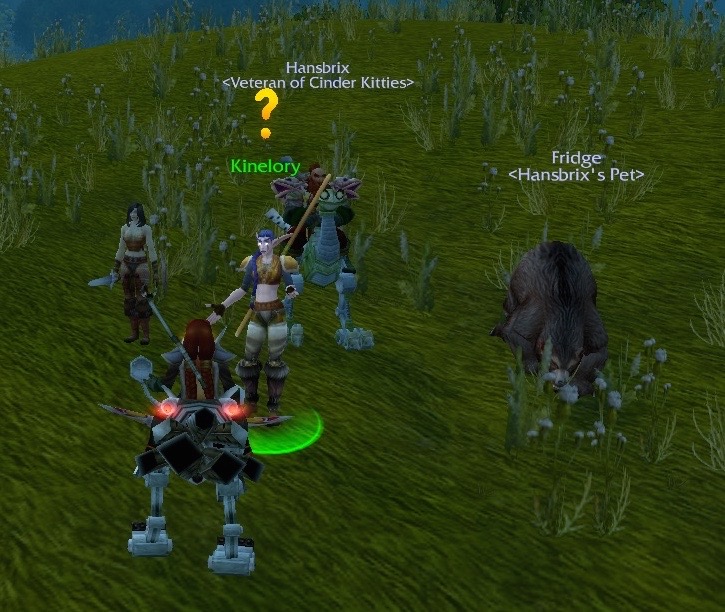
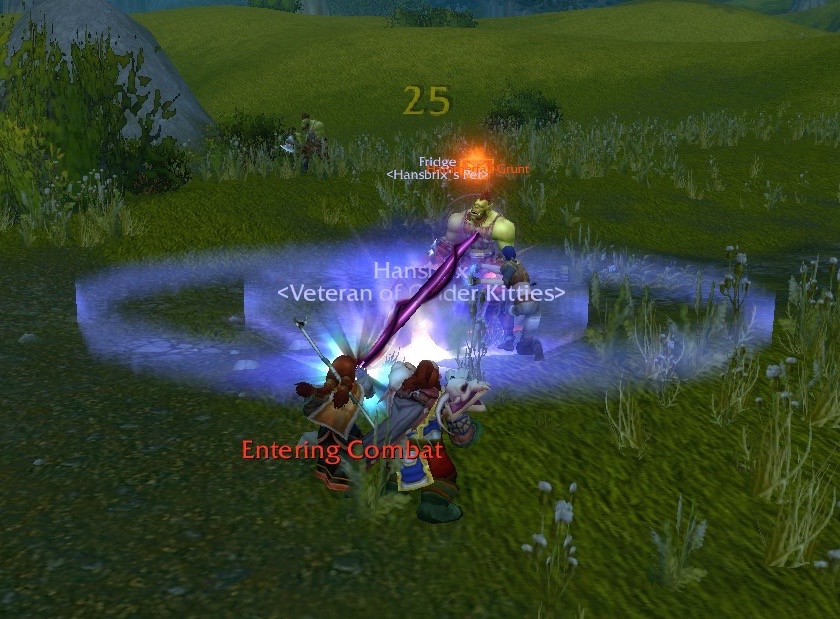
The quest Kinelory gives the players is an “escort quest”. Players must follow her and defend her from all enemies that pop up. It turns out that Kinelory didn’t really need a whole lot of defending after all. She fights well.
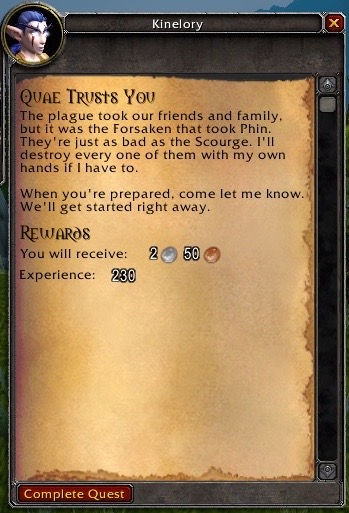
Kinelory: The plague took our friends and family, but it was the Forsaken that took Phin. They’re just as bad as the Scourge. I’ll destroy every one of them with my own hands if I have to.
When you’re prepared, come let me know. We’ll get started right away.
Who is “Phin”? There’s no further information on who Phin was. I guess we can assume that Phin was either “friend” or “family” that got taken by the Forsaken. When you return to Kinelory, you receive a quest called “Kinelory Strikes”. The quest objective is: Protect Kinelory until she returns to Quae.

Kinelory: Well then, let’s get this started. The longer we’re here, the more damage the undead could be doing back in Hillsbrad.
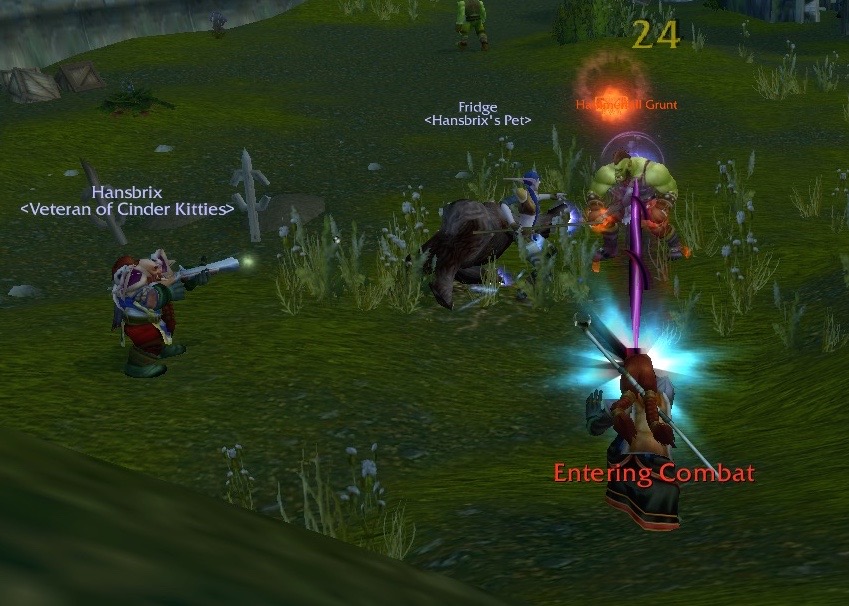

Kinelory: Alright, this is where we really have to be on our paws. Be ready!
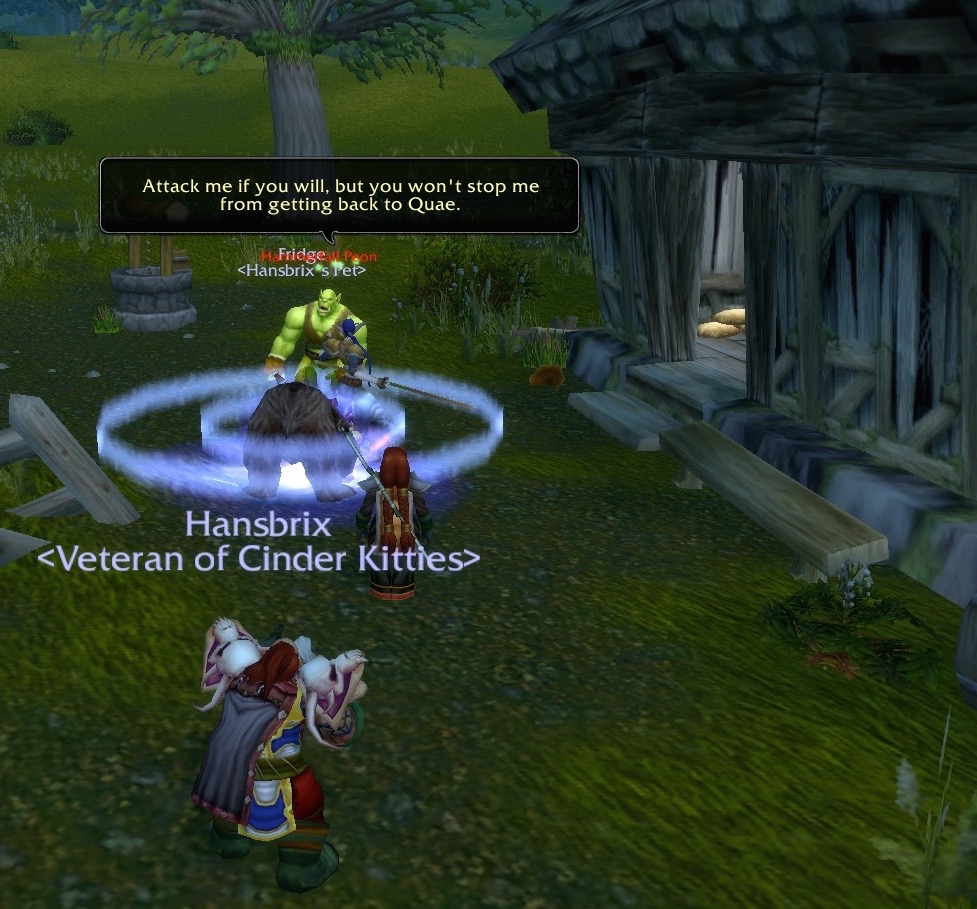
Kinelory: Attack me if you will, but you won’t stop me from getting back to Quae.
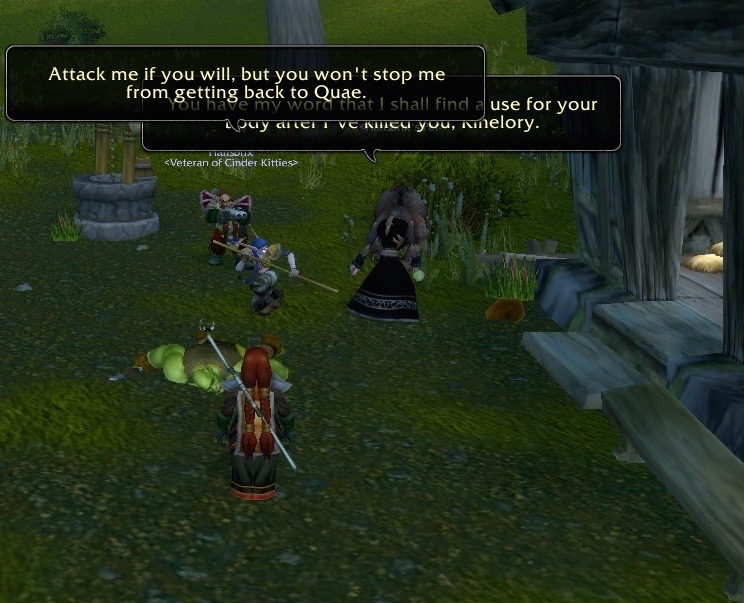
Apothecary Jorell: You have my word that I shall find a use for your body after I’ve killed you, Kinelory.
After Apothecary Jorell has been slain, the party goes into the little house that he came out of. Kinelory starts investigating what’s in there.
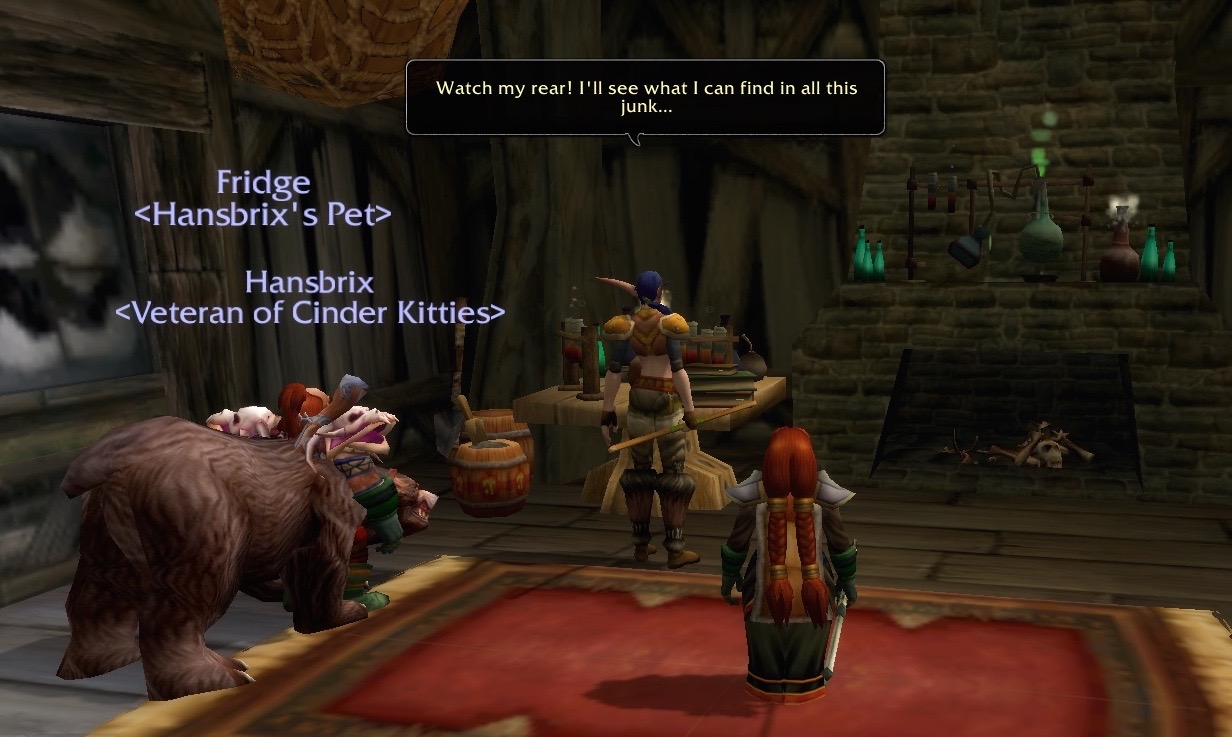
Kinelory: Watch my rear! I’ll see what I can find in all this junk…
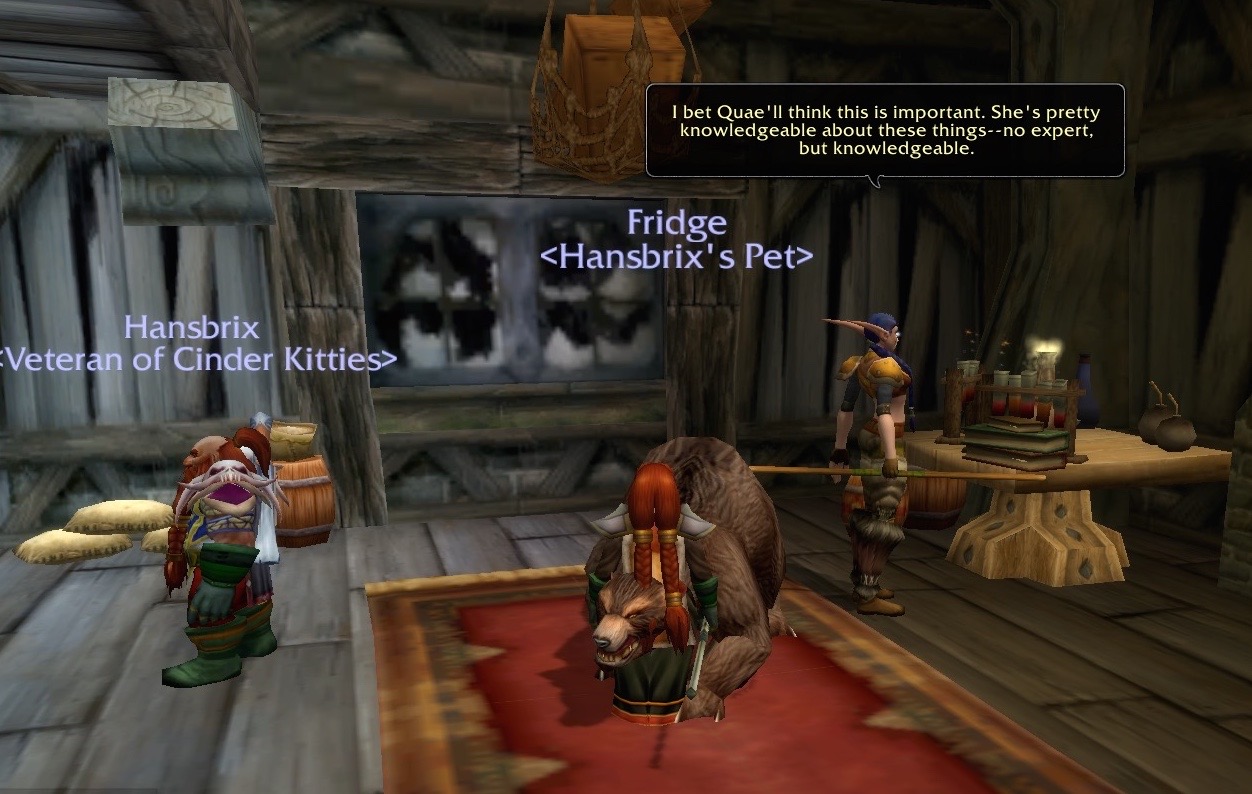
Kinelory: I bet Quae’ll think this is important. She’s pretty knowledgable about these things… no expert, but knowledgable.
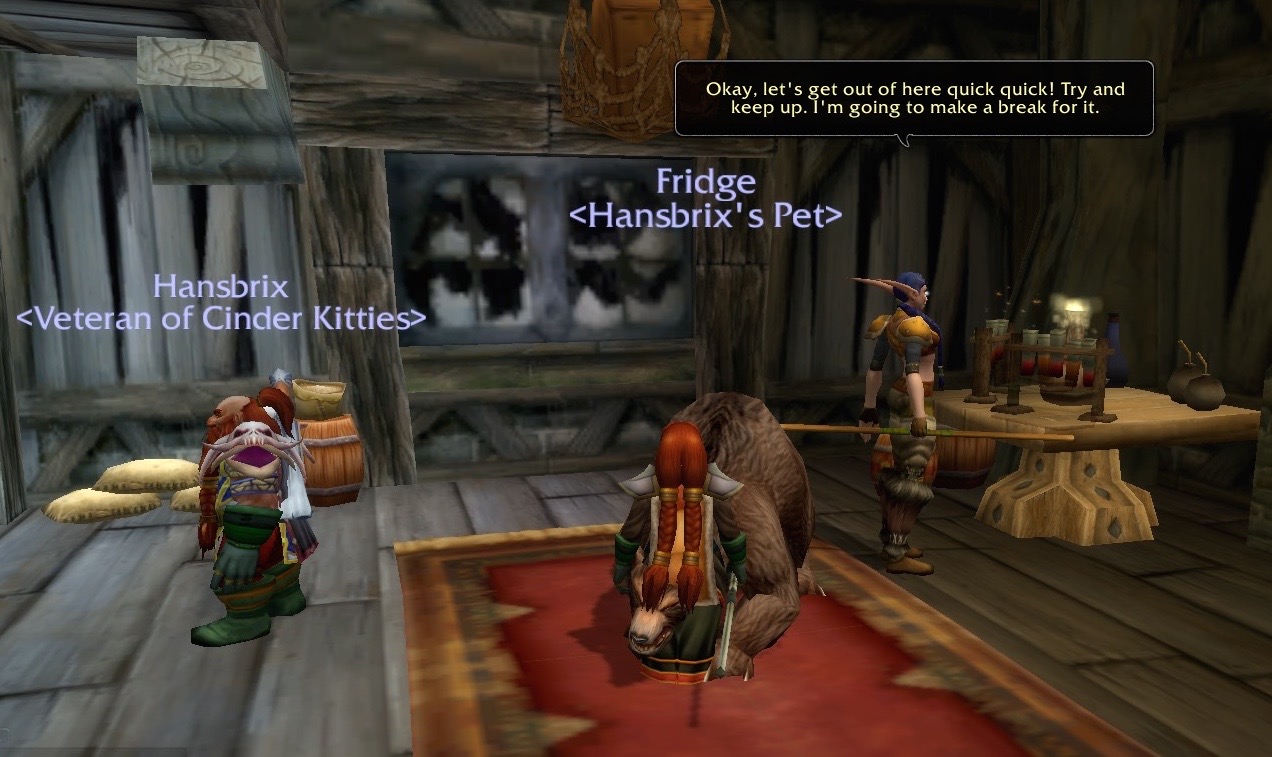
Kinelory: Okay, let’s get out of here quick quick! Try and keep up. I’m going to make a break for it.
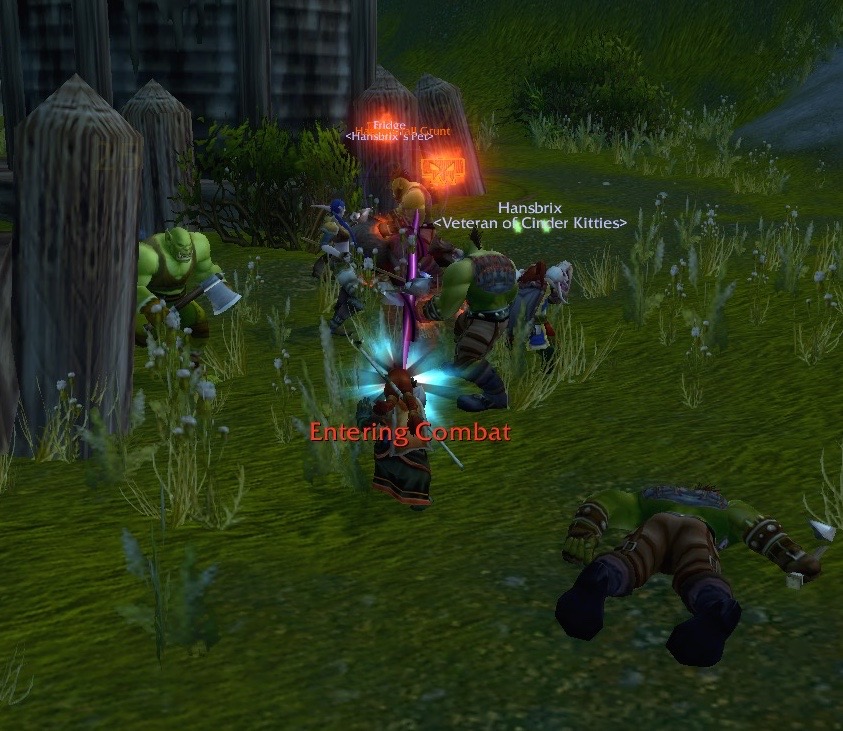
It wasn’t exactly a clean break. Our small party ended up running directly into an Orc or two.
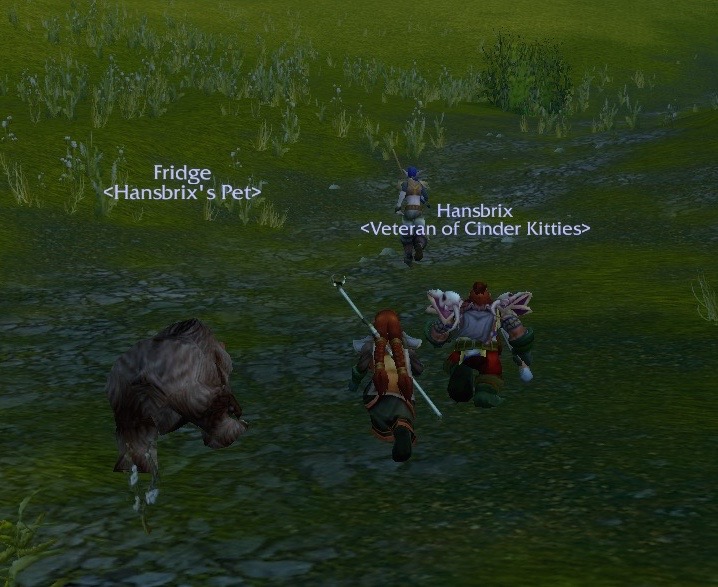
Wait up! Us Dwarves have short little legs and cannot keep up with tall Night Elves!
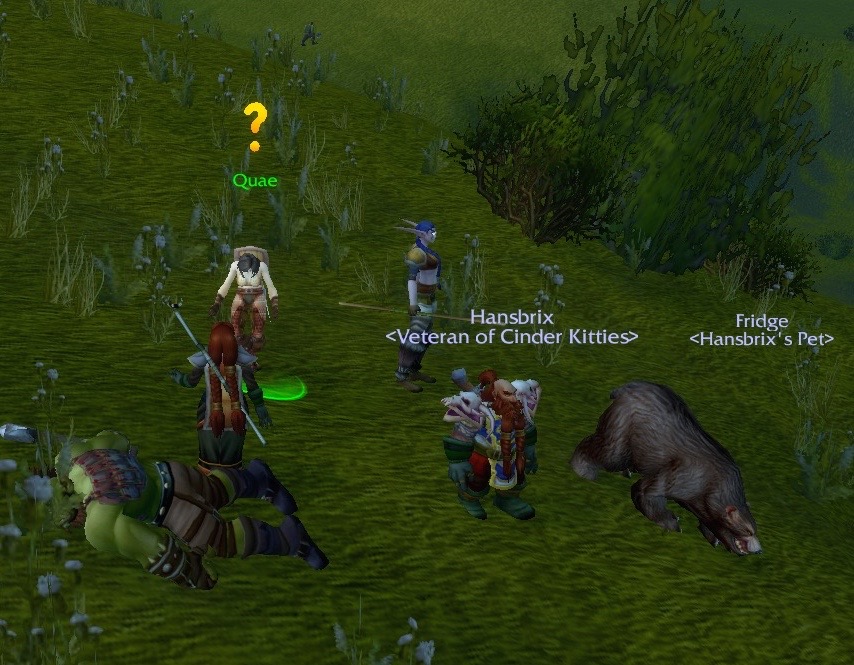
Quae is very glad that we have returned.
Quae: You’ve done a great service for us, Bradanna, Thank you. I hope Kin wasn’t too much of a handful down there. She’s very friendly, but can be just as deadly when you’re her enemy.
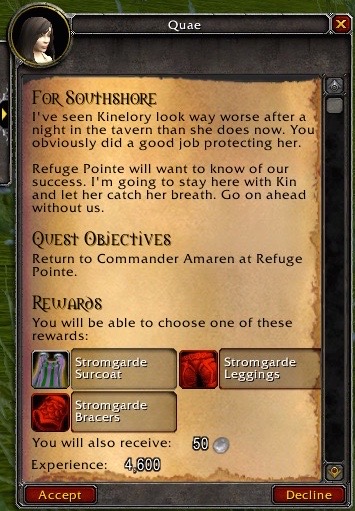
Quae: I’ve seen Kinelory look way worse after a night in the tavern than she does now. You obviously did a good job protecting her.
Refuge Pointe will want to know of our success. I’m going to stay here with Kin and let her catch her breath. Go on ahead without us.
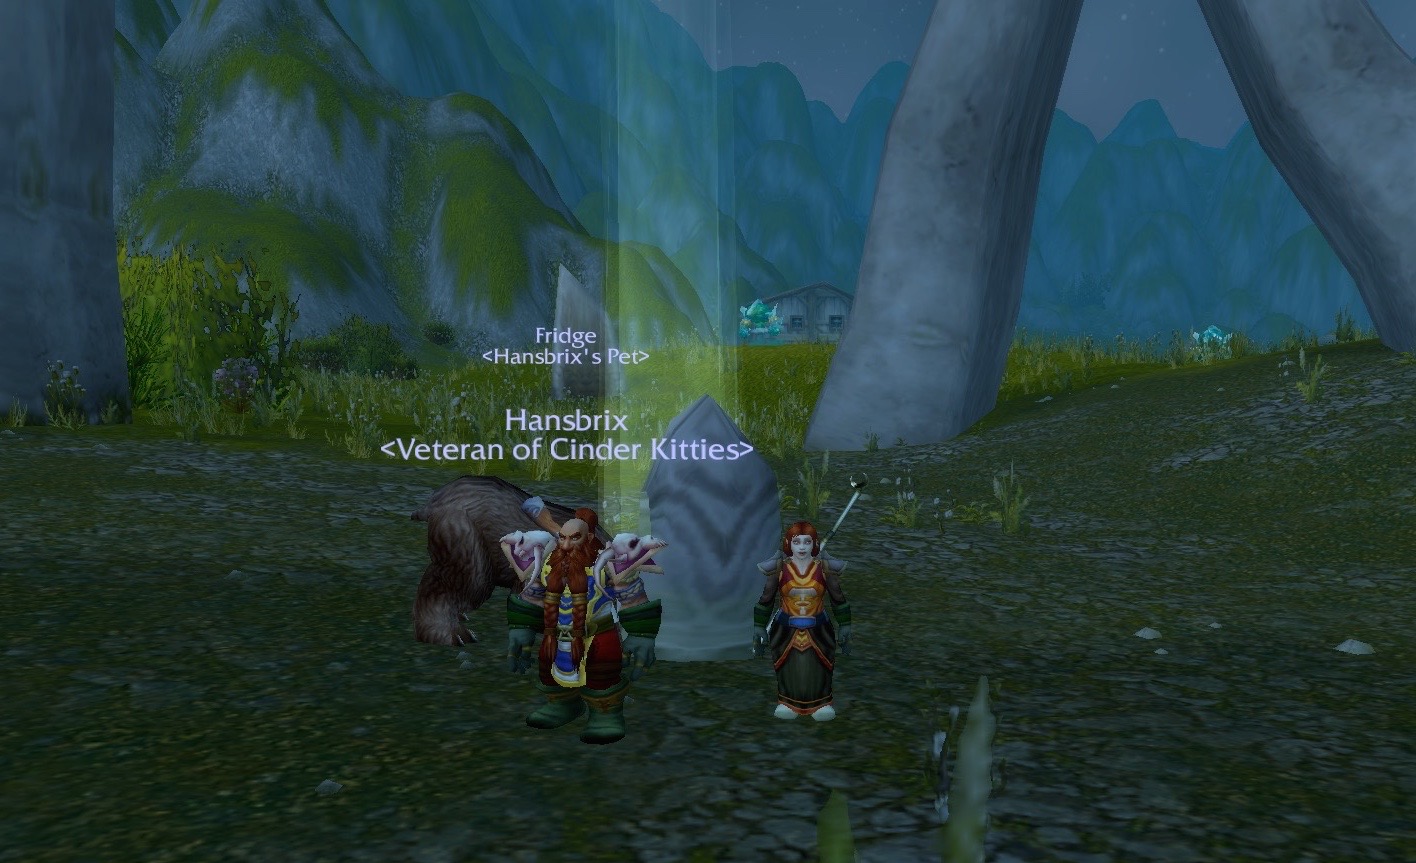
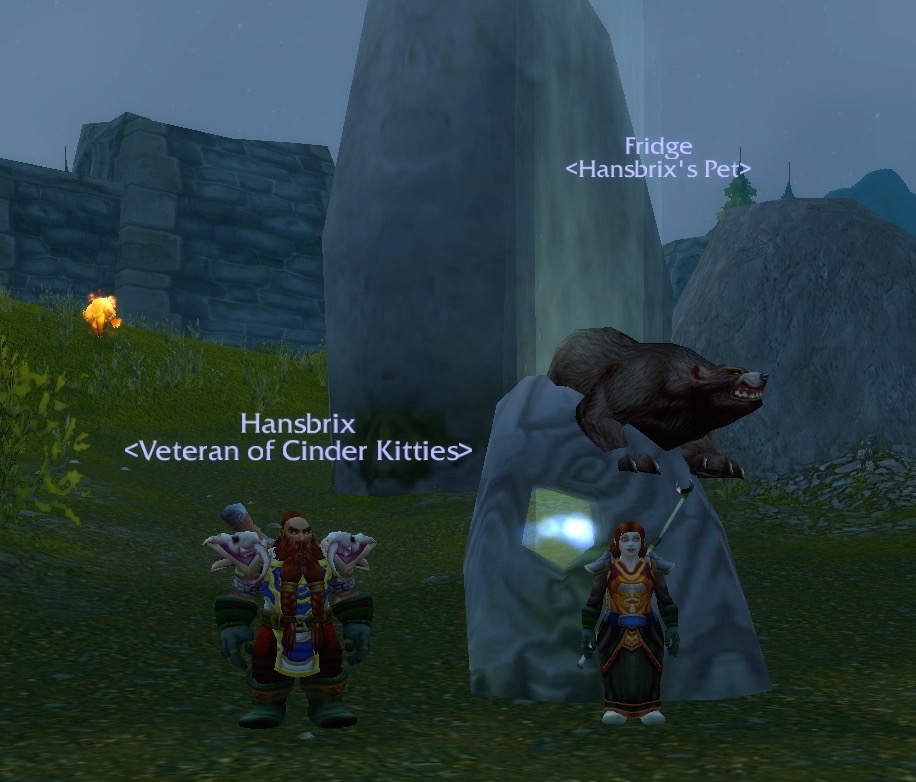
This ends the quest chain that involves Quae and Kinelory. We decided to take a “tourist photo” with them before heading back to Refuge Pointe.
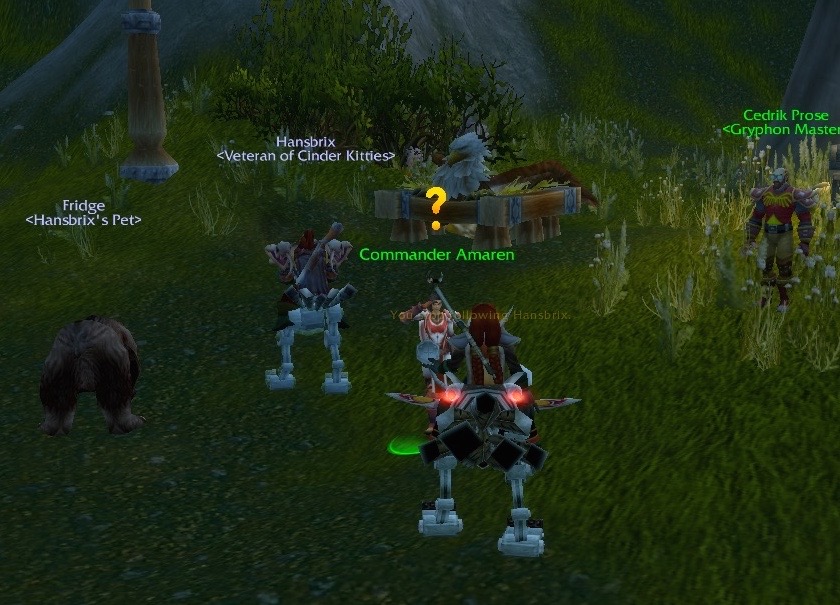
The quest gets turned in to Commander Amaren, who doesn’t have any further quests for players. That’s ok, though, other NPCs have lots of quests to give.
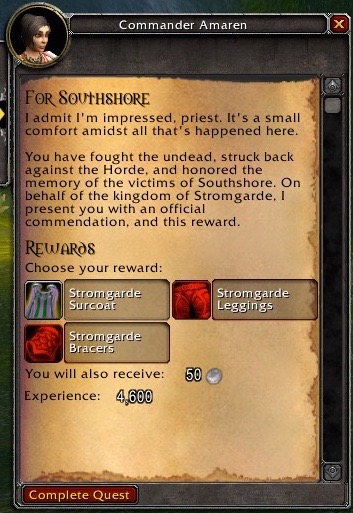
Commander Amaren: I admit, I’m impressed, priest. It’s a small comfort amidst all that’s happened here.
You have fought the undead, struck back against the Horde, and honored the memory of the victims of Southshore. On behalf of the kingdom of Stormgarde, I present you with an official commendation, and this reward.
Another interesting quest chain comes from an NPC named Skuerto. He’s the only Dwarf who has been assigned to Refuge Pointe, and he has a bunch of quests to give to players. Many of them spawn other quests.
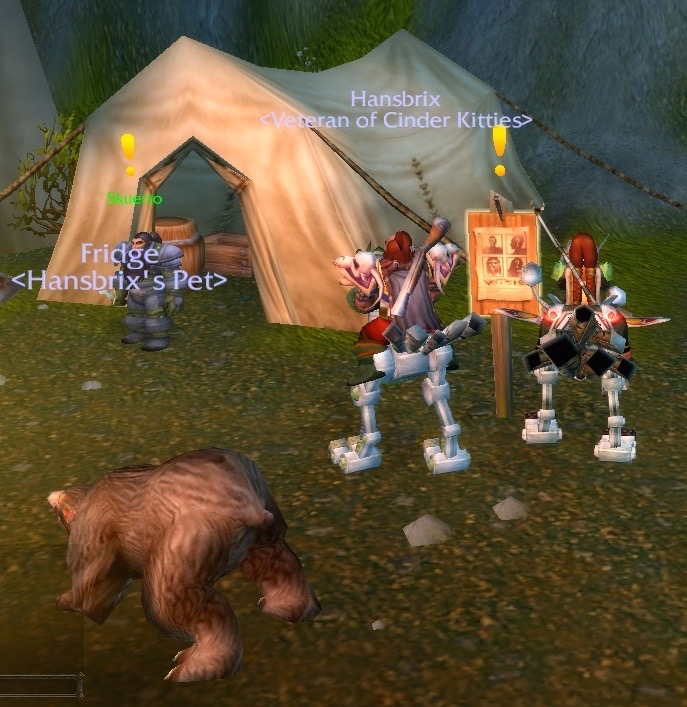
Skuerto: I’m sick of sittin’ in this hole. I hope whatever sorry pencil-pusher is holdin’ up Danath’s return gets a punch in the jimmies.
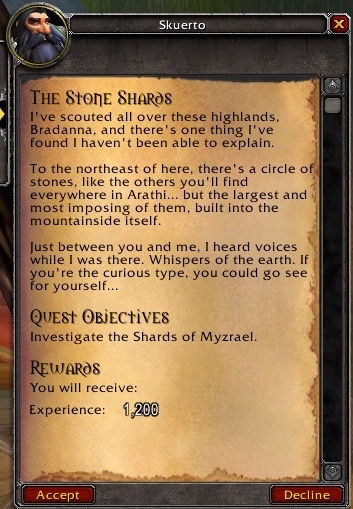
Skuerto: I’ve scouted all over these highlands, Bradanna, and there’s one thing I’ve found I haven’t been able to explain.
To the northeast of here, there’s a circle of stones, like the others you’ll find everywhere in Arathi… but the largest and most imposing of them, built into the mountainside itself.
Just between you and me, I heard voices while I was there. Whispers of the earth. If you’re the curious type, you could go see for yourself…
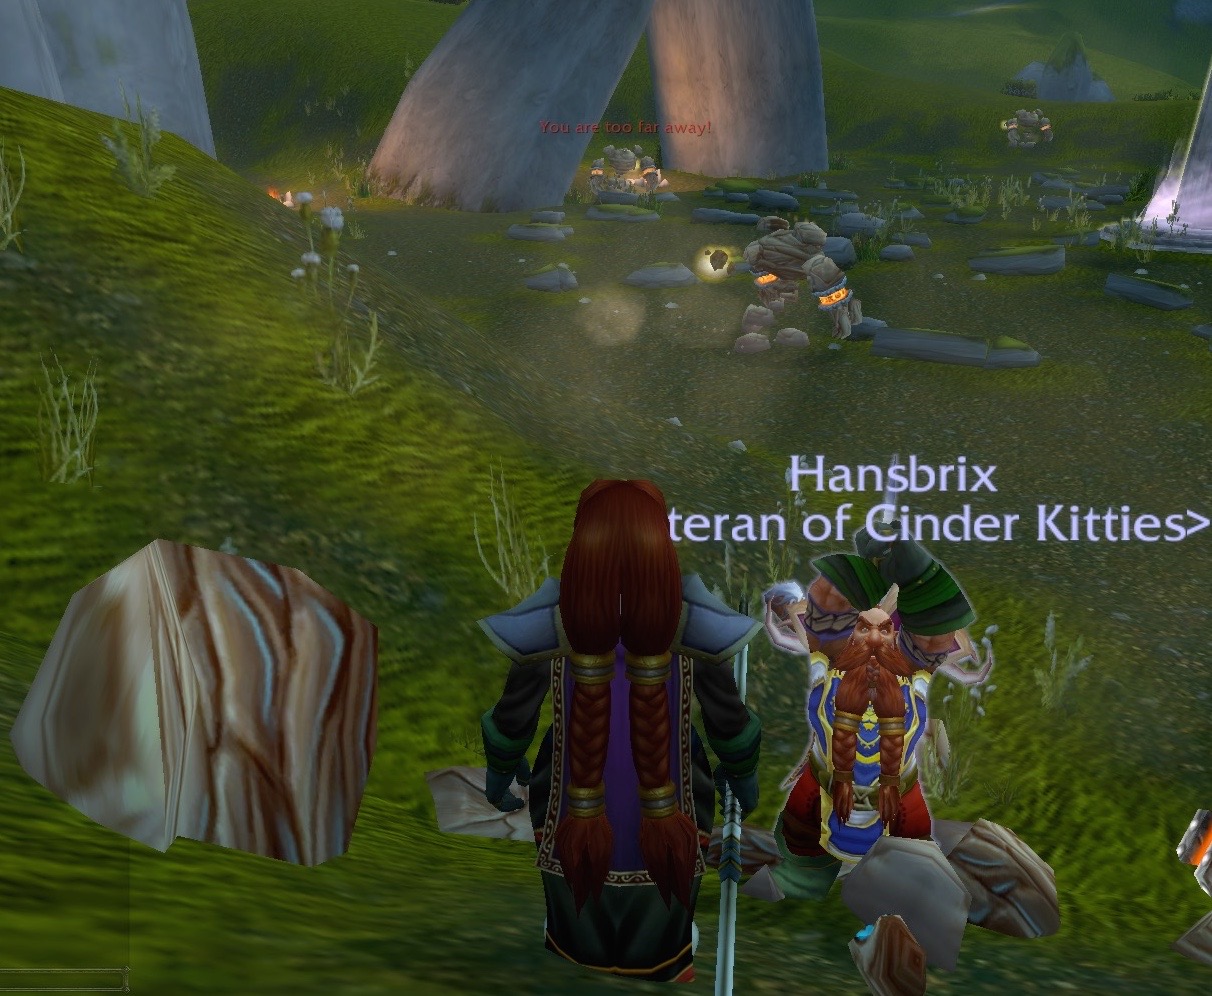
Skuerto sends players to investigate the Shards of Myzrael.
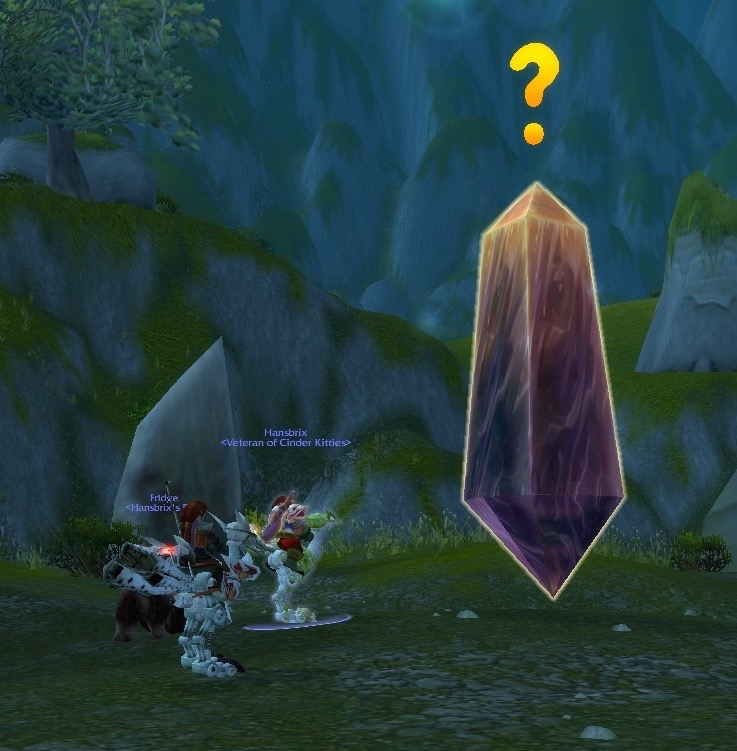
This floating purple-ish crystal has a quest for The Dwarves.

<The shards pulse softly, and a whisper slowly echoes through your head.>
Help…
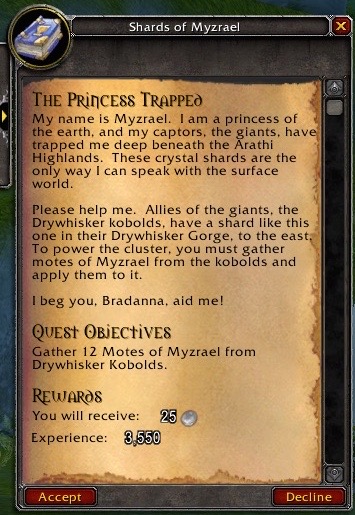
Myzrael: My name is Myzrael. I am a princess of the earth, and my captors, the giants, have trapped me deep beneath the Arathi Highlands. These crystal shards are the only way I can speak with the surface world.
Please help me. Allies of the giants, the Drywhisker kobolds, have a shard like this one in their Drywhisker Gorge, to the east. To power the cluster, you must gather motes of Myzrael from the kobolds and apply them to it. I beg you, Bradanna, aid me!
And so, The Dwarves are literally sent on a “Save the Princess” type of quest.
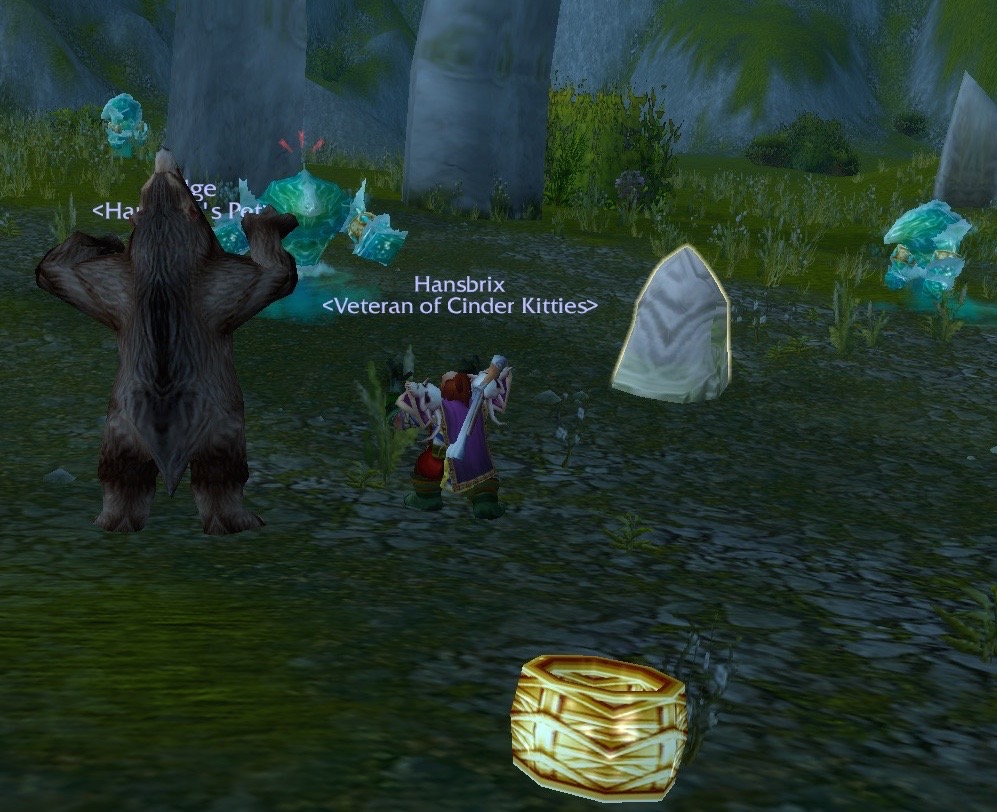
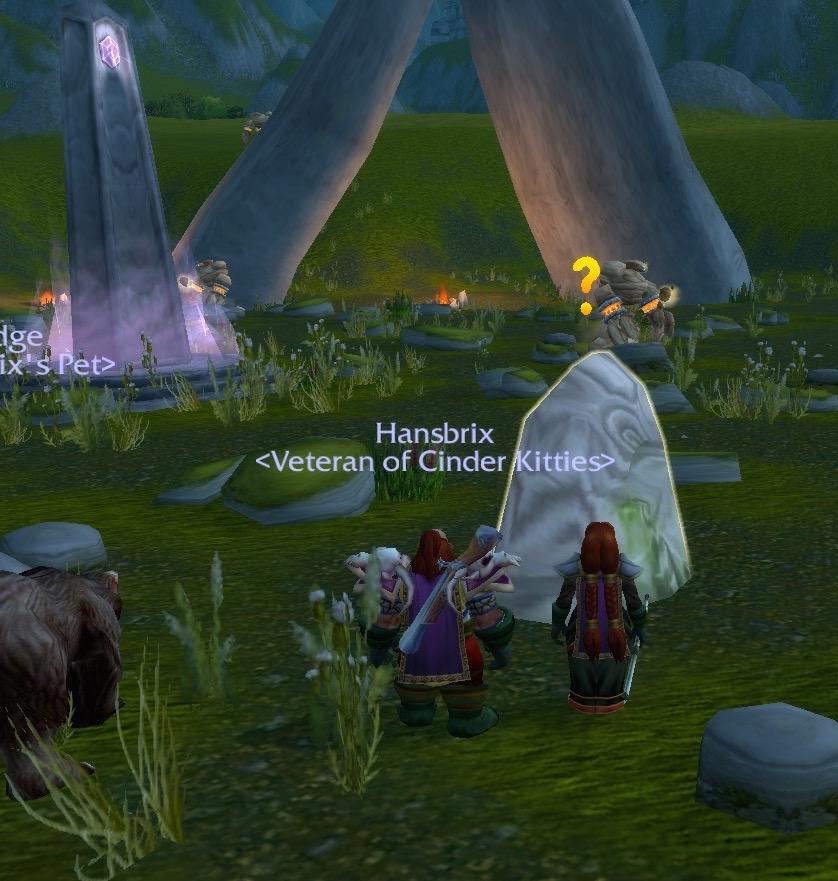
Why is that random stone over there watching us?
Killing the Drywhisker Kobolds wasn’t difficult.

Some of them would drop a Mote of Myzrael. If I remember correctly, the Motes didn’t count for both of us even though we were in a group.
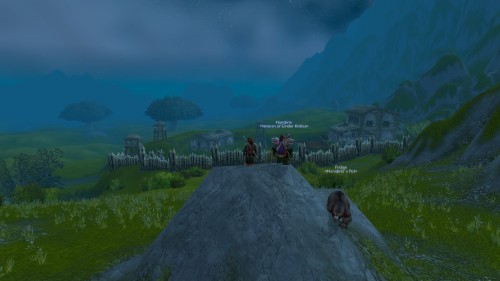
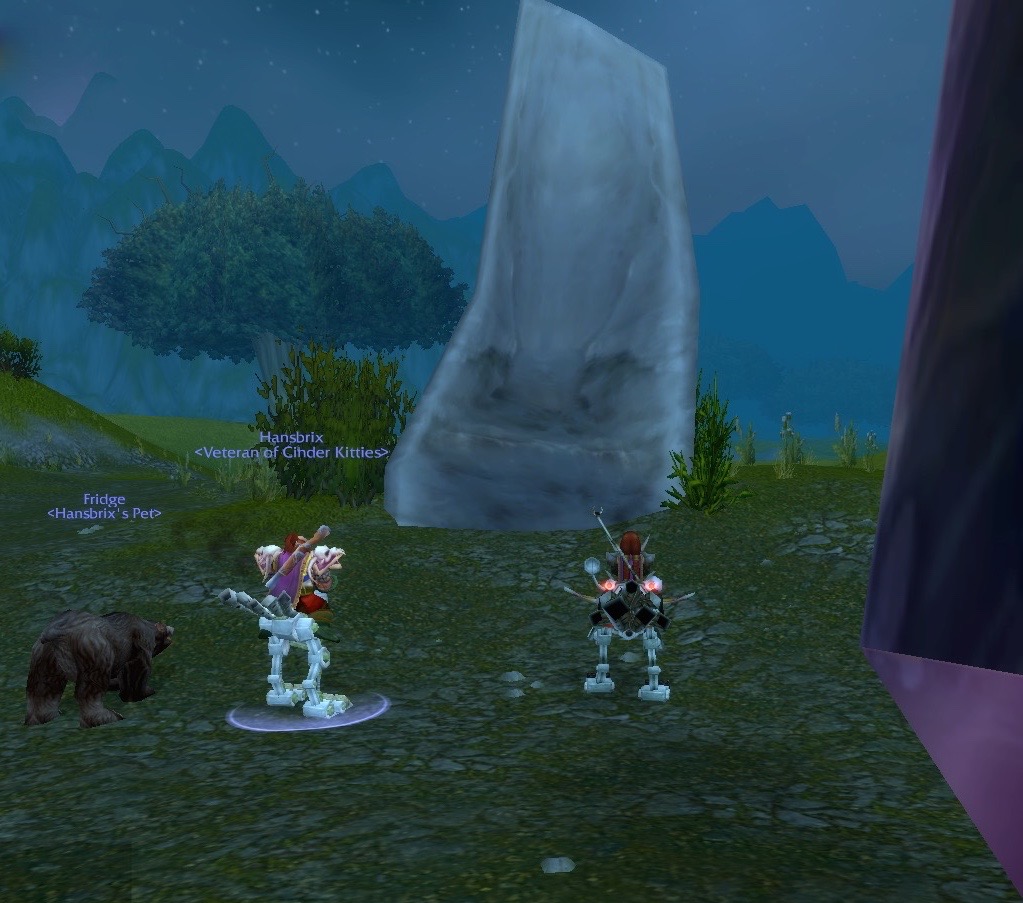
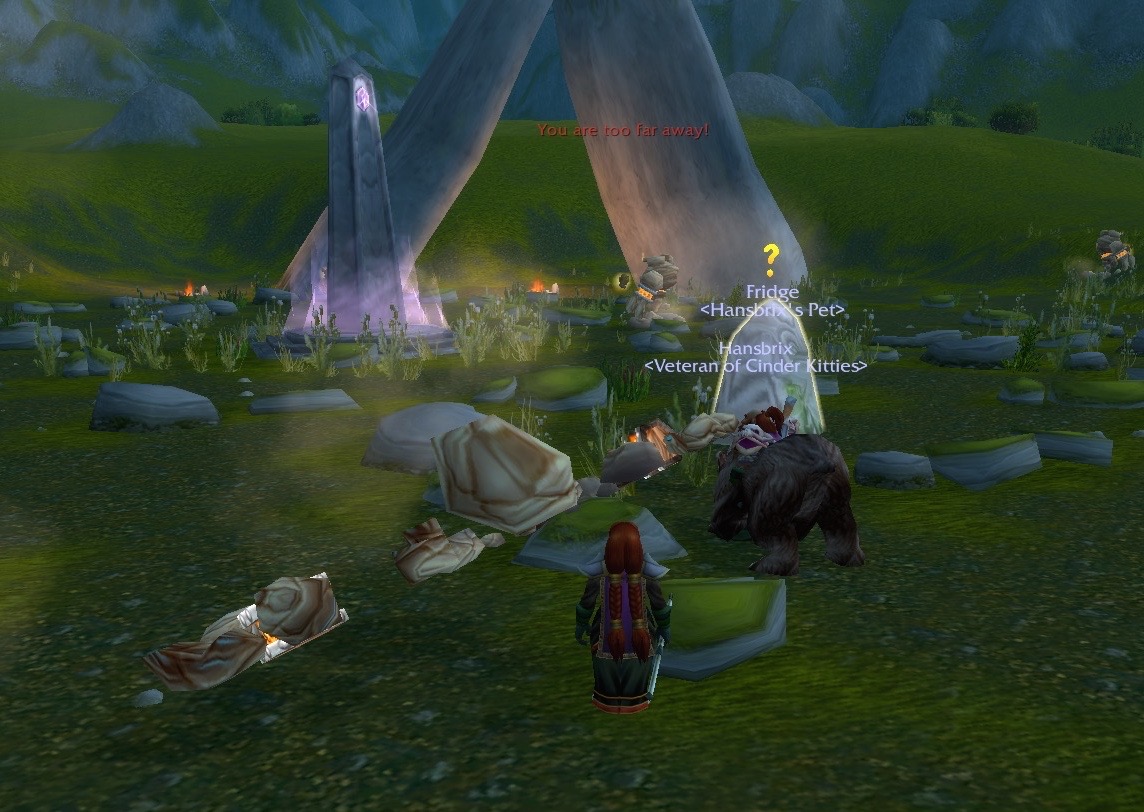
The problem was that The Dwarves were super efficient in killing off the Drywhisker Kobolds and that they didn’t respawn very quickly. This screenshots shows Bradanna, Hansbrix, and Fridge trying to locate more Kobolds. There must be more of them out there, somewhere, right?
That’s Hammerfall in the background – the only place in Arathi Highlands that is not for Alliance players. It’s the Horde quest hub.

Eventually, The Dwarves got desperate enough to head towards Hammerfall in the hopes of finding more Kobolds. It took slightly longer than expected, but they were able to gather up the required amount of Mote of Myzrael.
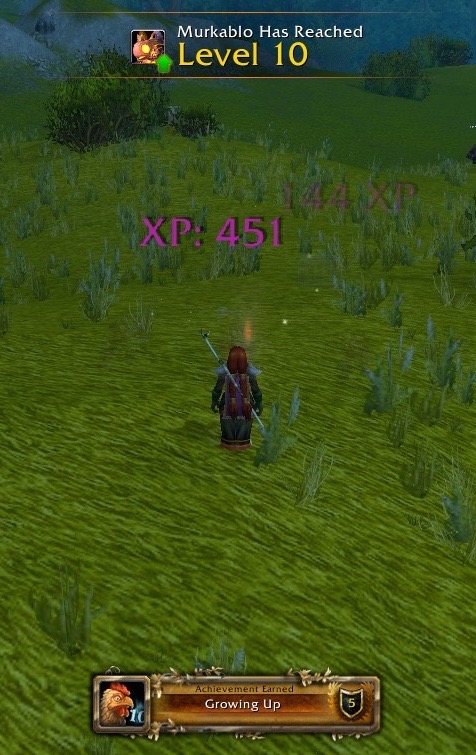
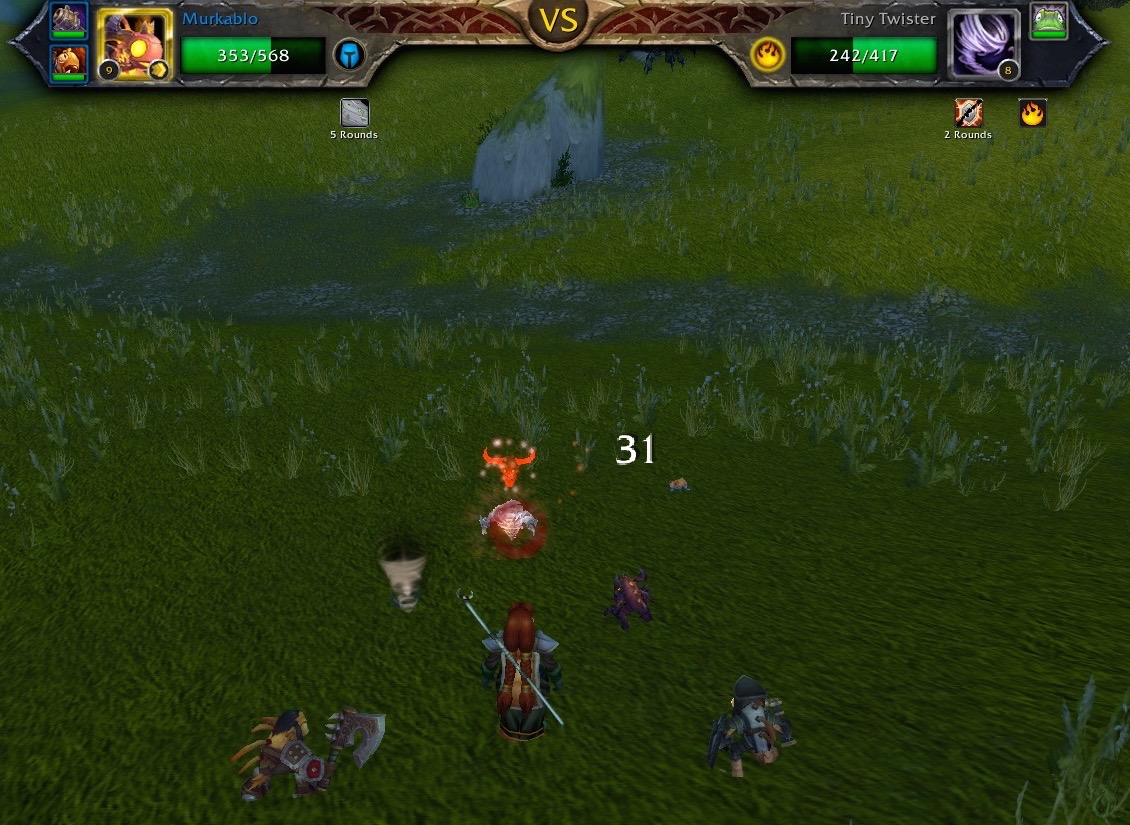
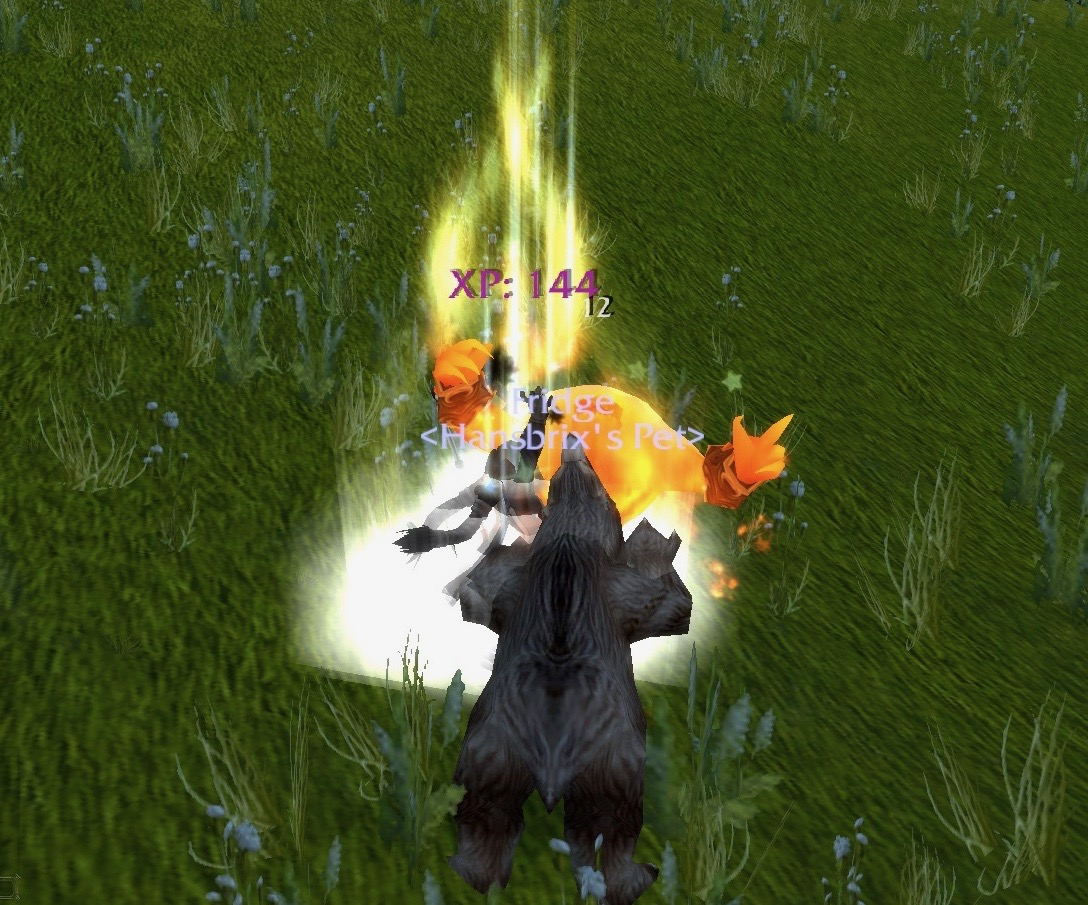
After a random Pet Battle, my Murkablo reached Level 10. Doing so earns the player the “Growing Up” Achievement.
Growing Up: Raise a pet to level 10.

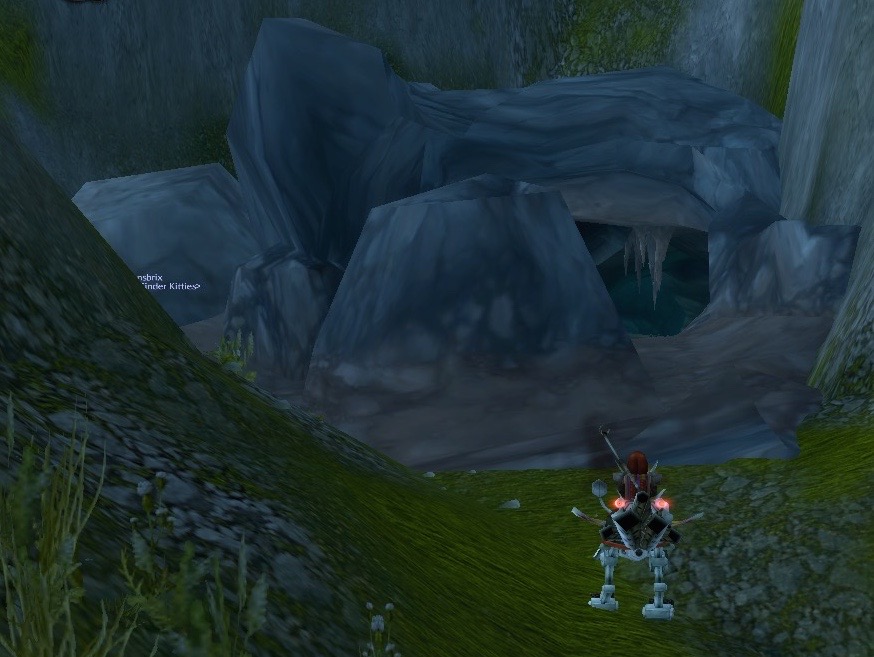
After players gather up the required amount of Motes of Myzrael, they must take them into a cave in Drywhisker Gorge.
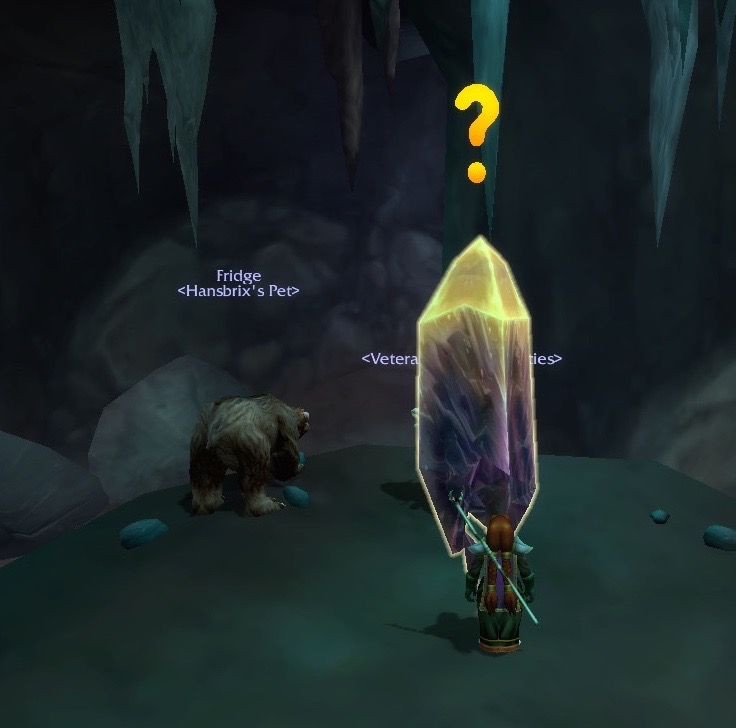
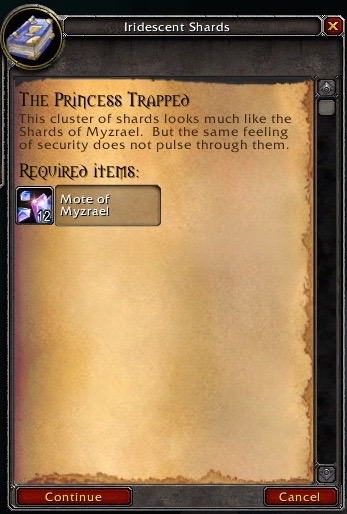
This cluster of shards looks much like the Shards of Myzrael. But the same feeling of security does not pulse through them.
To complete this quest, and get the next one, players must turn in the 12 Mote of Myzrael that they collected.
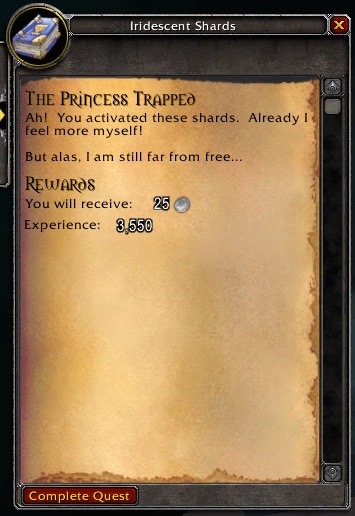
Myzrael: Ah! You activated these shards. Already, I feel more myself! But alas, I am still far from free…

The yellow shard has a new quest.
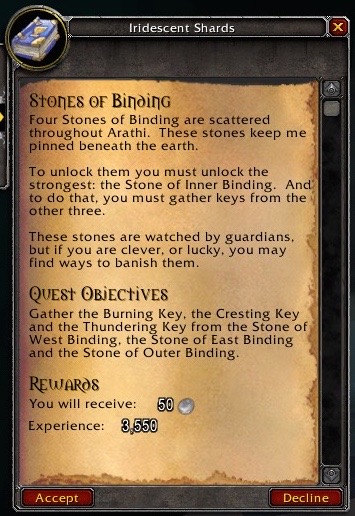
Myzrael: Four Stones of Binding are scattered throughout Arathi. These stones keep me pinned beneath the earth.
To unlock them you must unlock the strongest, the Stone of Inner Binding. And to do that, you must gather the keys from the other three.
These stones are watched by guardians, but if you are clever, or lucky, you may find ways to banish them.
The Dwarves need to travel around Arathi Highlands and gather several keys. The Burning Key comes from the Stone of West Binding. The Cresting Key comes from the Stone of East Binding. The Thundering Key comes from the Stone of Outer Binding. After gathering all of those, The Dwarves are to go to the Stone of Inner Binding and use the keys to unlock it.
The Dwarves started with the Stone of East Binding.
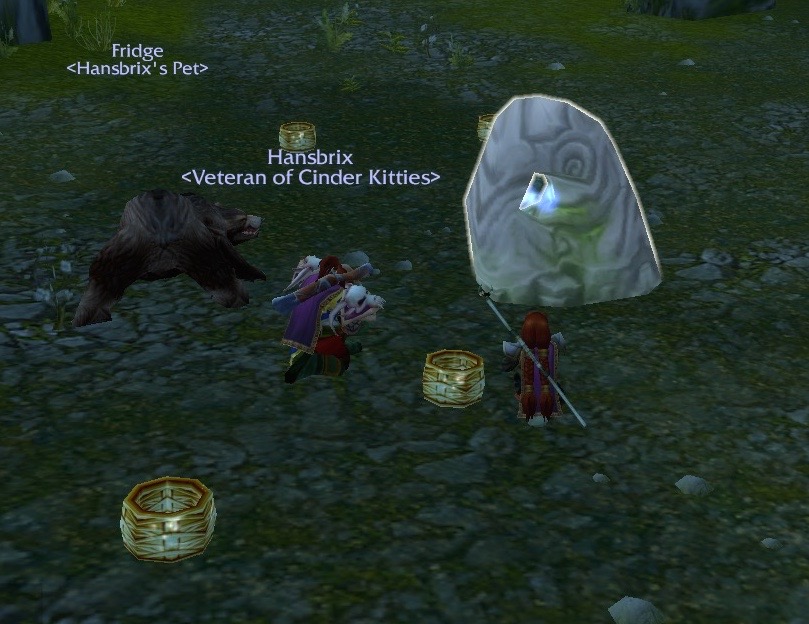
The glowing little stone in the center of the circle of stones is the one that gives out a key. Interestingly, this stone could be clicked on by both players – but not at the same time. Hansbrix used the stone first, and Bradanna waited for it to respawn so she could click on it. In other words, it was not possible for one player in the group to collect the key and have it count for all the players in the group.
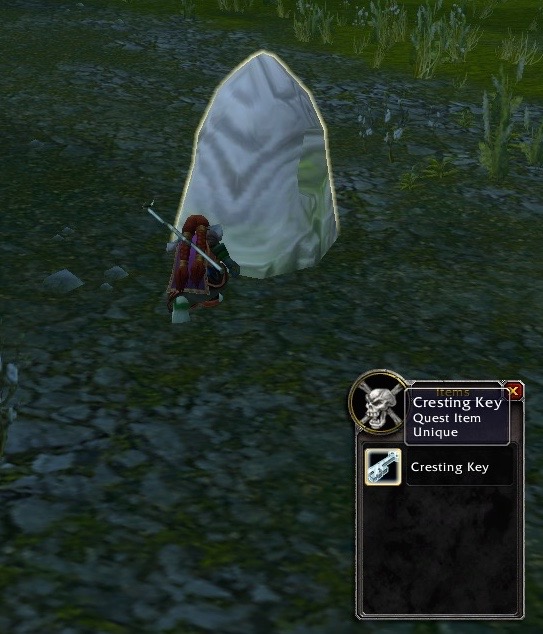
The Stone of East Binding gives players the Cresting Key. This makes sense, considering that the mobs here were all water elementals. Each one was its own little cresting wave.
The Stone of East Binding sends up a spotlight beam after a player has collected the Cresting Key from it.
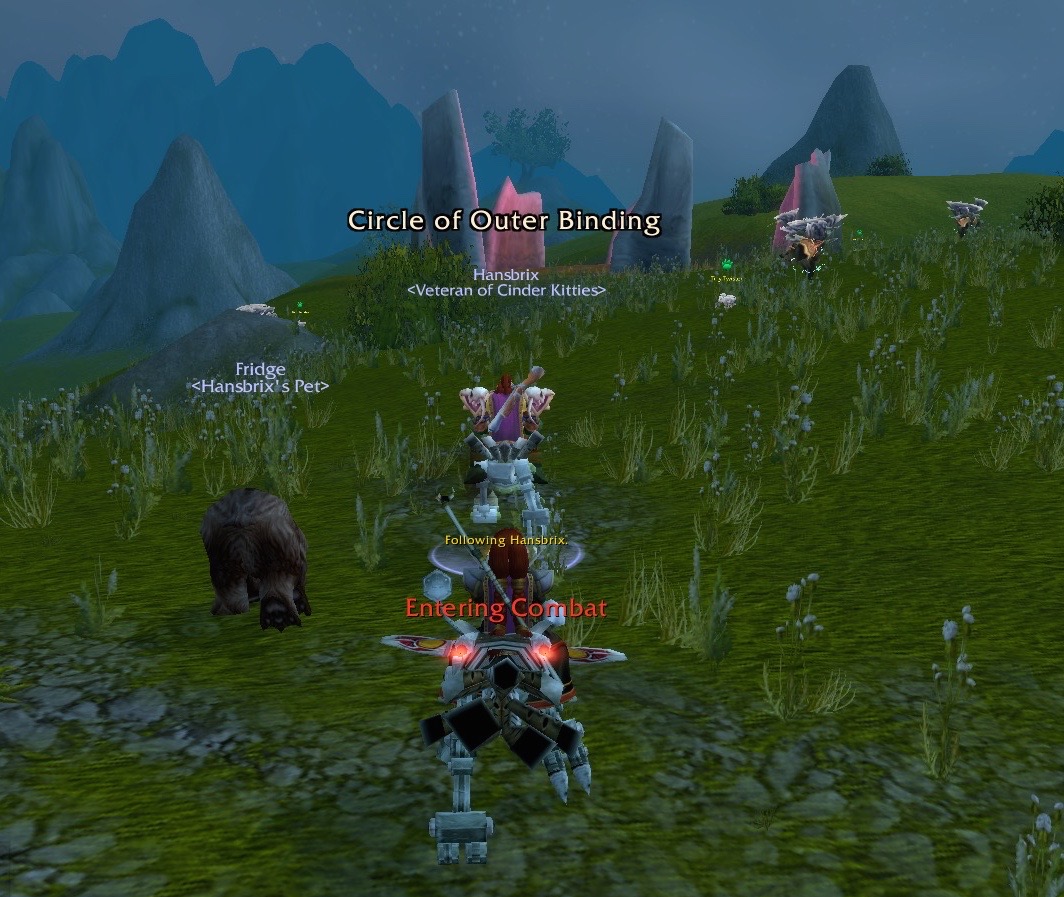
Next stop – the Circle of Outer Binding. It has Air Elementals guarding it.

Hansbrix clicks on the Stone of Outer Binding and gets his key.
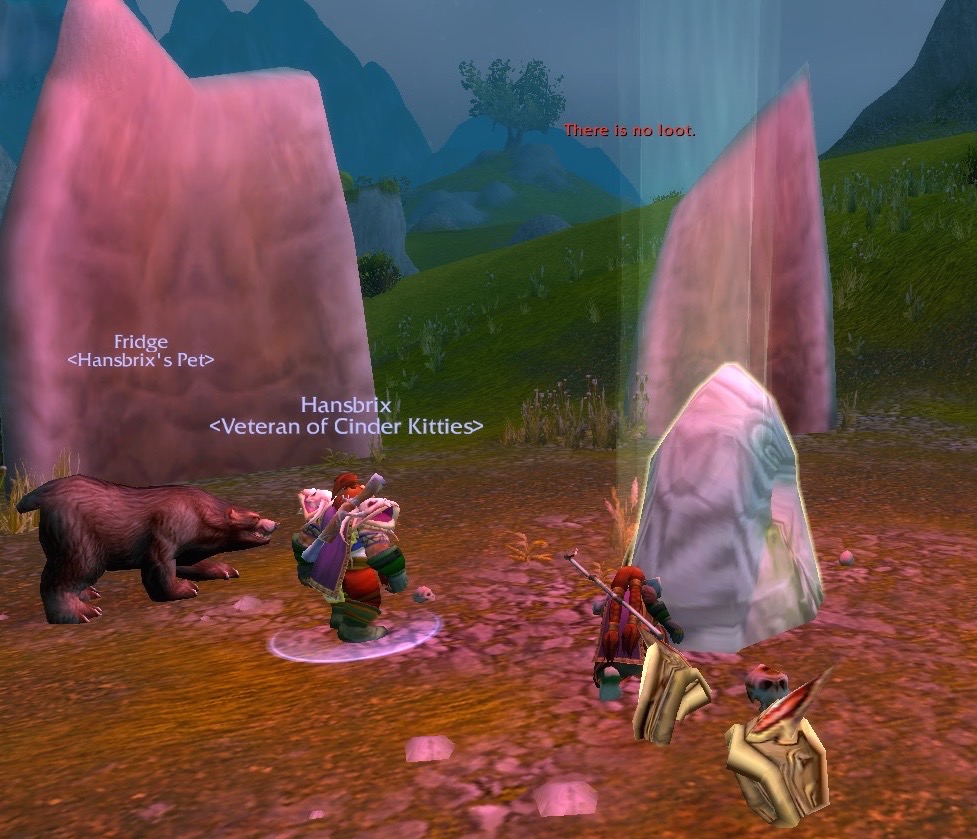
Bradanna tries to get her key – but cannot. There is no loot. Once again, The Dwarves had to wait for the beam of light to disappear and the Stone to respawn so that Bradanna could get her key. We had the time to do this, but I bet it would get really annoying if a group of three, or five, or more players were trying to do this series of quests.

After waiting around for a while, the Stone respawned and Bradanna was able to get her key. The Stone of Outer Binding yields the Thundering Key. The Air Elementals that are in this area where a clue that the Thundering Key could be found here.
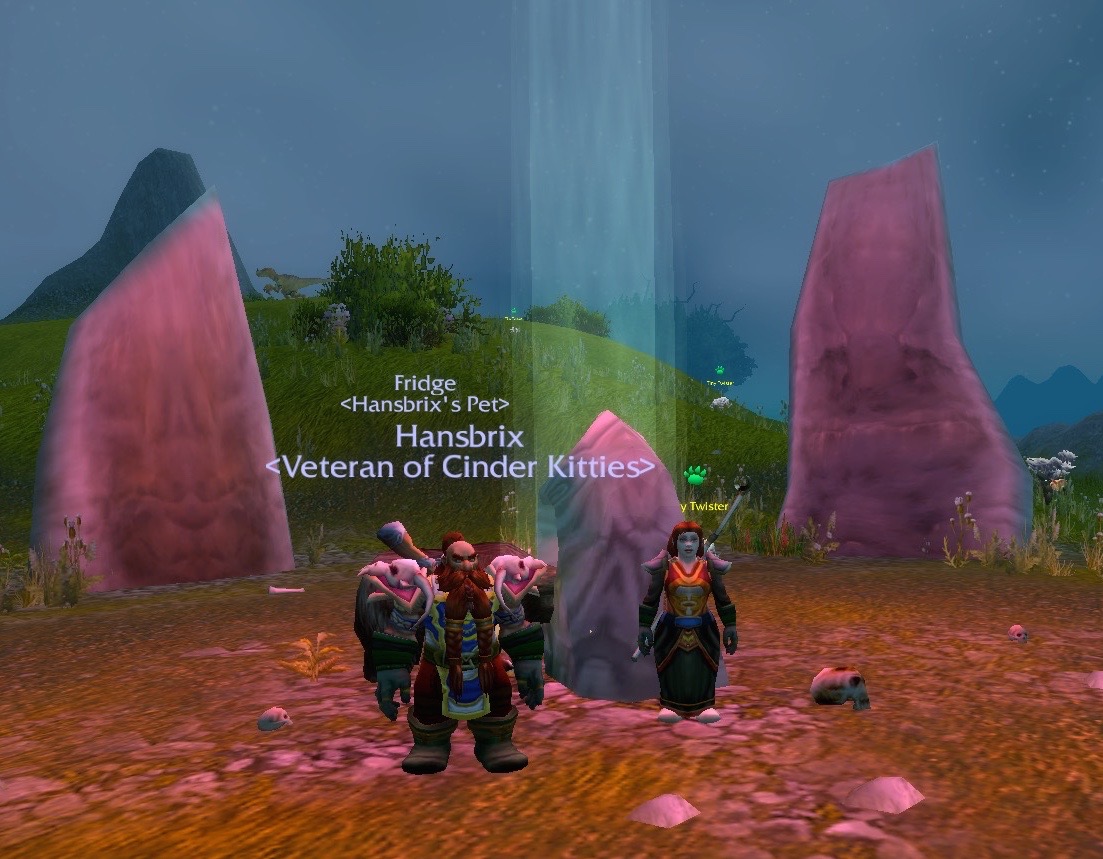
The Dwarves have now completed the portion of the quest that involves the Stone of Outer Binding.
If you look closely, you can see some Tiny Twister pets beyond the circle of stones. Don’t leave Arathi Highlands without getting three of those adorable little Battle Pets!
The Circle of West Binding has Fire Elementals.

The Stone of West Binding gives players the Burning Key. This makes sense, considering all the Fire Elementals that were guarding it. As before, The Dwarves had to take turns accessing the Stone. This one makes players wait for the Stone to respawn, just like the other two did.
The Dwarves were now finished with the Stone of West Binding. They have collected all three of the keys that they needed.
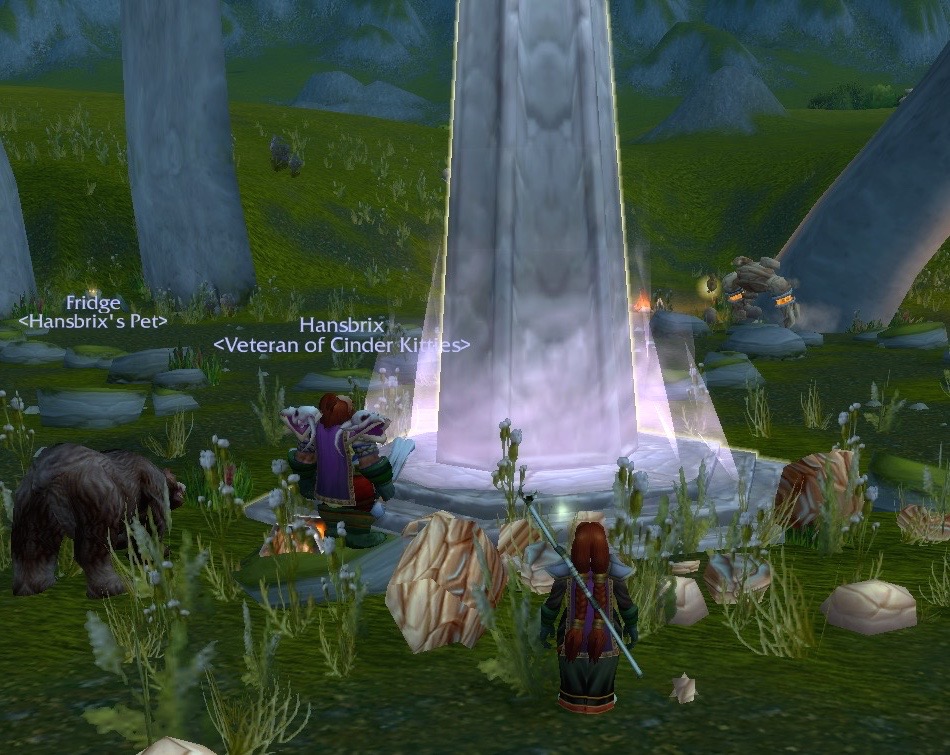
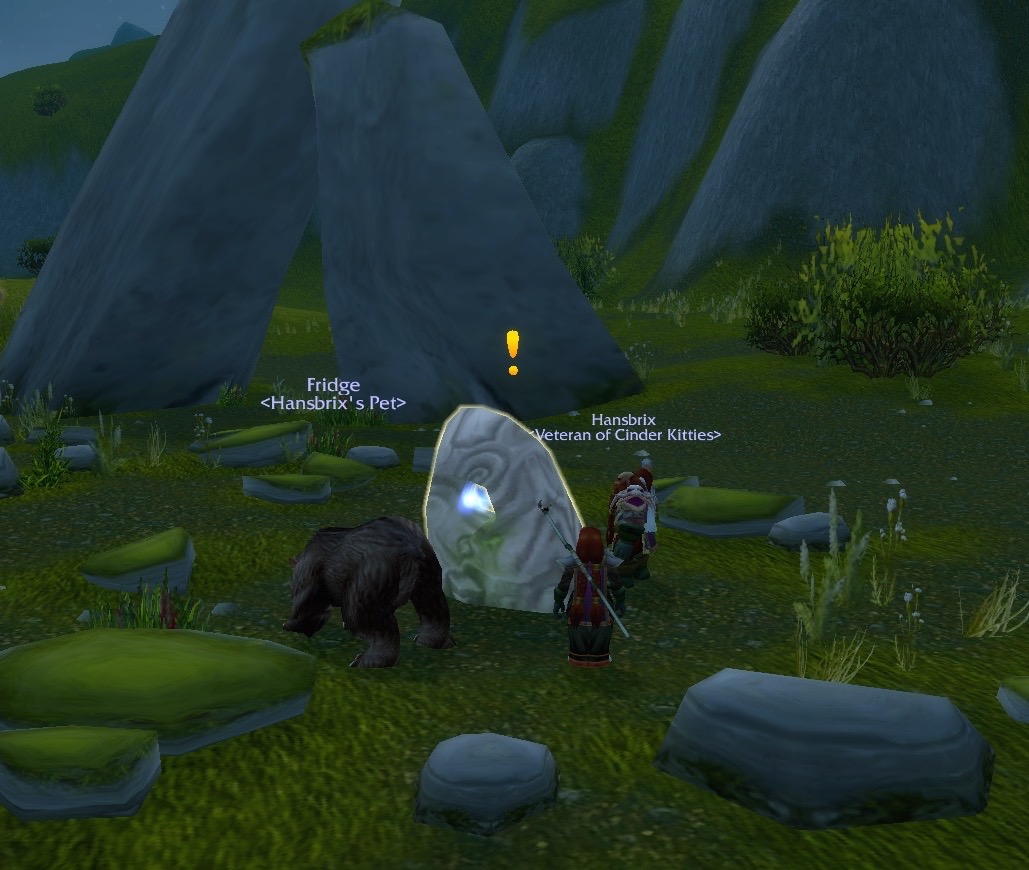
The Circle of Inner Binding is guarded by Rock Elementals. Hansbrix quickly discovered that he could mine them.
The Stone of Inner Binding has a quest.

This is the Stone of Inner Binding. It is the strongest of the binding stones and must be unlocked for the others to open. As you can see, it requires a player to have the Burning Key, Cresting Key, and Thundering Key.

<Myzrael speaks through the stone.>
Myzrael: You have done it! You opened the Stones of Binding! I can feel the shackles about me loosen, and freedom draws ever closer. You are a noble priest, Bradanna. My rescuer!
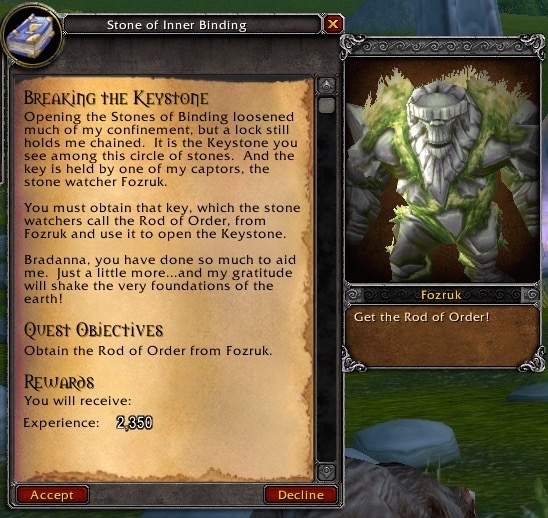
Myzrael: Opening the Stones of Binding loosened much of my confinement, but a lock still holds me chained. It is the Keystone you see among this circle of stones. And the key is held by one of my captors, the stone watcher Fozruk.
You must obtain that key, which the stone watchers call the Rod of Order, from Fozruk and use it to open the Keystone.
Bradanna, you have done so much to aid me. Just a little more… and my gratitude will shake the very foundations of the earth!
After all that, the player still isn’t done with the “save the princess” quest! There’s more!
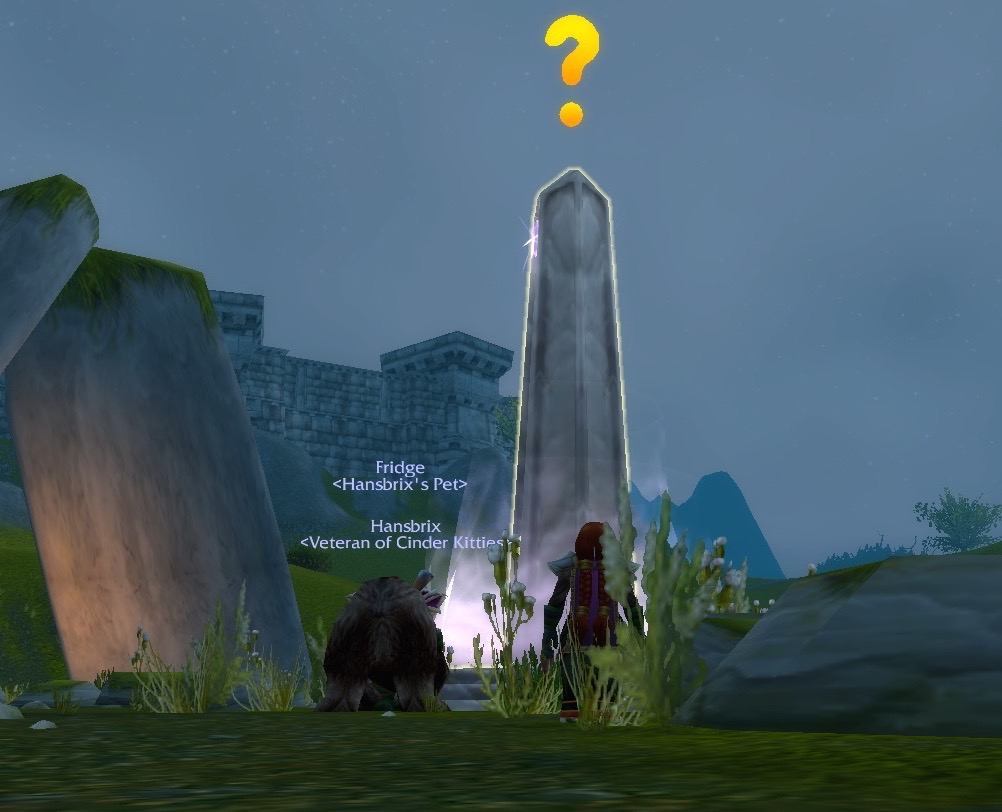
This is the last keystone…. or so The Dwarves hoped.
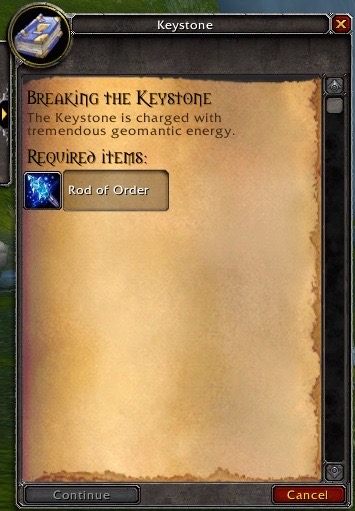
The Keystone is charged with tremendous geomantic energy. It requires players to have the Rod of Order. The Dwarves don’t have it because they haven’t fought Fozruk for it yet.

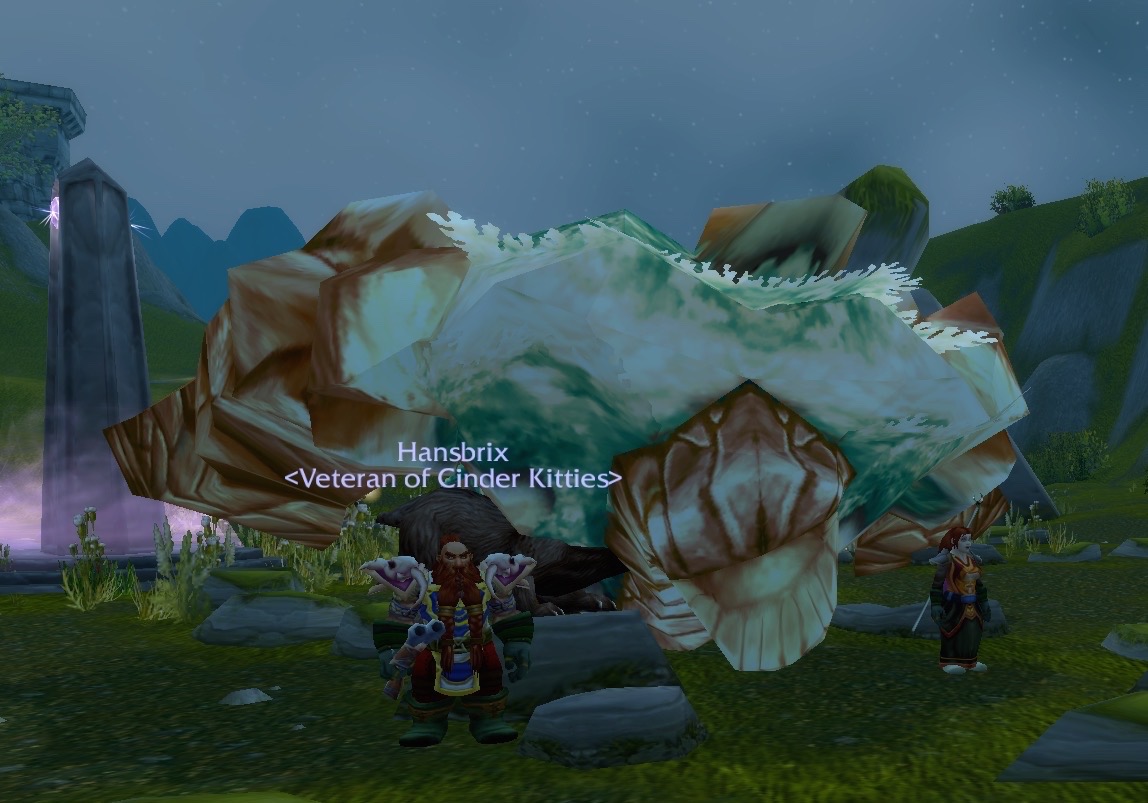
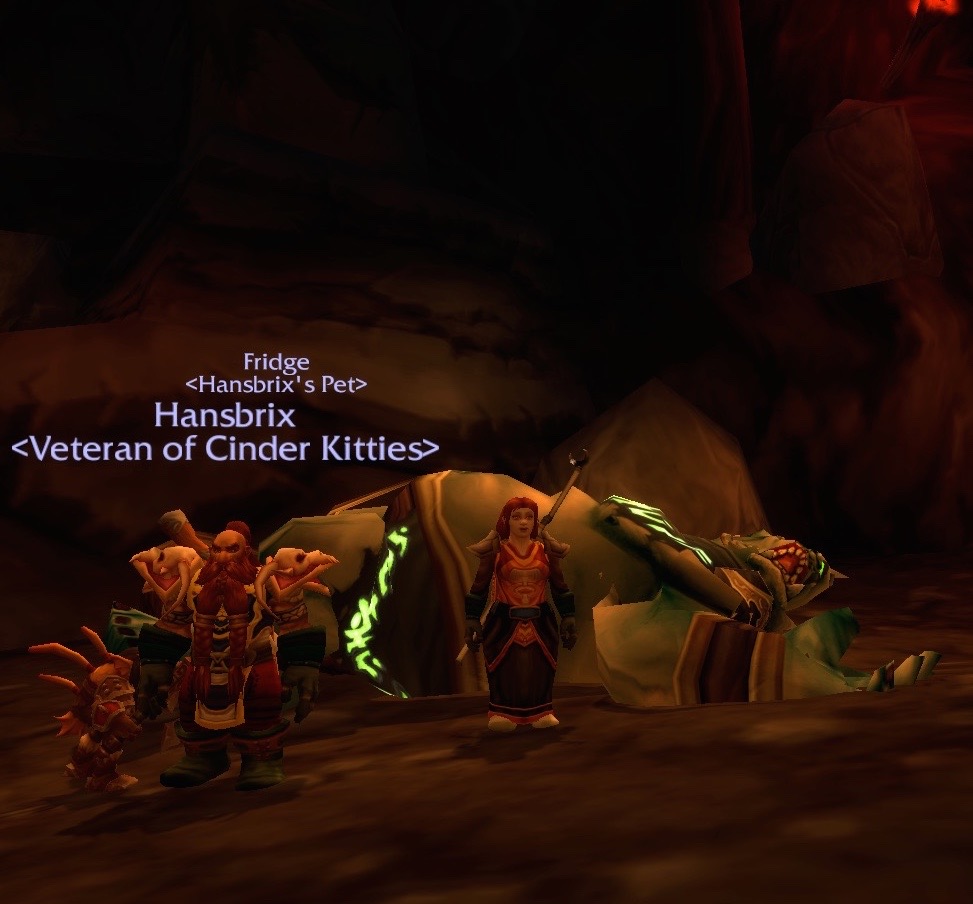
Fozruk is BIG!
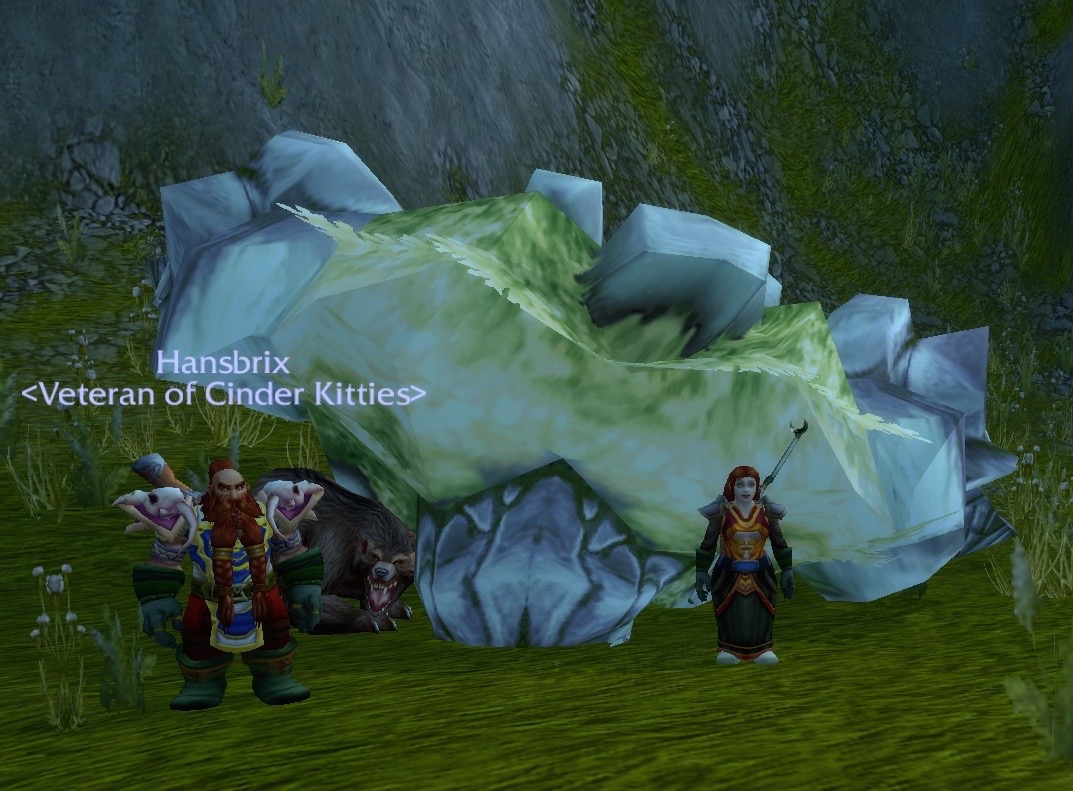
The Dwarves took a tourist photo after slaying Fozruk. They are standing next to his shoulders and the top of his head. For whatever reason, Fozruk fell face down. Fridge seems especially amused by this!
By the time The Dwarves got back to the Circle of Inner Binding, the Rock Elementals had respawned. Hansbrix took the opportunity to mine them.
The Keystone has a quests for The Dwarves now.
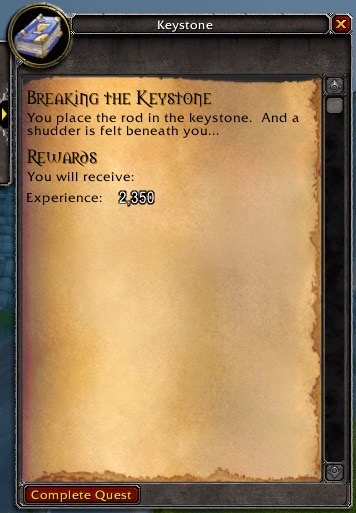
You place the rod in the keystone. And a shudder is felt beneath you…
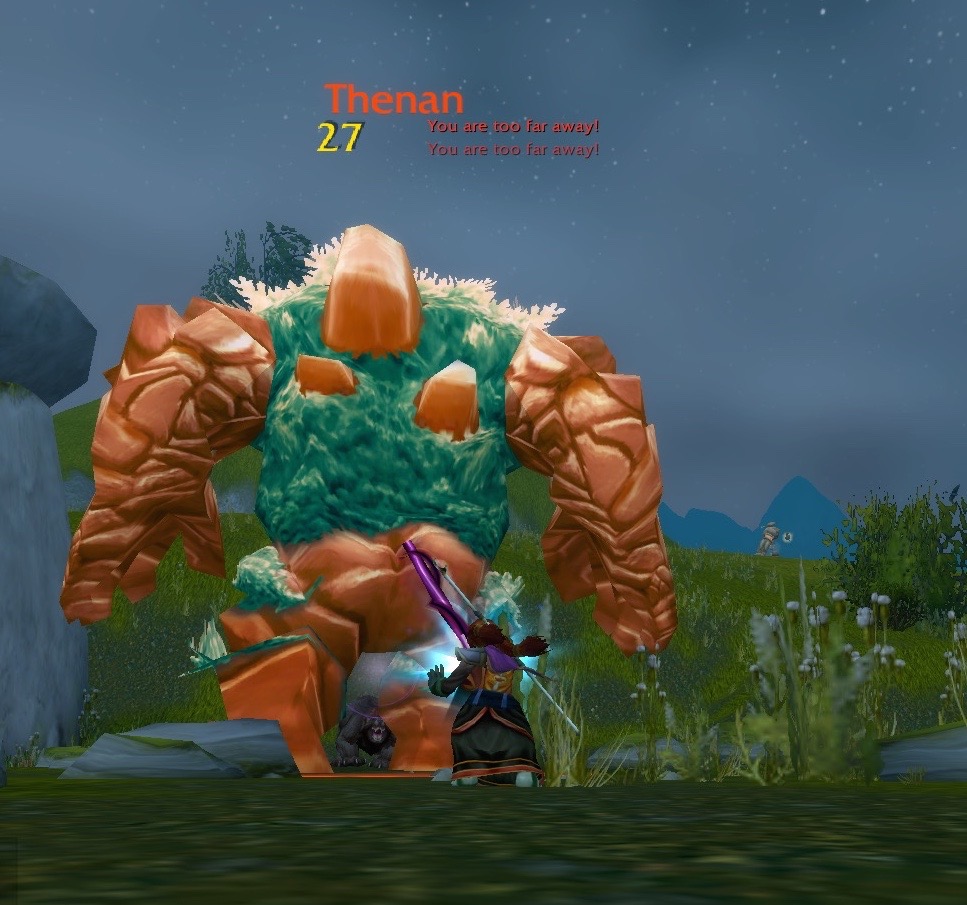
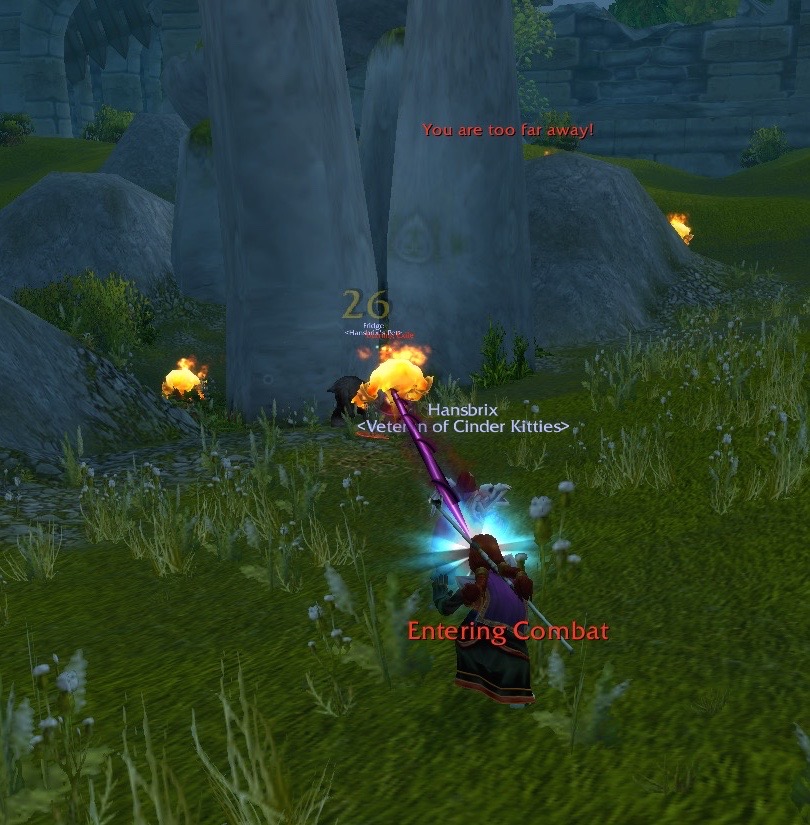
Oh, no! Another one! This one is named Thenan. Bradanna is shooting him in the butt, and Fridge and Hansbrix are attacking from the front. Thenan is even bigger than Fozruk was.
Hansbrix and Bradanna took a tourist photo beside the slain Thenan. They are standing by his shoulders. He fell face down, just like Fozruk did. Fridge appears to be fascinated by how the dead Thenan smells. I think he stuck his face into Thenan’s ear.
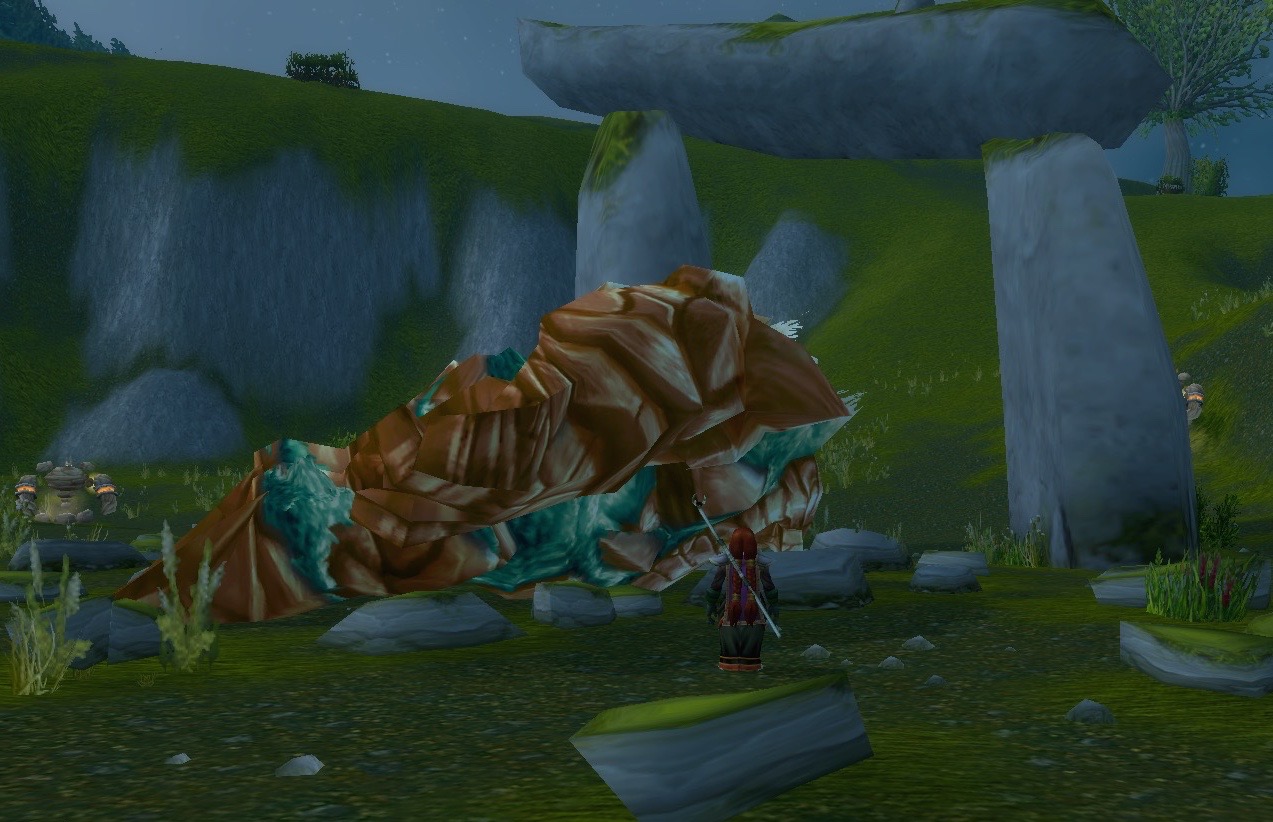
Here is a look at how big Thenan was, with part of the Circle of Inner Binding for reference.
The Stone of Inner Binding has another quest for The Dwarves.
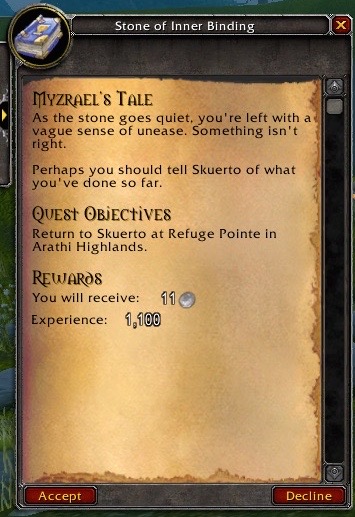
As the stone goes quiet, you’re left with a vague sense of unease. Something isn’t right. Perhaps you should tell Skuerto of what you’ve done so far.
This quest sends the Dwarves back to Refuge Pointe to talk to Skuerto, the Dwarf that started them on this “save the princess” quest in the first place. It seems as though The Dwarves have failed, since the princess did not appear. What went wrong?

Back at Refuge Pointe, Skuerto has a lot of explaining to do. Things have definitely gone wrong – but it’s not the fault of The Dwarves.
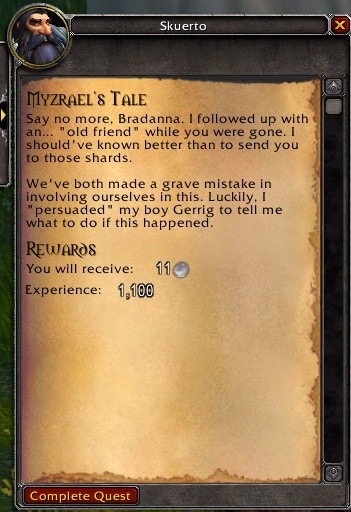
Skuerto: Say no more, Bradanna. I followed up with an… “old friend” while you were gone. I should’ve known better than to send you to those shards.
We’ve both made a grave mistake in involving ourselves in this. Luckily, I “persuaded” my boy Gerrig to tell me what to do if this happened.
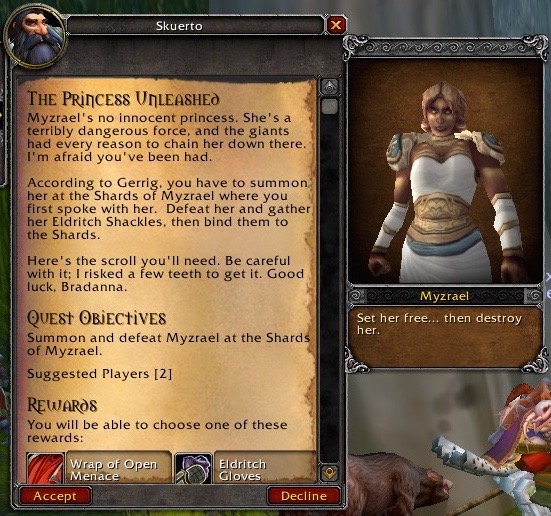
Skuerto: Myzrael’s no innocent princess. She’s a terribly dangerous force, and the giants had every reason to chain her down there. I’m afraid you’ve been had.
According to Gerrig, you have to summon her at the Shards of Myzrael where you first spoke with her. Defeat her and gather the Eldrich Shackles, then bind them to the Shards.
Here’s the scroll you’ll need. Be careful with it: I risked a few teeth to get it. Good luck, Bradanna.
A few interesting things come from this quest text. First, those BIG enemies The Dwarves fought and killed – Fozruk and Thenan are some sort of “jail guards” that have been assigned to watch Princess Myzrael by “the giants”.
The second interesting thing is that the quest text says that this particular quest is suggested for [2] players. None of the previous quests suggested the number of players it would take to complete them. The previous quests could be done by one player.
This is why the stones would only allow one player to collect them (even though Hansbrix and Bradanna were in a group). Blizzard expected that a player would solo this content – right up to the point where they accept this “The Princess Unleashed” quest. Those stones aren’t “broken” after all – they are working as intended.
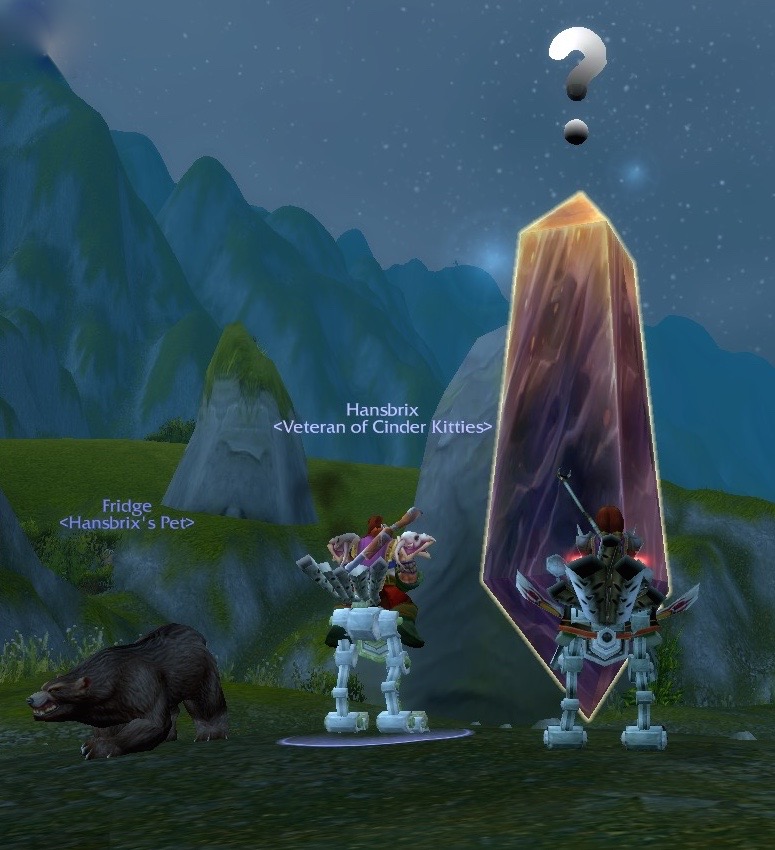
Back to the beginning! The Dwarves have returned to The Shard of Myzrael. What will happen now? One thing is certain. There are two players here (and one of them has a bear that can tank). The Dwarves appear to be prepared for this [2] player quest.
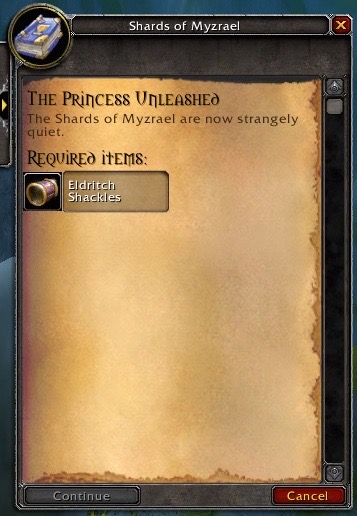
The Shards of Myzrael are now strangely quiet.
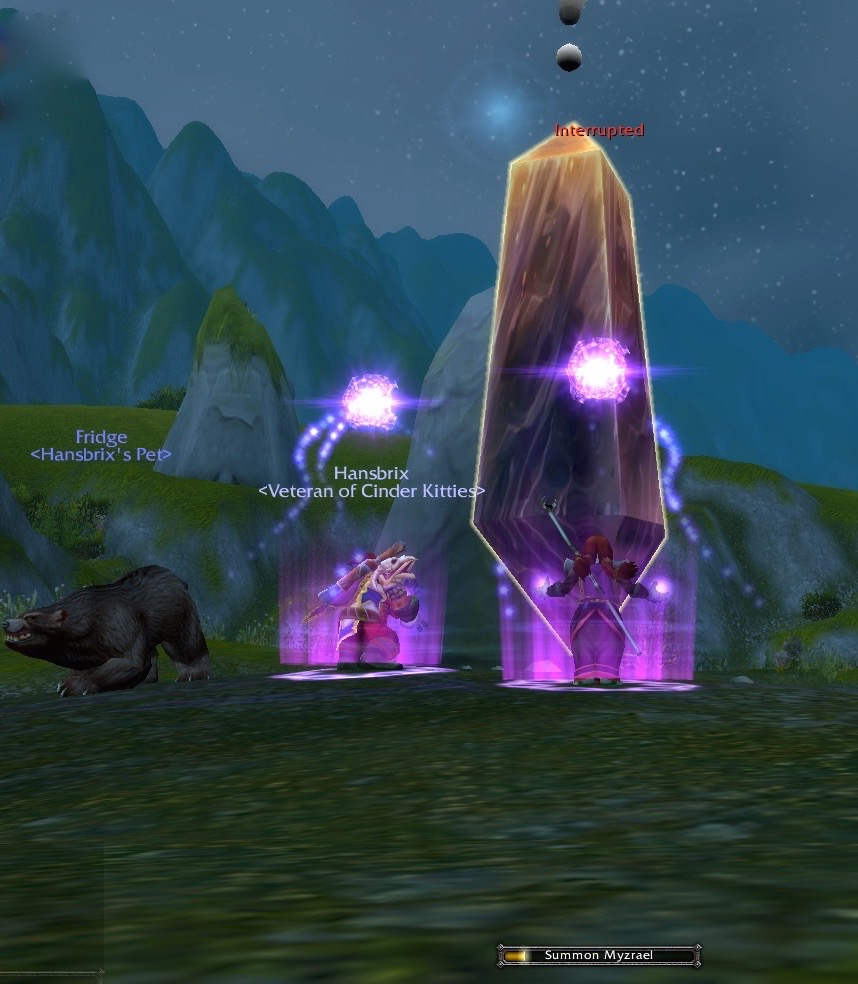
Hansbrix and Bradanna begin summoning Myzrael. Fridge decides he wants no part of this one and attempts to exit stage left.
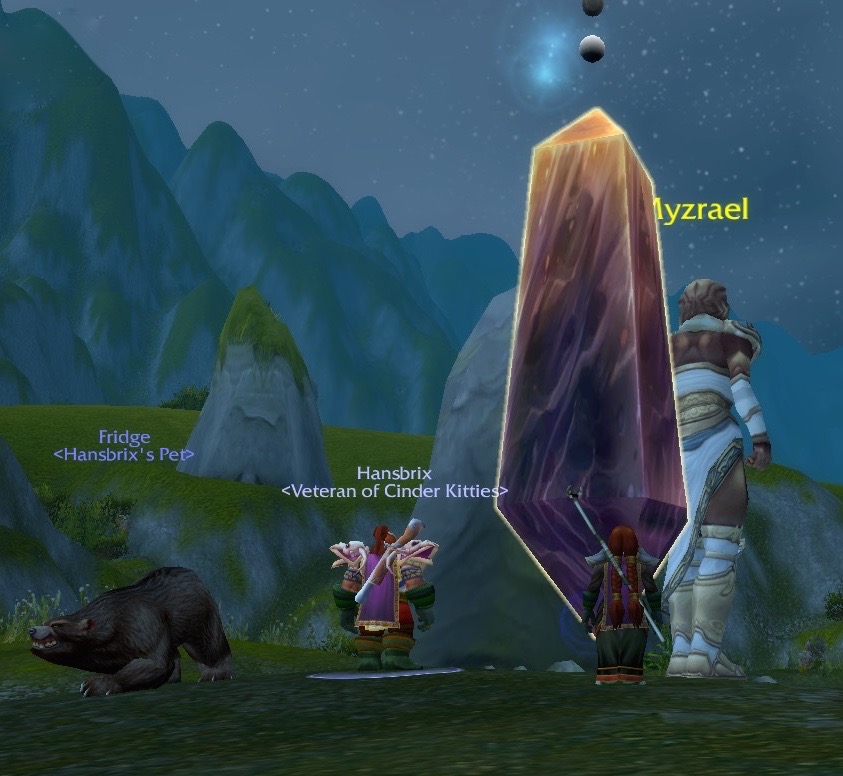
Princess Myzrael has been summoned! She’s HUGE! The Dwarves barely come up to her knees. I’m assuming that Myzrael is a giant. She doesn’t look at all like Fozruk and Thenan.
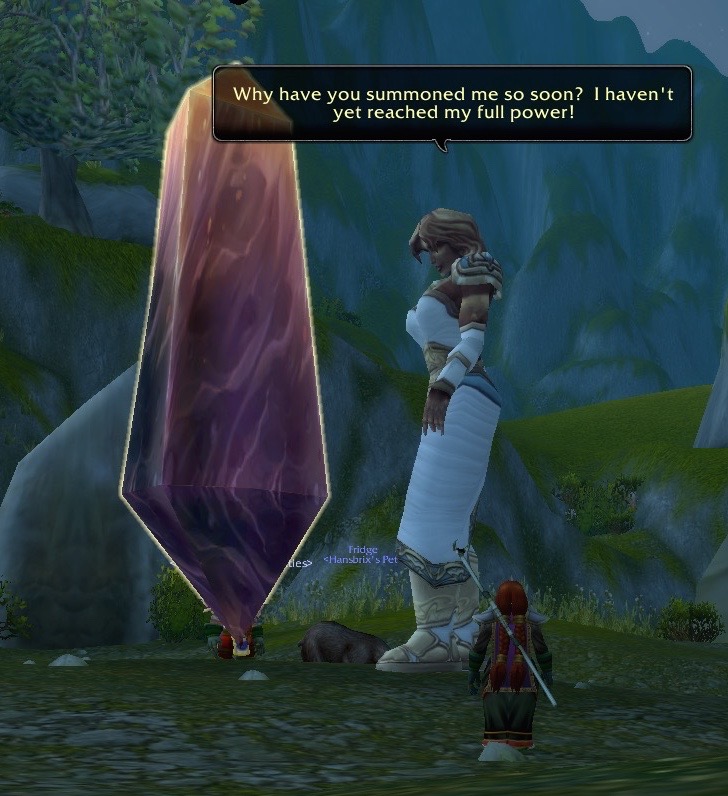
Myzrael: Why have you summoned me so soon? I haven’t yet reached my full power!
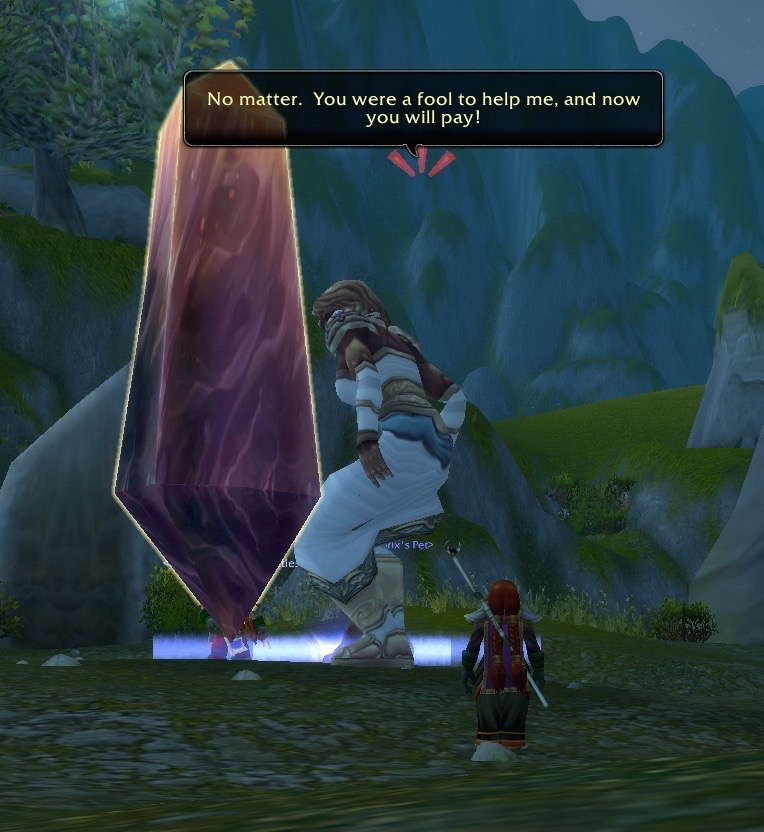
Myzrael: No matter. You were a fool to help me, and now you will pay!
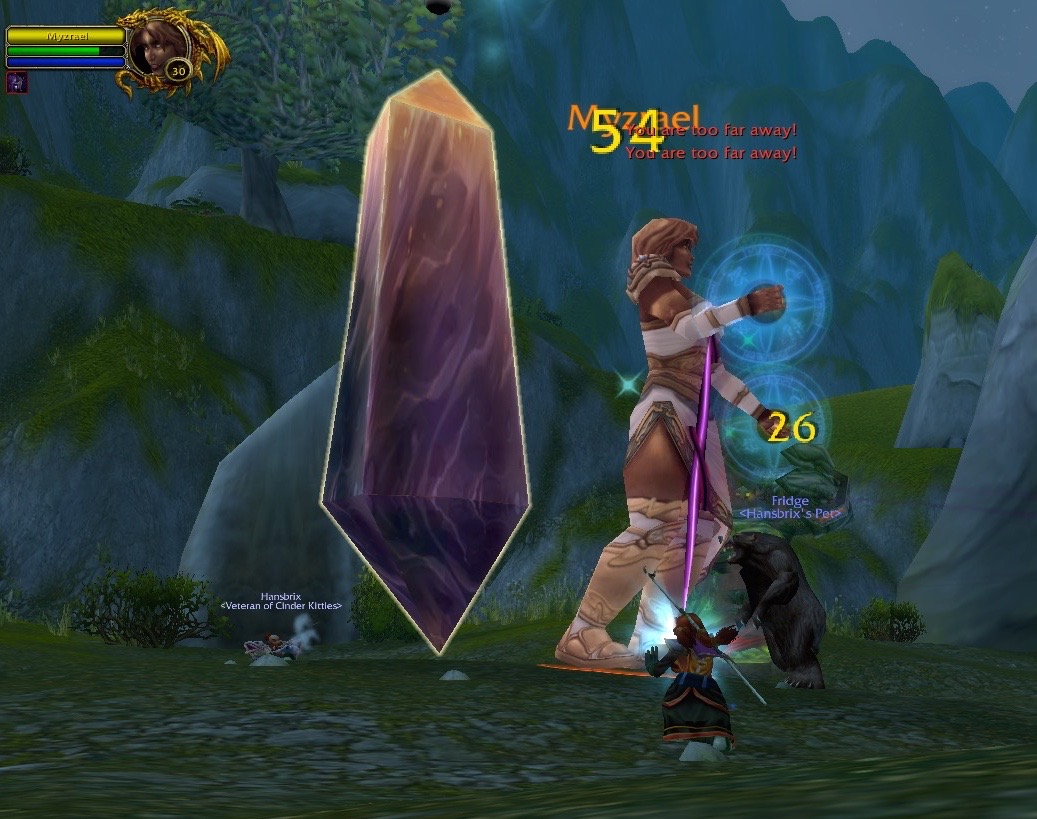
The battle begins! Myzrael starts summoning some Elementals to make the battle that much harder for The Dwarves.

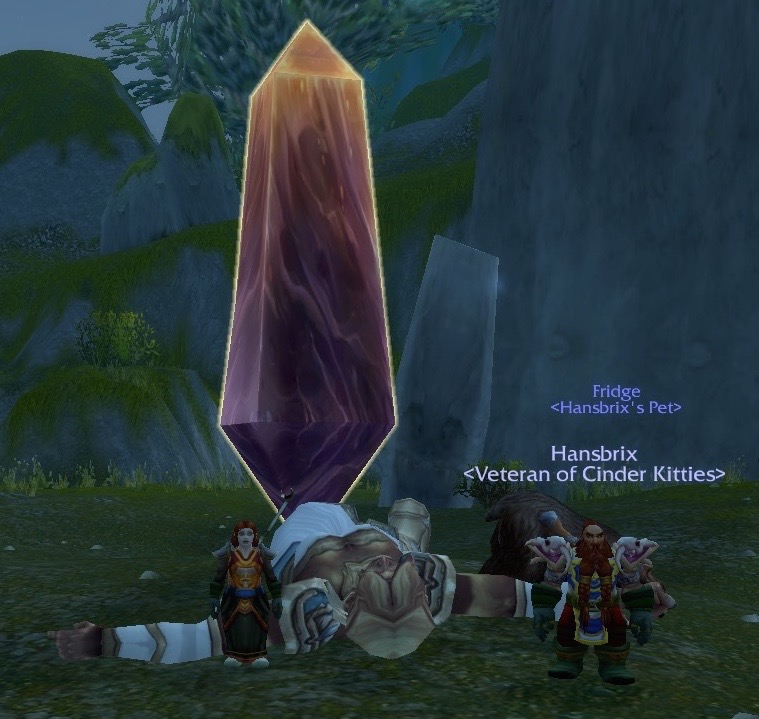
Success! The “save the princess” quest results in … the death of the princess. Hansbrix and Bradanna, as usual, continue their tradition of taking photos of the big enemies that they have slayed. Fridge might be trying to eat Myzrael’s hands (and hoping to get away with it while The Dwarves are not looking).

The shard has one, final, quest for The Dwarves.
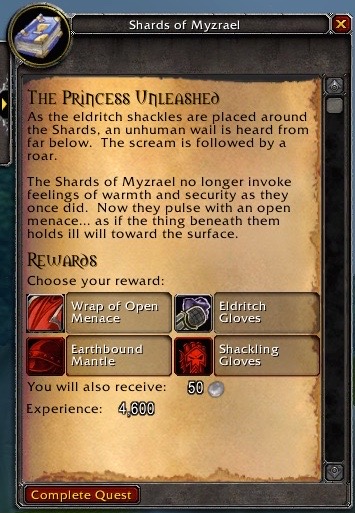
As the eldritch shackles are placed around the Shards, an unhuman wail is heard from far below. The scream is followed by a roar.
The Shards of Myzrael no longer invoke feelings of warmth and security as they once did. Now they pulse with an open menace…as if the thing beneath them holds ill will towards the surface.
This is the end of the “save the princess” quests. The Dwarves can pick their reward right here, at the shard, without having to return to Refuge Pointe and speak with Skuerto about what happened. It’s a bit of an abrupt ending, but I’ll take it.
This series of quests took a long time, required a bit of problem solving, and the ability to maneuver around Arathi Highlands. This was a fun quest that ended in a way that was totally unexpected.
Captain Nials has a quest that sends The Dwarves to Northfold Manor.
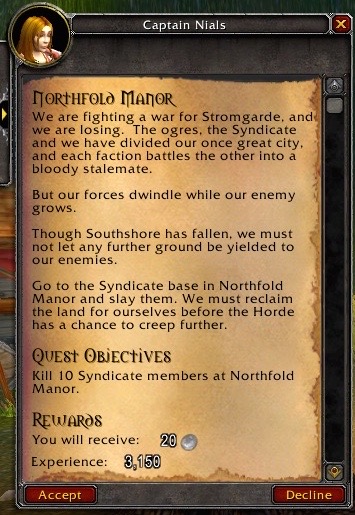
Captain Nials: We are fighting a war for Stromgarde, and we are losing. The ogres, the Syndicate and we have divided our once great city, and each faction battles the other into a bloody stalemate.
But our forces dwindle while our enemy grows.
Though Southshore has fallen, we must not let any further ground be yielded to our enemies.
Go to the Syndicate base in Northfold Manor and slay them. We must reclaim the land for ourselves before the Horde has a chance to creep further.
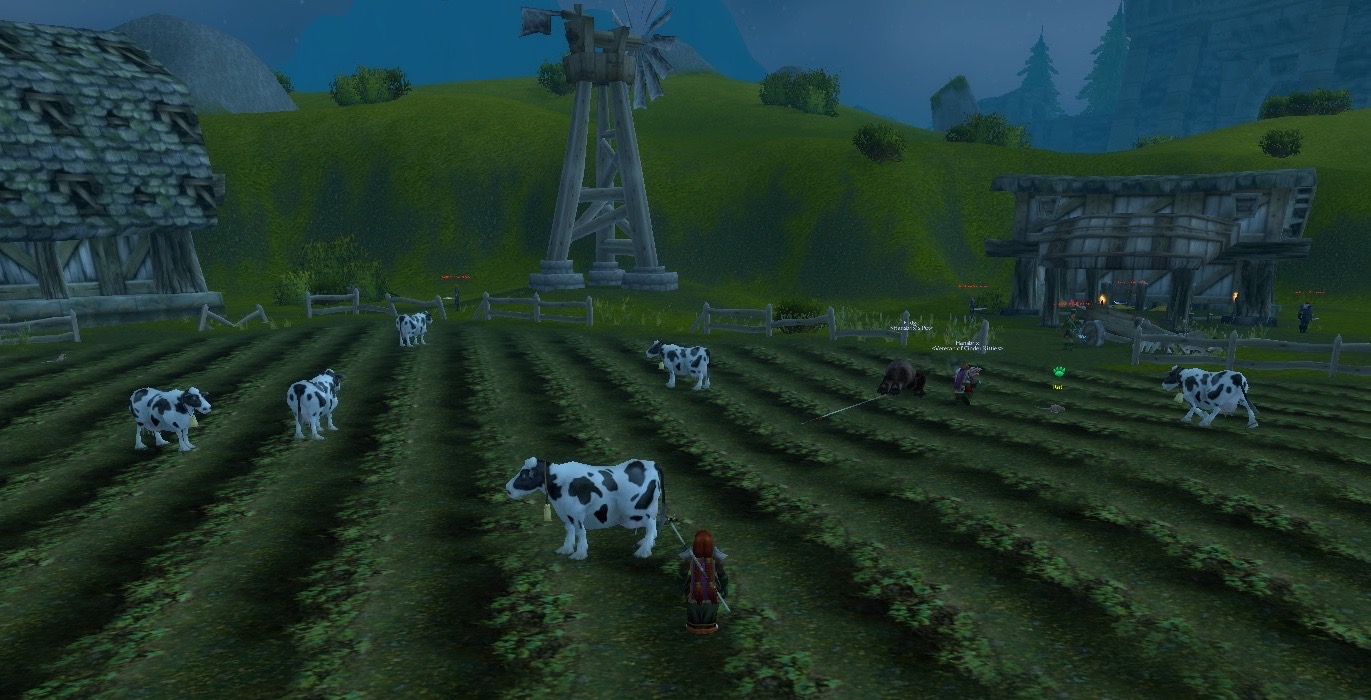
Northfold Manor has a field of cows that look calm and peaceful, oblivious of whatever the humans around them are up to. I suspect that this means there is an unknown NPC out there who is still feeding, and tending to, these cows.
Kill 10 Syndicate Mercenaries. It doesn’t matter which ones.

Captain Nials: The Syndicate in Stromgarde do battle with our contingent of militia there. In order to urge the rabble to fight our more disciplined troops, the Syndicate leaders have placed a bounty on our soldiers, awarding gold for each Stromgarde Badge gathered off killed militiamen.
We want those badges retrieved – we cannot allow the cutthroats to take trophies from our brave fallen!
Enter the Syndicate – controlled area of Stromgarde and hunt them for our badges.
This quest links up with a bunch of other quests that require players to go to Stromgarde. It just so happened that we were able to do all the Stromgarde quests at the same time. Captain Nials has one. The Wanted Poster has two more.
Players can walk into Refuge Pointe and grab these two quests from the Wanted Poster immediately. It seems to me that it would be possible for players to head out to Stromgarde to complete these two quests… and then later get assigned more quests that make them go right back to Stromgarde. To be most efficient, a player would want to save up all these quests and then complete them in one trip to Stromgarde. But, how would a new player know to do that?
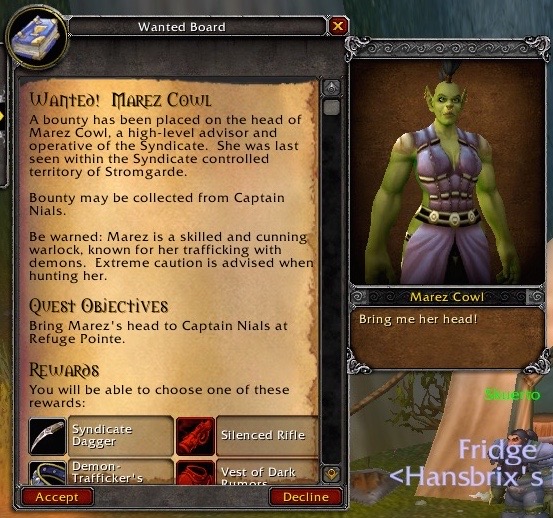
Wanted! Marez Cowl: A bounty has been placed on the head of Marez Cowl, a high-level advisor and operative of the Syndicate. She was last seen within the Syndicate controlled territory of Stromgarde.
Bounty may be collected from Captain Nials.
Be warned: Marez is a skilled and cunning warlock, known for her trafficking with demons. Extreme caution is advised when hunting for her.
Players are asked to bring Marez’s head back to Captain Nials at Refuge Point. Marez is described in a way that implies that Warlocks are evil. It is possible for Alliance players to chose the Warlock class. I wonder if that part of this quest text annoys players who have a main that is a Warlock? I mean, all Warlocks engage in “trafficking with demons”… so, how would that differentiate the player from the NPC enemy?
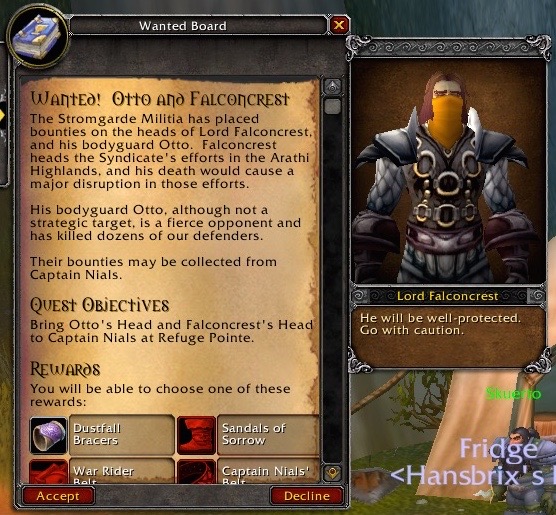
Wanted! Otto and Falconcrest: The Stromgarde Militia has placed bounties on the heads of Lord Falconcrest, and his bodyguard, Otto. Falconcrest heads the Syndicate’s efforts in the Arathi Highlands and his death would cause a major disruption in those efforts.
His bodyguard, Otto, although not a strategic target, is a fierce opponent and has killed dozens of our defenders.
Players are asked to return to Captain Nials with the head of Lord Falconcrest and the head of his bodyguard, Otto. Go kill three “big bads” and collect their heads. That’s rather gruesome!
The other quest that takes players to Stromgarde comes from Skuerto. The thing is, his quest that sends players there is the third one in a chain of quests. The first quest in that chain sends players off to kill Witherbark Trolls in order to collect tusks and medicine pouches. The second quest sends players to Bolderfist Hall to kill Kor’gresh Coldrage (and to collect his Wand of Invocation).
Done!
The third quest in this chain requires players to collect three things from Stromgarde (and bring them back to Skuerto).
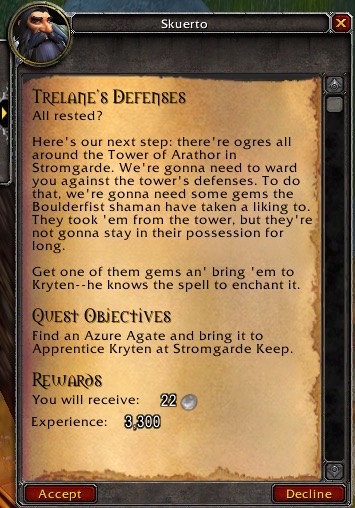
Skuerto: All rested?
Here’s our next step: there’re ogres all around the Tower of Arathor in Stromgarde. We’re gonna need to ward you against the tower’s defenses. To do that, we’re gonna need some gems the Boulderfist Shaman have taken a liking to. They took ’em from the tower, but they’re not gonna stay in their possession for long.
Get one of them gems an’ bring ’em to Kryten — he knows the spell to enchant it.
After gathering up all these quests, The Dwarves were ready to travel to Stromgarde. I had some questions, though. Just who are the Syndicate, and why are the Alliance at war with them? All we know from these quests is that the Syndicate are the enemy. But, why? What happened? More story, please, Blizzard!

The Stromgarde Keep area itself is nicely done. It really looks like an Alliance town that has been run down due to battle taking place in it. Nature is also trying to take back the area, as you can see from the trees growing through some of the archways in the entry to Stromgarde Keep.
Blizzard gets an “A” for the visual aspects of this area of the game. However, it doesn’t get a good grade on the “loose ends” that should have been cleared up during the Cataclysm expansion.
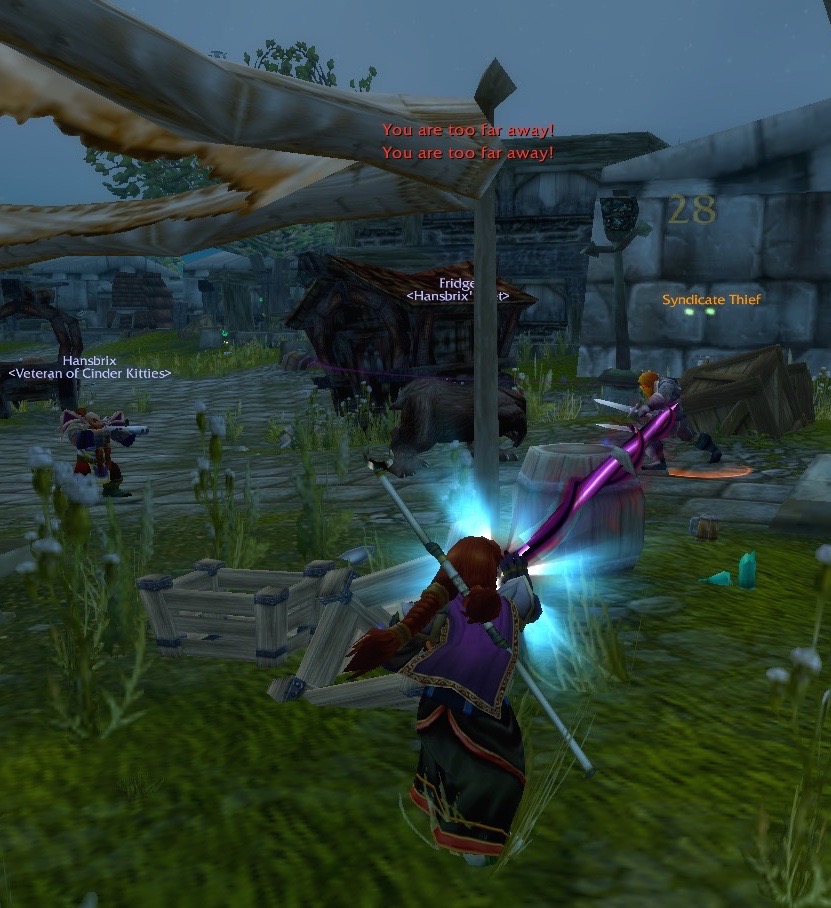
The Dwarves killed a bunch of Syndicate Thieves…
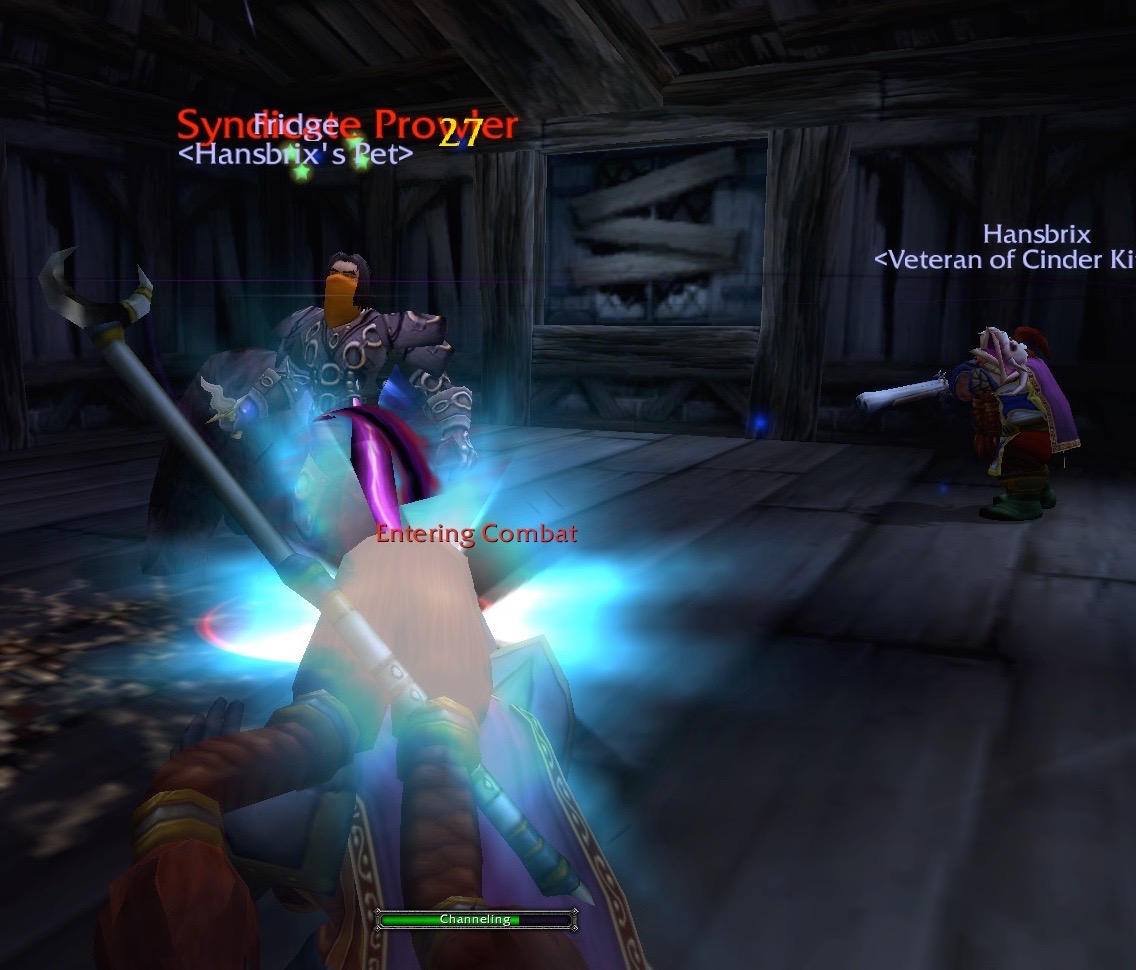
…and some Syndicate Prowlers. Some of them will drop Stormgarde Badges. Keep killing Syndicate NPCs until you gather enough badges.
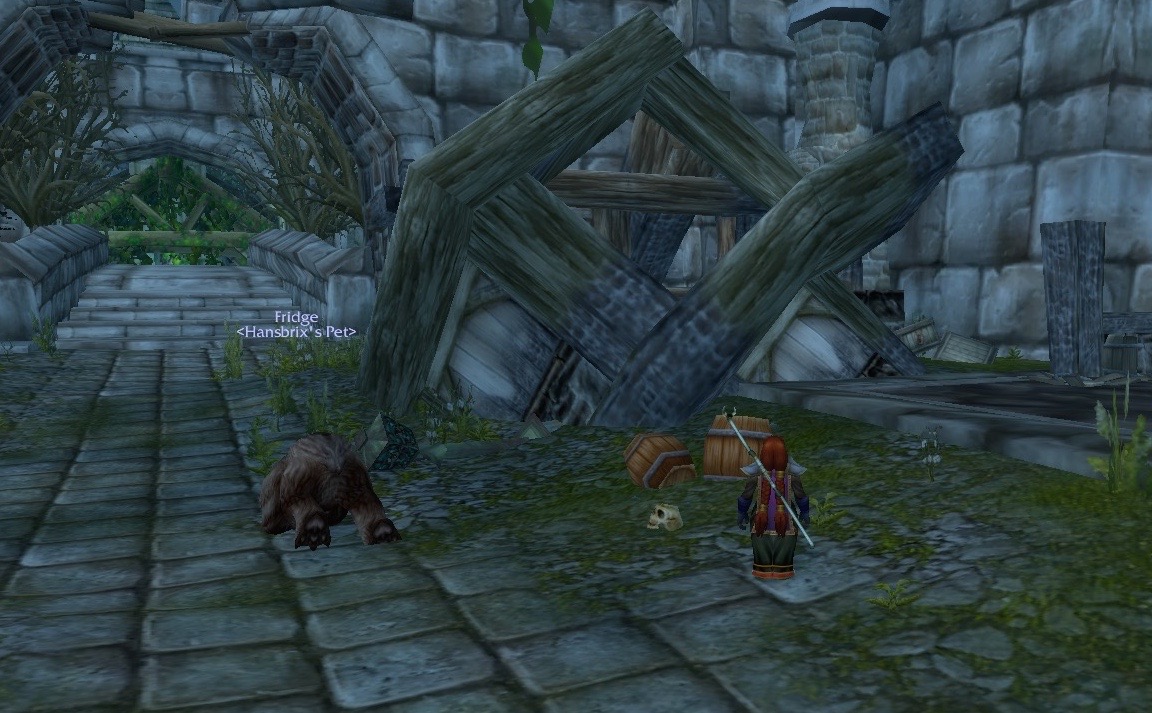
This screenshot is a good example of how well the visual aspects of the area set the mood. There is a random skull lying on the ground, next to a building that has collapsed. Nobody in Stromgarde Keep seems to care. This skull must have belonged to somebody who was assigned to fight here… and yet… it lies here, ignored.
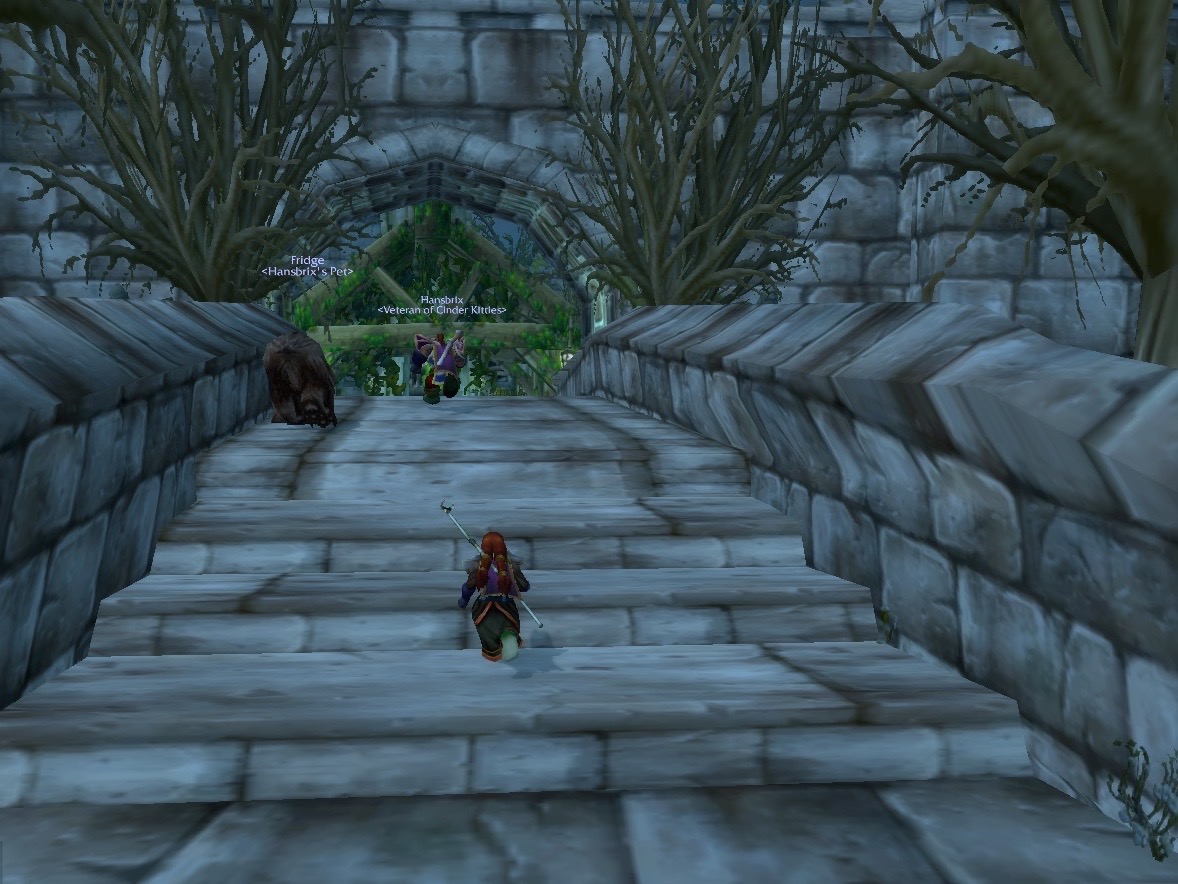
Down the path, you can see another archway that is losing its battle with nature. Stromgarde Keep is falling to ruin.
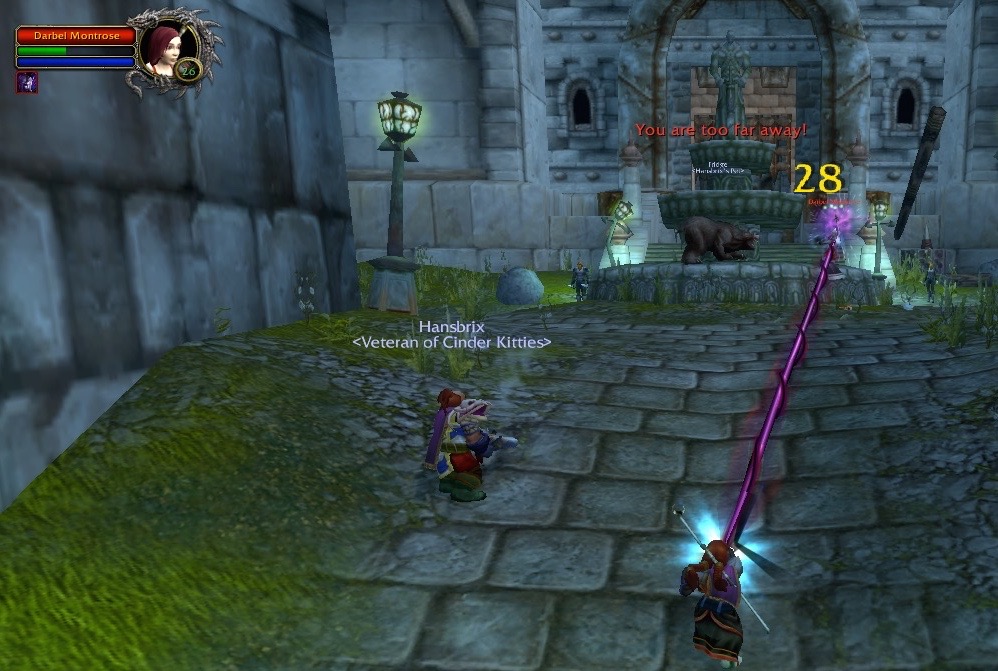
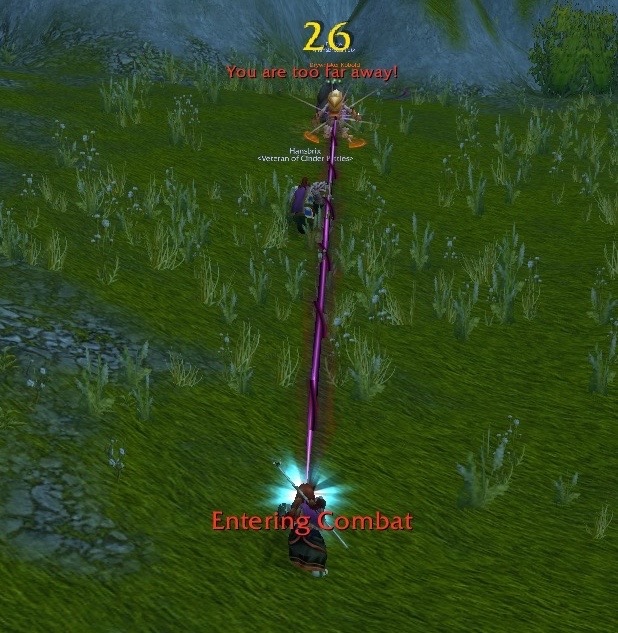
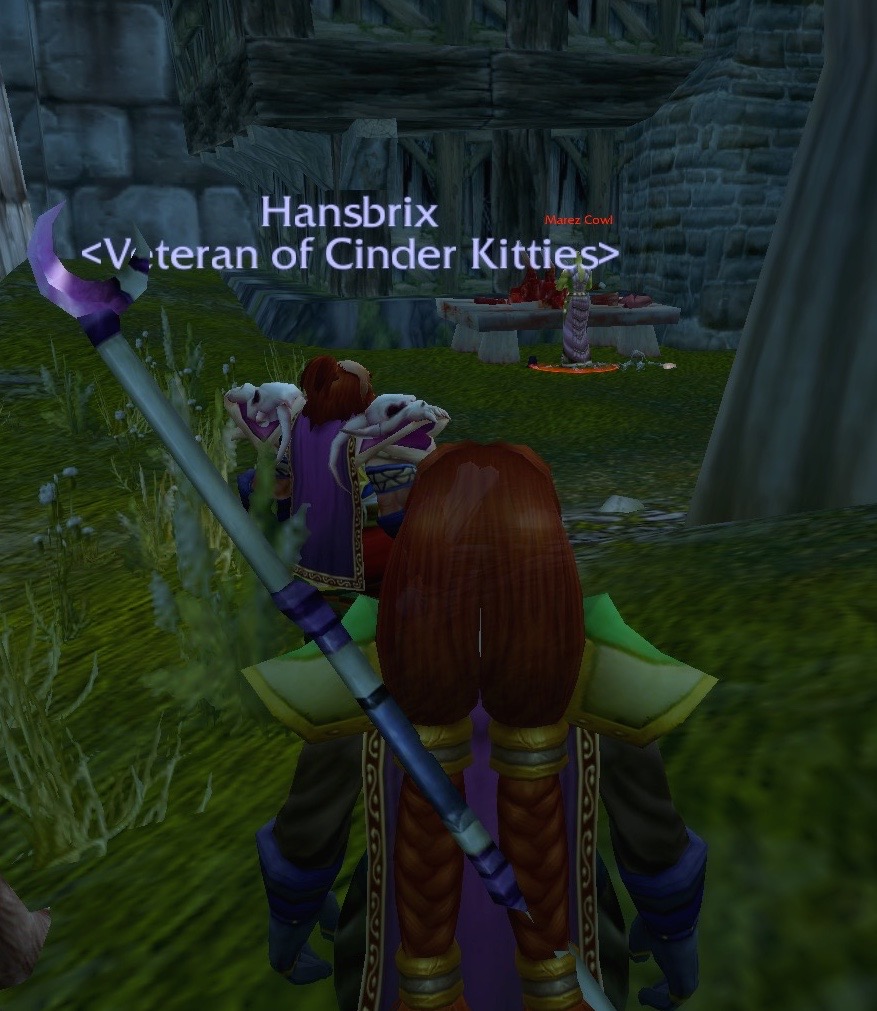
Here’s one of the “loose ends”. Follow the purple line of the Mind Sear spell that Bradanna is shooting off… and you will see an NPC. That NPC is a Human female named Darbel Montrose. Look at her portrait, and you can see that she is an elite. There is absolutely no quest connected with her.
Who was Darbel Montrose? Why was she important enough to have a special elite portrait? Was her story lost when the Cataclysm expansion hit? Or, is this NPC the Horde version of the “Marez Cowl” quest that The Dwarves are working on? I kind of doubt that, because she doesn’t seem to be a Warlock. Something is obviously missing.

Lord Falconcrest is located inside Stormgarde Keep, somewhere upstairs. The screenshot above shows that The Dwarves have managed to kill him off. His bodyguard, Otto, is getting attacked by Fridge, and won’t last much longer. These two were easy to find.
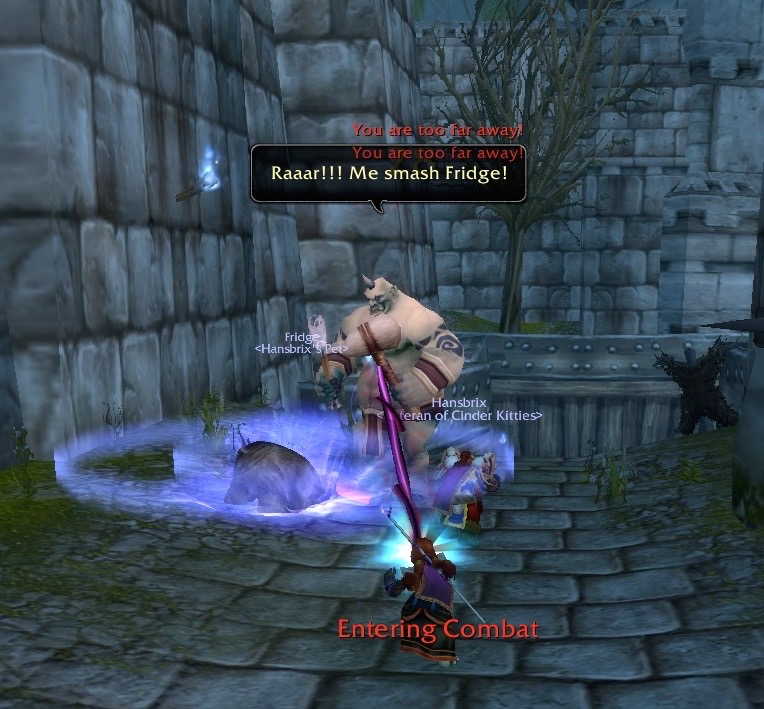
The Dwarves were still using Fridge, Hansbrix’s pet, to tank for them. Once again, that leads to amusing comments from the NPCs that they attack.
Ogre: Raaar!!! Me smash Fridge!
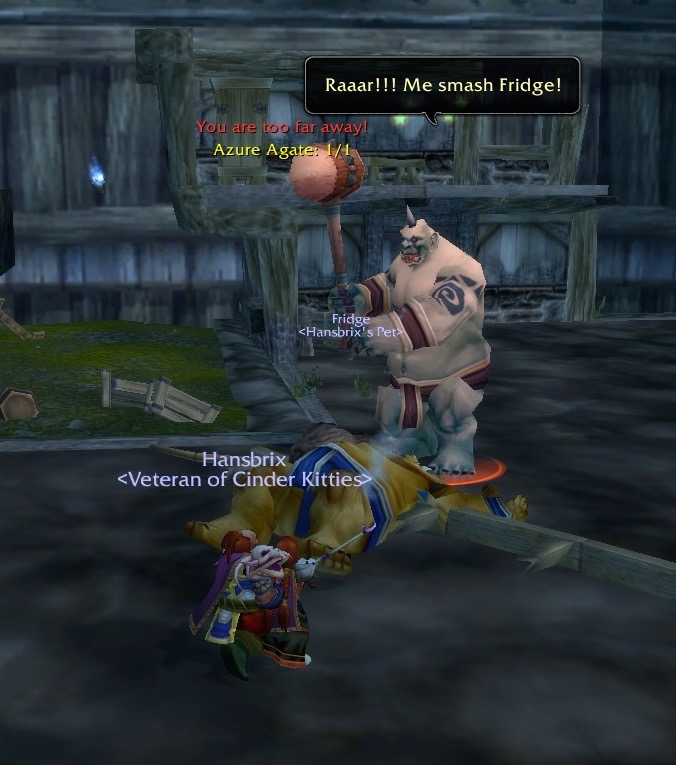
Eventually, one of the Ogres will drop the Azure Agate that the player is trying to find.
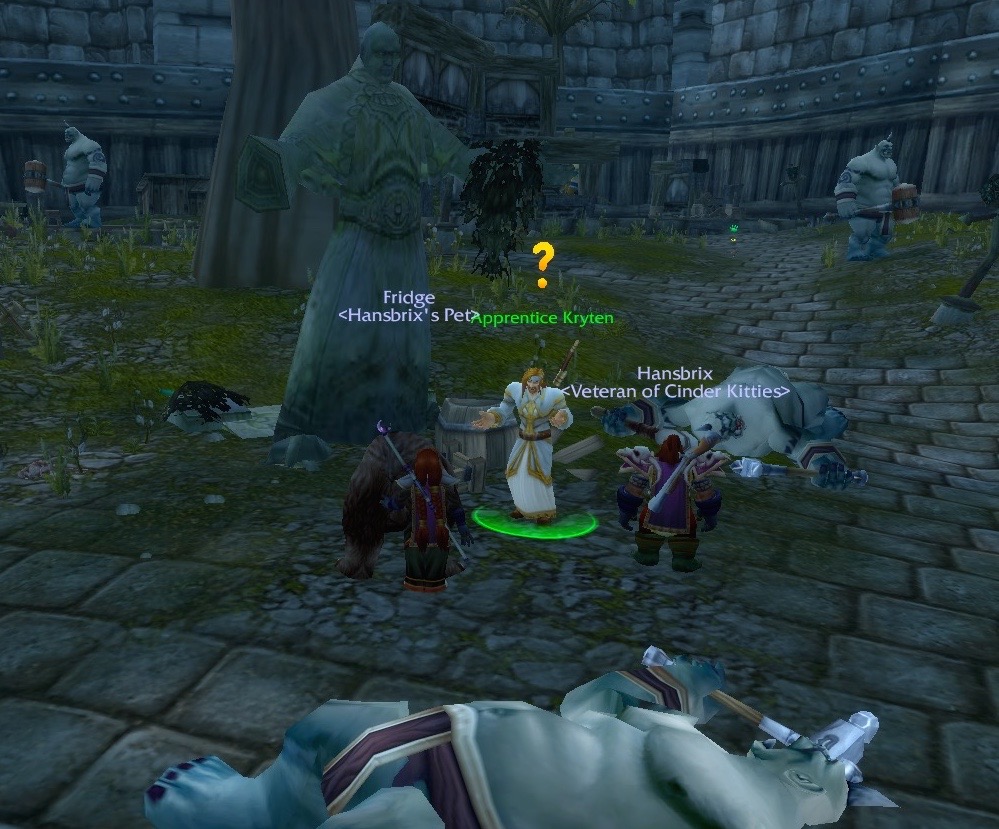
The players are to bring the Azure Agate to an NPC named Apprentice Kryten. For some reason, he is able to stand around an area that is filled with ogres without being attacked by any of them. This feels wrong, somehow. I mean, he’s only an Apprentice, so his magical abilities probably aren’t strong enough to make a large group of ogres too frightened to attack him.
Why is he here? I cannot recall where this NPC was located before the Cataclysm expansion. However, I have a guess. Maybe the location of Apprentice Kryten is one of convenience. Find the Azure Agate – turn around and hand it to him. It would be annoying to find the Azure Agate – and then have to leave Stromgarde Keep in order to return to Refuge Pointe – and then go back in to Stromgarde Keep again (and battle all the monsters that respawned in the meantime). Even so… it makes the storyline feel…. wonky.
Anyway… The Dwarves turn in the Azure Agate, and Apprentice Kryten takes a moment to “cast the proper spell”.
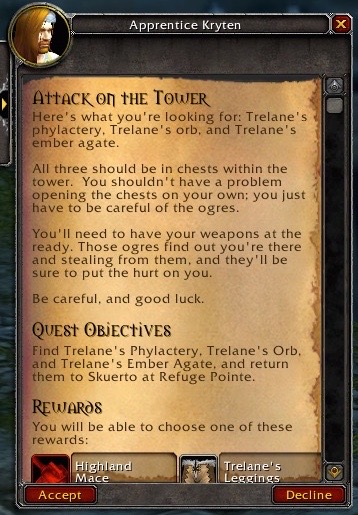
Apprentice Kryten: Here’s what you’re looking for: Trelane’s phylactery, Trelane’s orb, and Trelane’s ember agate.
All three should be in chests within the tower. You shouldn’t have a problem opening the chests on your own; you just have to be careful of the ogres.
You’ll need to have your weapons at the ready. Those ogres find out you’re there and stealing from them, and they’ll be sure to put the hurt on you.
Be careful, and good luck.
The quest also says that after the players gather those three items – they need to return to Refuge Pointe and hand them to Skuerto.
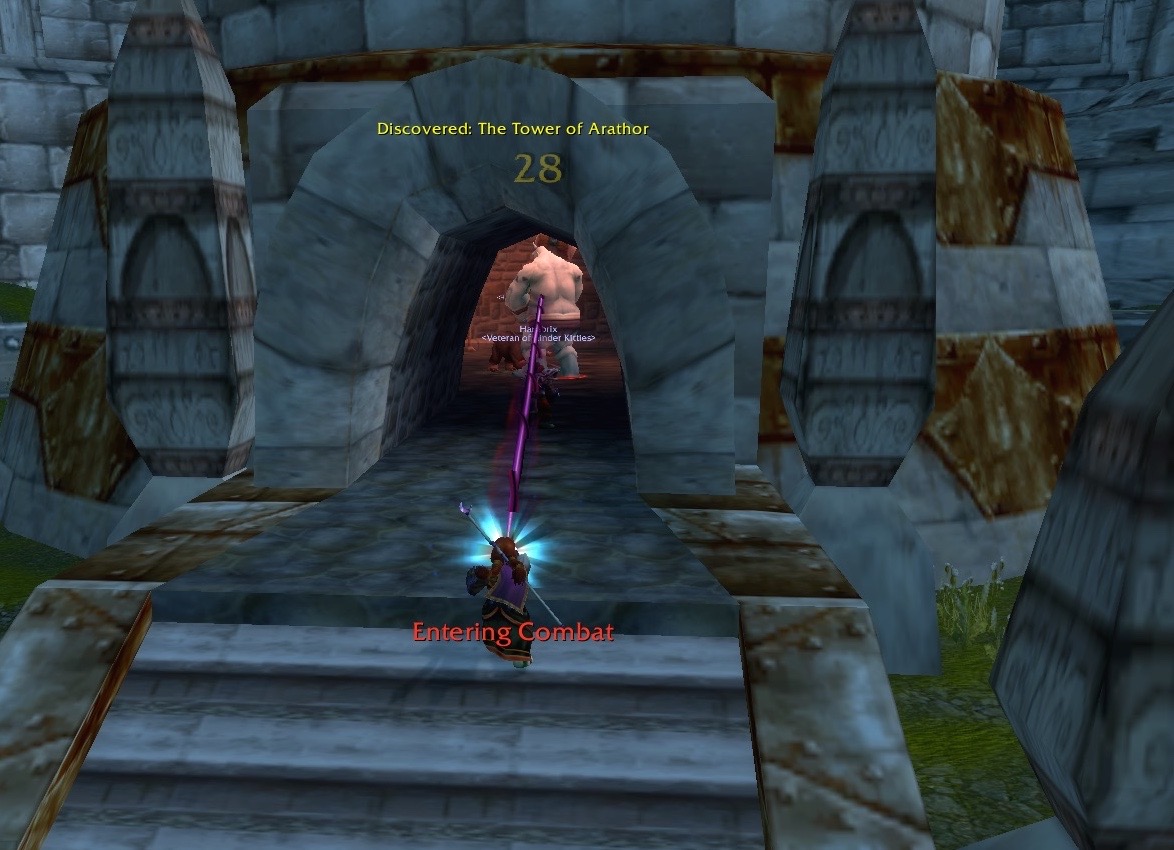
The Dwarves discovered The Tower of Arathor while trying to fight their way into it.
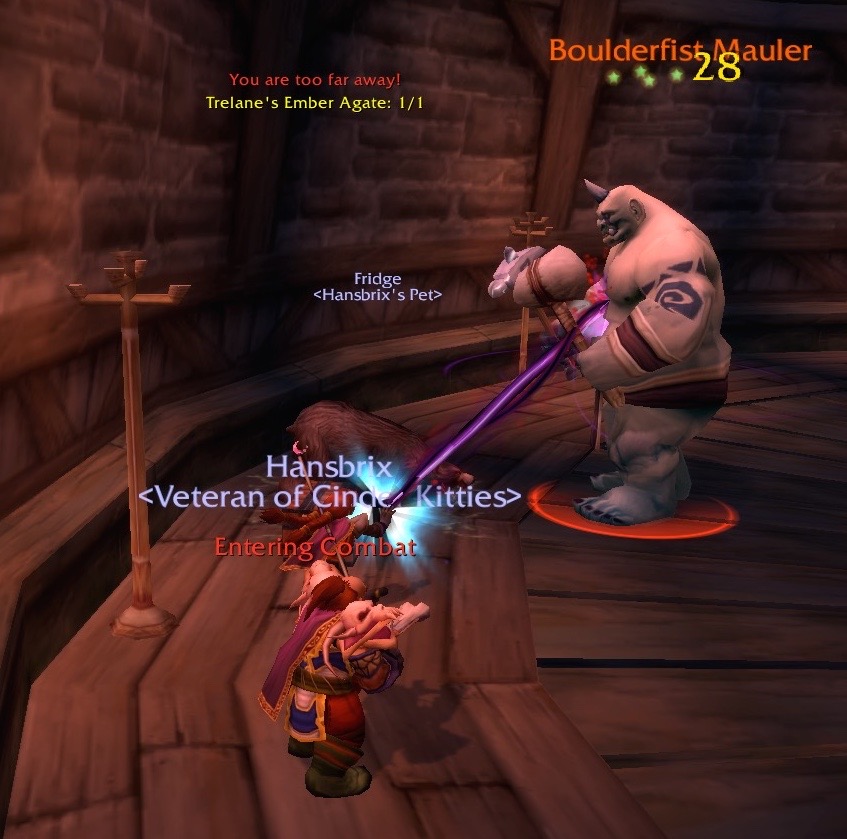
The chest that held Trelane’s Ember Agate disappears as soon as the players collect it. The instant that happens, Ogres appear from out of nowhere. The same situation happens when players open the other two chests and collect Trelane’s phylactery and Trelane’s orb.
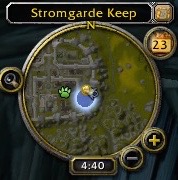
We had great difficulty trying to locate Marez Cowl. The screenshot of the in-game map was taken after we finally found her.
What I wanted to point out, though, was the blue circle on the map. No matter where we looked, she wasn’t there. We went into the buildings and explored all their floors, around the backs of buildings, and also searched through the area. She wasn’t there!
It almost looked like Marez Cowl wasn’t even located inside the walls of Stromgarde at all. We started wondering if any of the buildings had a basement that she could be hiding in. Nope! Not even a cellar. We were at an impasse.
Eventually, Shawn used Google in order to solve this mystery. Plenty of other players had the same difficulty that we did when they tried to find Marez Cowl. Somebody took the time to write out exactly how to find her. You have to go around the back of some buildings, but not the buildings we went around the back of. In my opinion, if players have to get out of game and Google something in order to find an NPC that they were given a quest to locate…. this is a failure on Blizzard’s part.
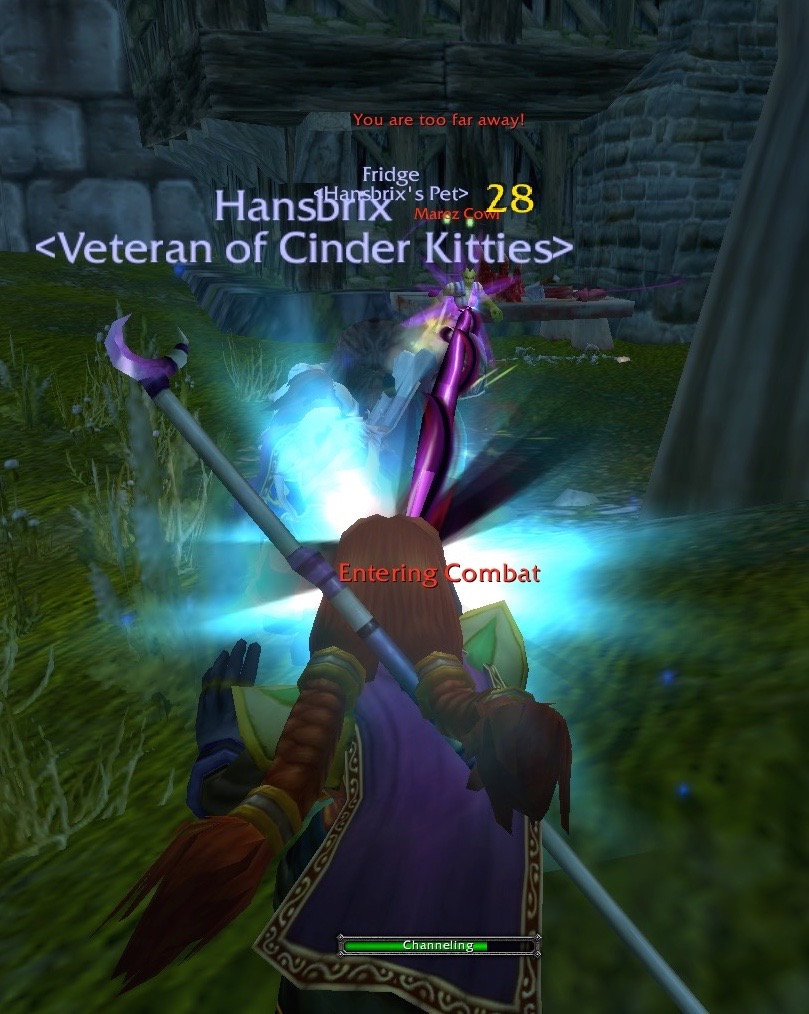
There stands Marez Cowl, shortly before The Dwarves killed her off.

Give Captain Nials the three heads you collected – and complete some quests.
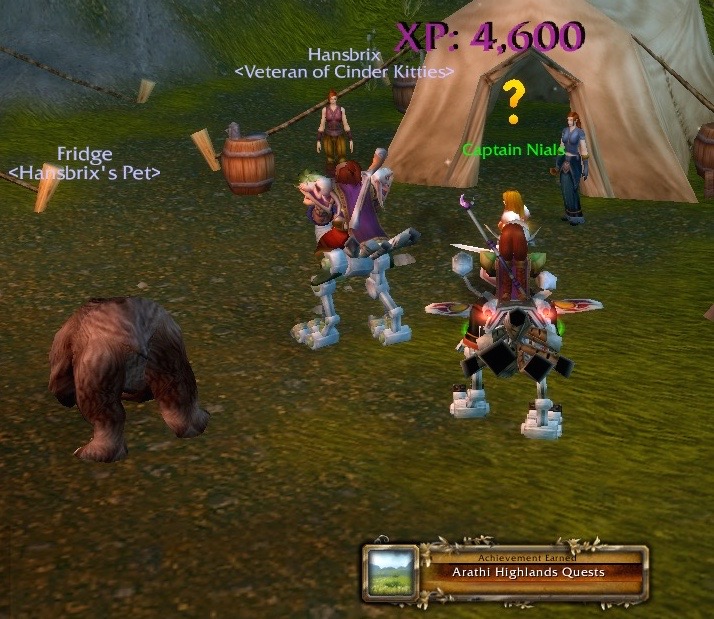
Arathi Highlands Quests: Complete 18 quests in Arathi Highlands.
Obviously, there are more than 18 quests in Arathi Highlands. Look at Captain Nials – she’s waiting for The Dwarves to turn in another quest that they have completed. I used to think that when this type of Achievement appeared – it meant that the player had completed all of the quests in the zone. Instead, it means the player completed an arbitrary number of quests from that particular zone.
The Dwarves also turned in the quest that required them to collect Stromgarde badges.
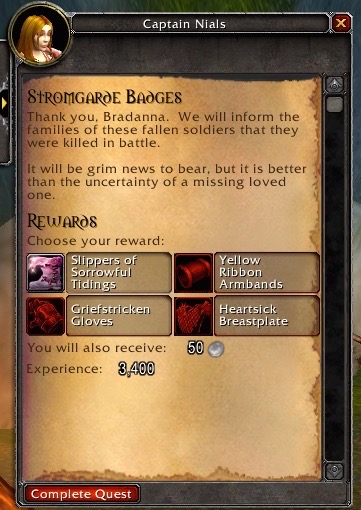
Captain Nials: Thank you, Bradanna. We will inform the families of these fallen soldiers that they were killed in battle. It will be grim news to bear, but it is better than the uncertainty of a missing loved one.
If you look at the chat box after turning in this quest, it says: Captain Nials begins to search through the badges of fallen Stormgarde defenders…
Captain Nials: Privates Marcus, Tremane, Osgood, Lampret…
Captain Nials: Martens, Reblock, Adinay, Nikeson…
Captain Nials: So many lost. And so many more we must lose before this battle ends.
Turn in Trelane’s stuff to Skuerto, and he gives you the last quest that takes place in Arathi Highlands.
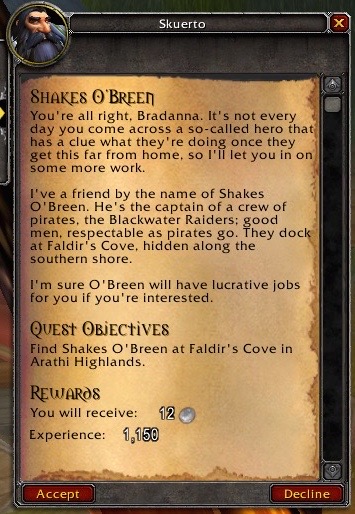
Skuerto: You’re all right, Bradanna. It’s not every day you come across a so-called hero that has a clue what they’re doing once they get this far from home, so I’ll let you in on some more work.
I’ve a friend by the name of Shakes O’Breen. He’s the captain of a crew of pirates, the Blackwater Raiders: good men, respectable as pirates go. They dock at Faldir’s Cove, hidden along the southern shore.
I’m sure O’Breen will have lucrative jobs for you if you’re interested.
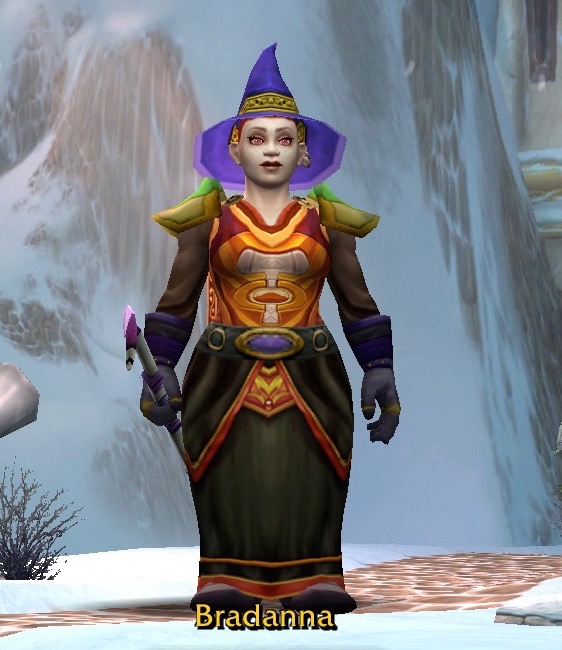
The absolute best piece of loot that Bradanna got from quests in Refuge Pointe was the Silk Wizard Hat. She’s a Priest, not a Wizard, but the hat is still fun!
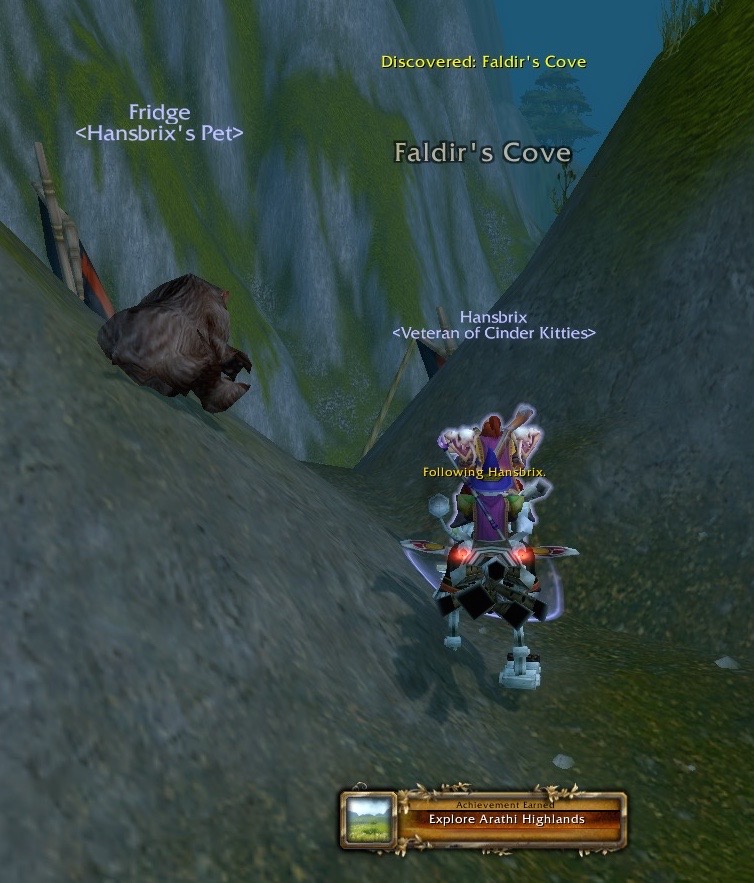
Explore Arathi Highlands: Explore Arathi Highlands, revealing the covered areas of the world map.
Circle of West Binding, Northfold Manor, Boulder’gor, Galen’s Fall, Stromgarde Keep, Faldir’s Cove, Circle of Inner Binding, Thandol Span, Boulderfist Hall, Refuge Pointe, Circle of Outer Binding, Witherback Village, Go’Shek Farm, Dabyrie’s Farmstead, Circle of East Binding, Hammerfall
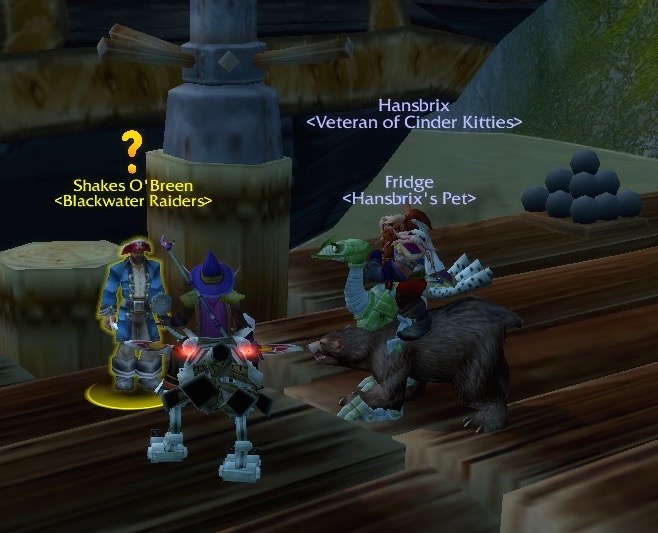
Shakes O’Breen: Ahoy, priest. Any friend of Skuerto is a friend of mine. You’ll find plenty of work that needs doin’ around here. We’re not sittin’ in this cove twiddlin’ our thumbs by choice.
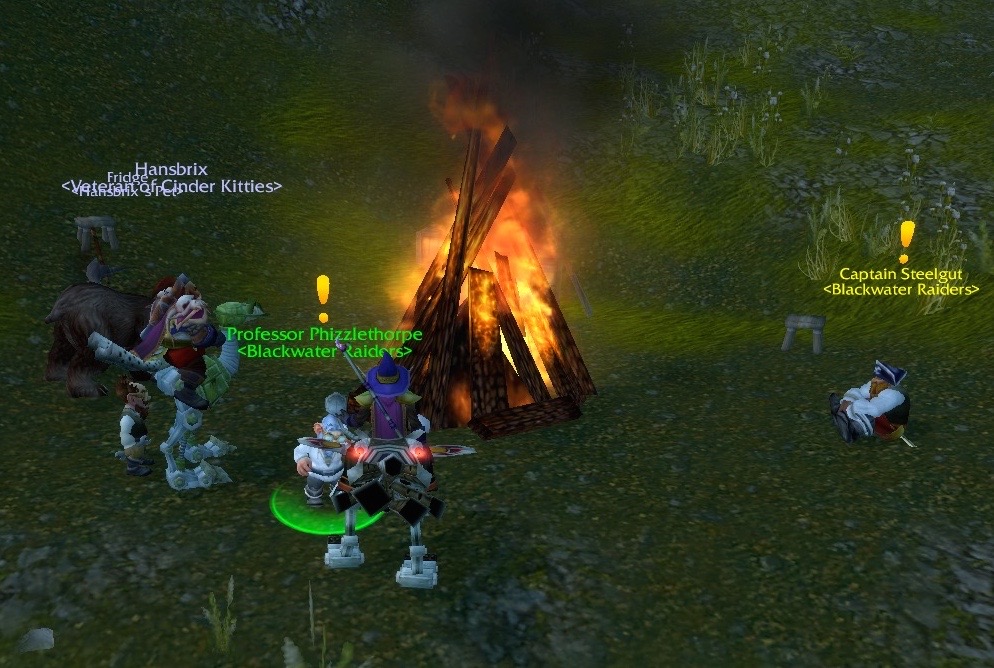
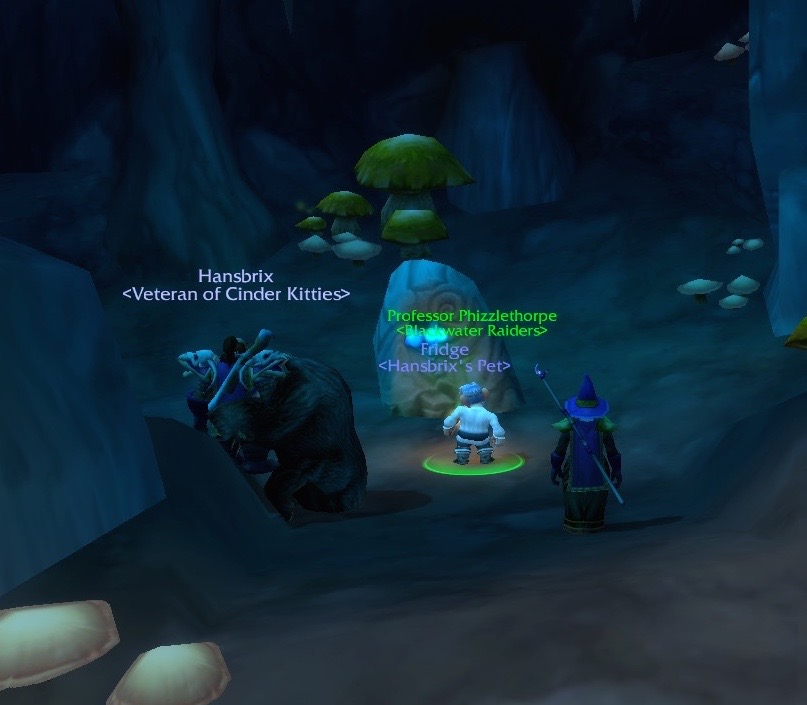
Two other NPCs in this area are quest givers. This includes Professor Phizzlethorpe and Captain Steelgut.
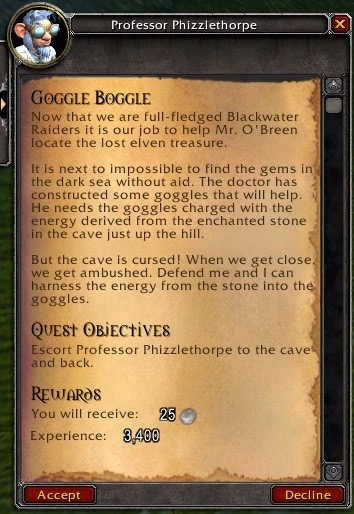
Professor Phizzlethorpe: Now that we are full-fledged Blackwater Raiders it is our job to help Mr. O’Breen locate the lost elven treasure.
It is next to impossible to find the gems in the dark sea without aid. The doctor has constructed some goggles that will help. He needs the goggles charged with the energy derived from the enchanted stone in the cave just up the hill.
But the cave is cursed! When we get close we get ambushed. Defend me and I can harness the energy from the stone into the goggles.
The players are asked to escort Professor Phizzlethorpe to the cave and back.
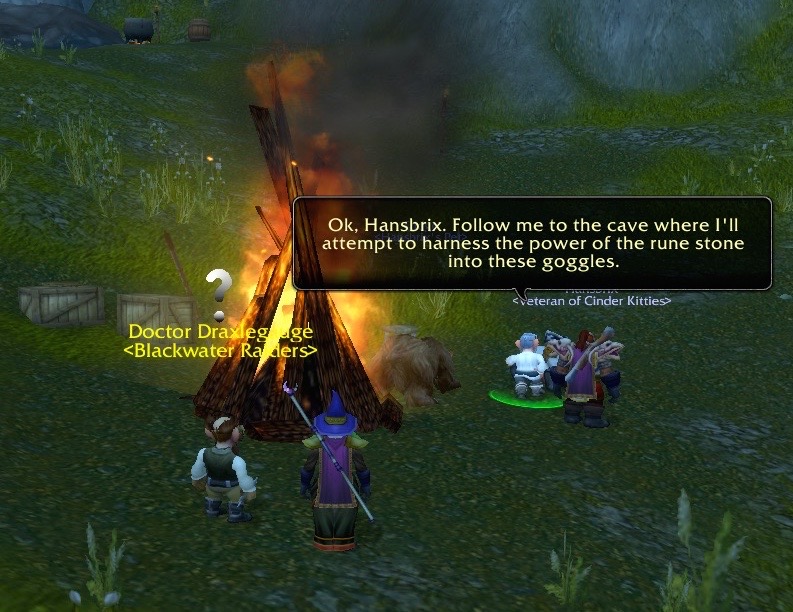
Professor Phizzlethorpe: Ok, Hansbrix. Follow me to the cave where I’ll attempt to harness the power of the rune stone into these goggles.
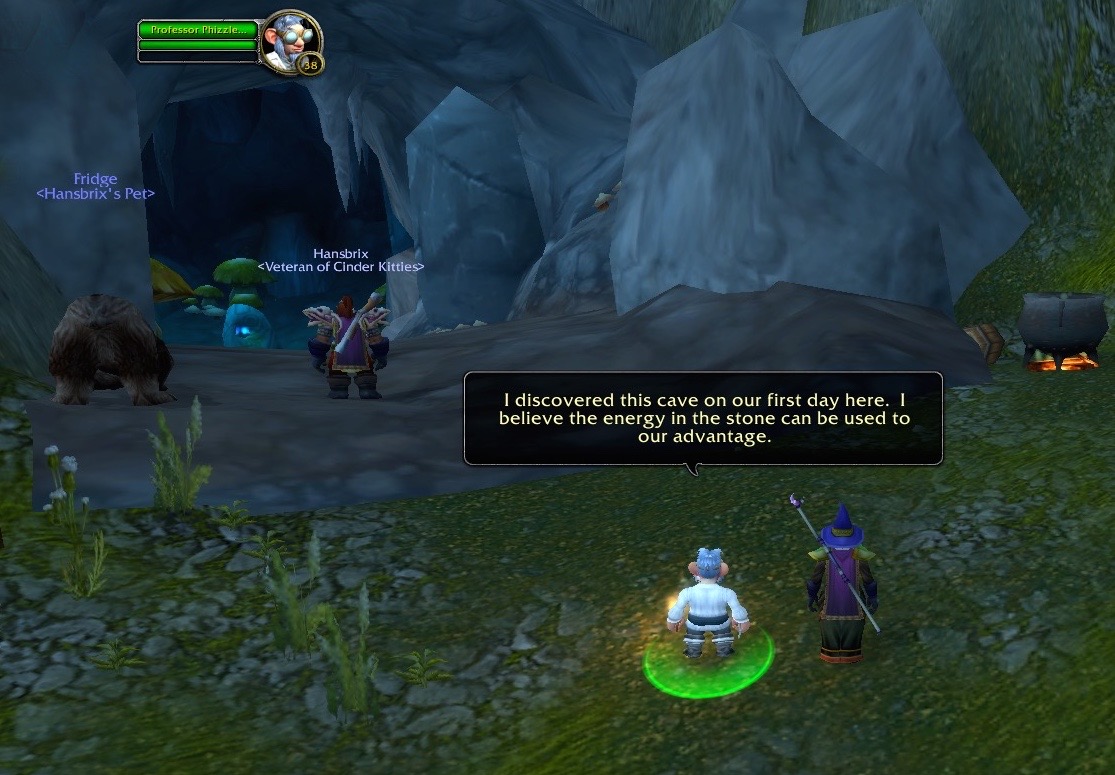
Professor Phizzlethorpe: I discovered this cave on our first day here. I believe the energy in the stone can be used to our advantage.
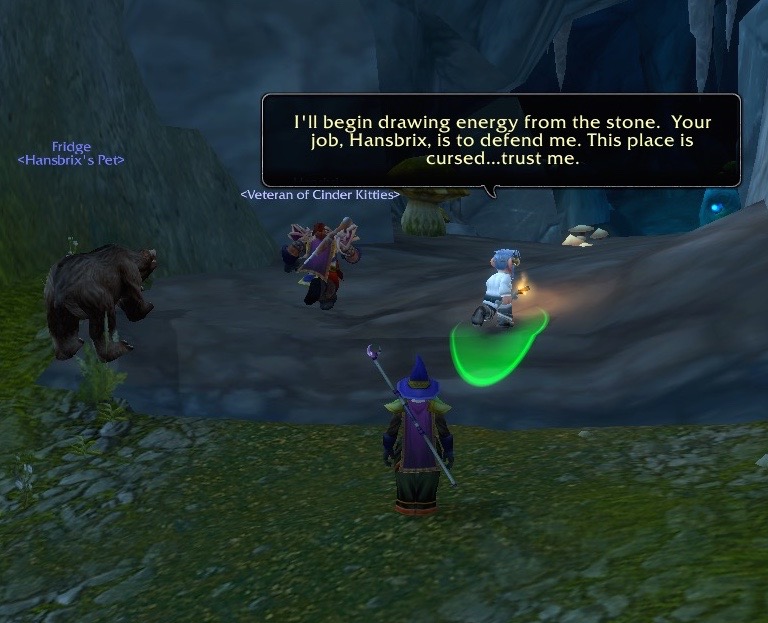
Professor Phizzlethorpe: I’ll begin drawing energy from the stone. Your job, Hansbrix, is to defend me. This place is cursed…trust me.
Professor Phizzlethorpe begins tinkering with the goggles before the stone.

Professor Phizzlethorpe: Help!!! Get these things off me so I can get my work done!
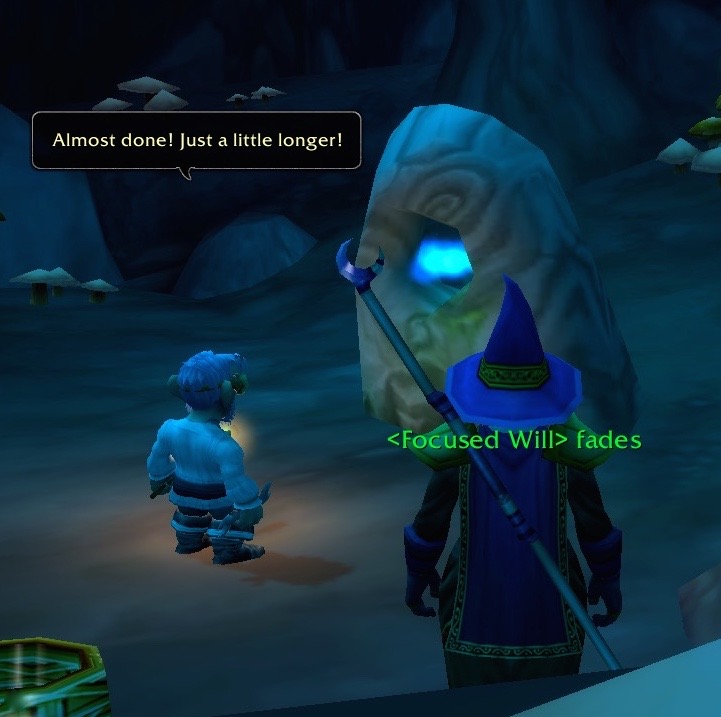
Professor Phizzlethorpe: Almost done! Just a little longer!
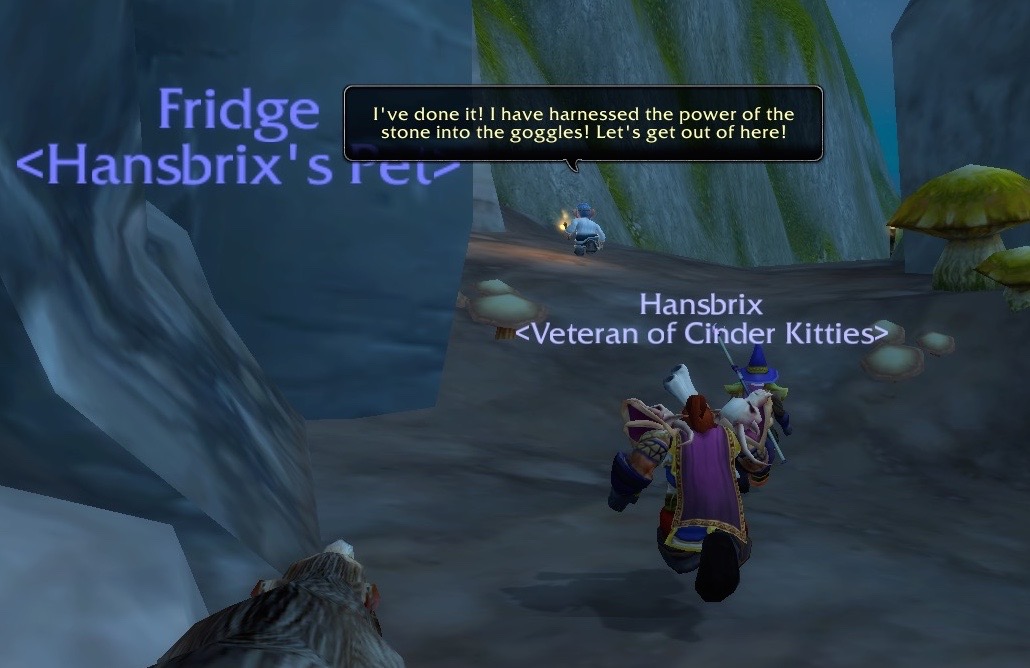
Professor Phizzlethorpe: I’ve done it! I have harnessed the power of the stone into the goggles! Let’s get out of here!
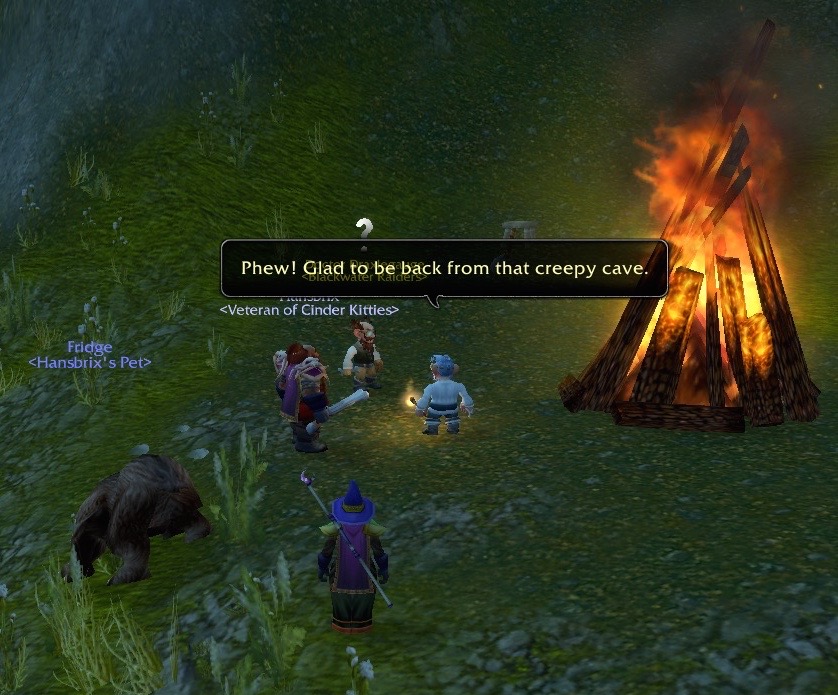
Professor Phizzlethorpe: Phew! Glad to be back from that creepy cave.
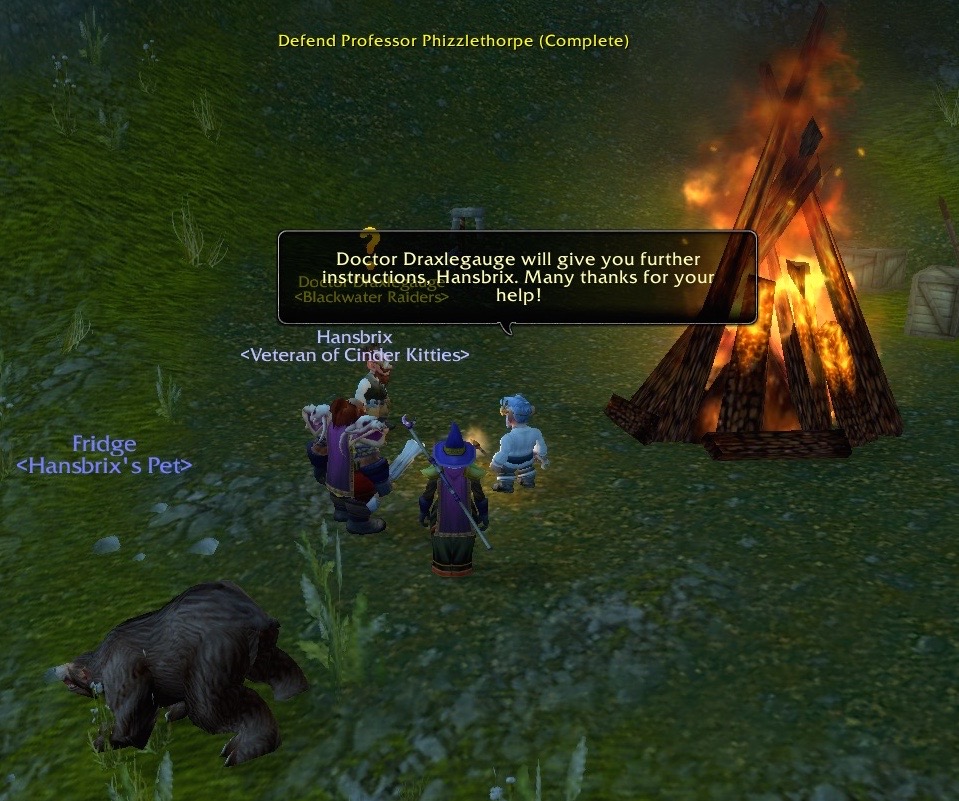
Professor Phizzlethorpe: Doctor Draxlegauge will give you further instructions, Hansbrix. Many thanks for your help!
If you look into the chat, it says: “Professor Phizzlethorpe hands the glowing goggles over to Doctor Draxlegauge.”
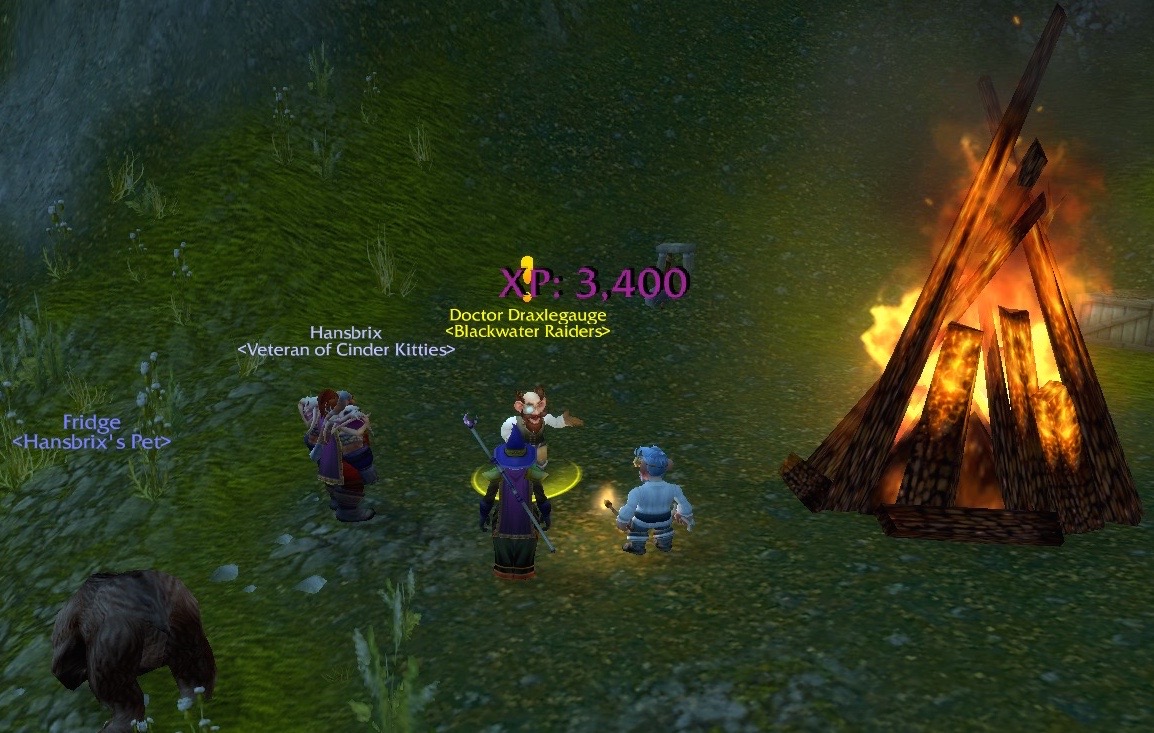
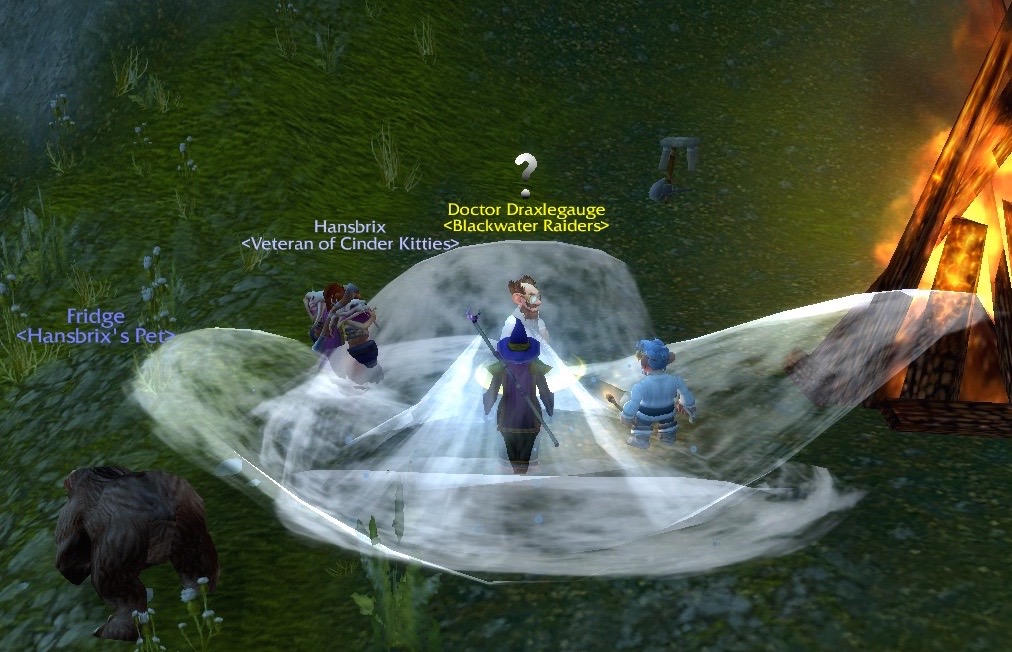
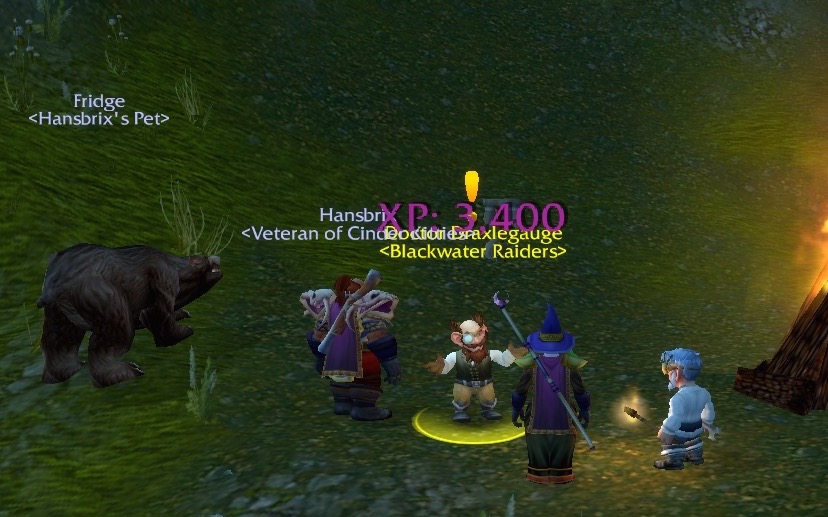
Doctor Draxlegauge has shown up by the fire in the time it took The Dwarves and Professor Phizzlethorpe to go to the cave and back. He certainly wasn’t there before The Dwarves took the escort quest!
Doctor Draxlegauge: The goggles work perfectly now! Well done, Bradanna.
Doctor Draxlegauge has a quest for The Dwarves.
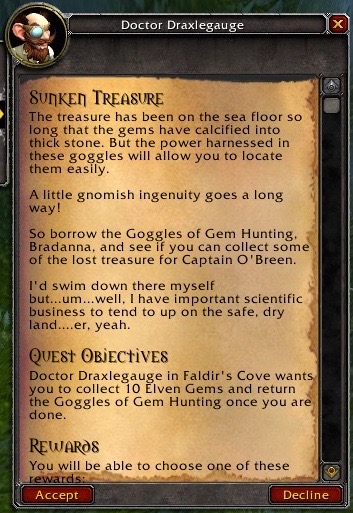
Doctor Draxlegauge: The treasure has been on the sea floor so long that the gems have calcified into thick stone. But the power harnessed in these goggles will allow you to locate them easily.
A little gnomish ingenuity goes a long way!
So borrow the Goggles of Gem Hunting, Bradanna, and see if you can collect some of the lost treasure for Captain O’Breen.
I’d swim down there myself but… um… well. I have important scientific business to tend to up on the safe, dry land…er, yeah.
Players are asked to collect 10 Elven Gems and then return the Goggles of Gem Hunting once you are done.
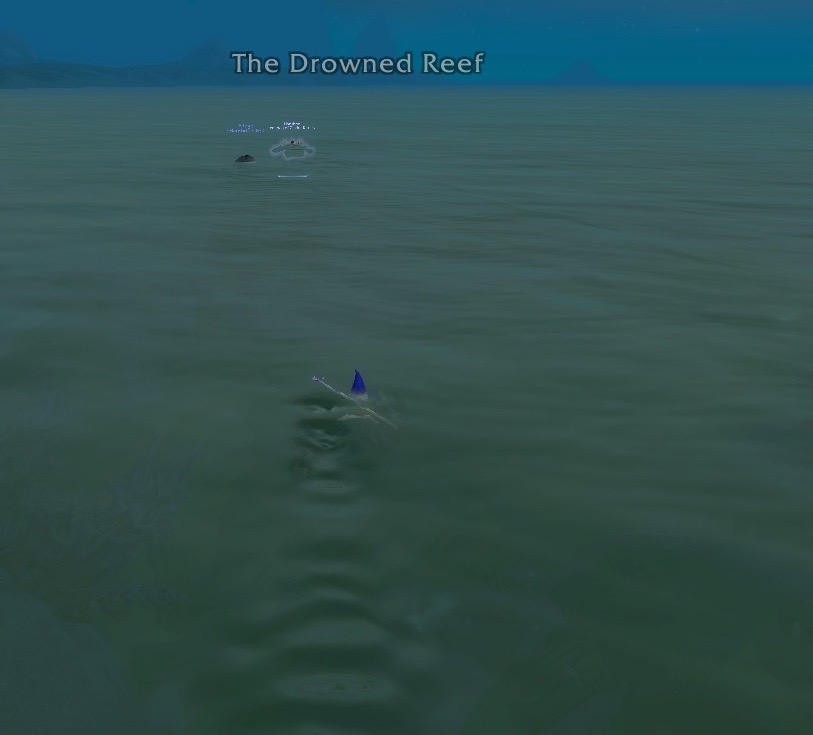
The Goggles of Gem Hunting allow you to swim very quickly out to the Drowned Reef.
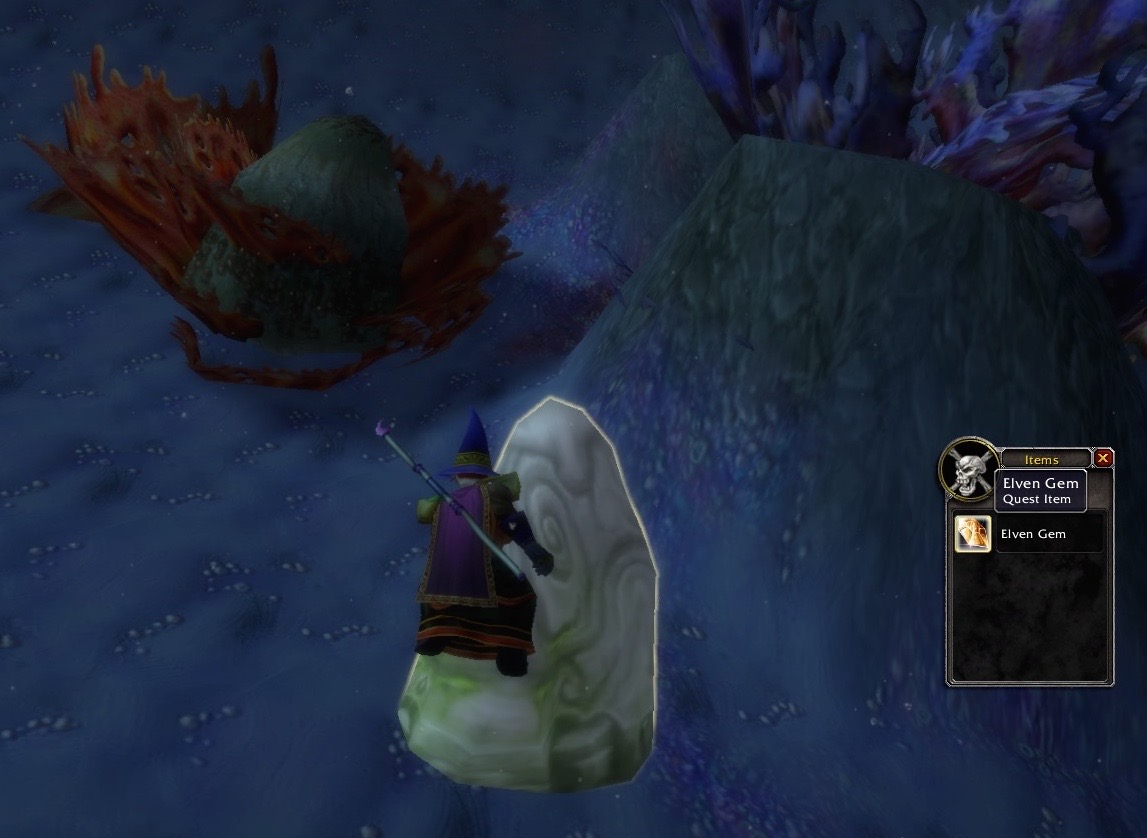
These oddly shaped rocks are where you can find Elven Gems.

There is a lot to look at under the water here.
Doctor Draxlegauge: How did the goggles work? Did everything function properly? Adjustments can be made if necessary. Oh, and I’ll need those goggles back when you’re done. I am sure Captain O’Breen will have many uses for them later on.
Doctor Draxlegauge: Most superb, Bradanna! The Captain will be very pleased! And just wait until word gets back to Fleetmaster Seahorn!
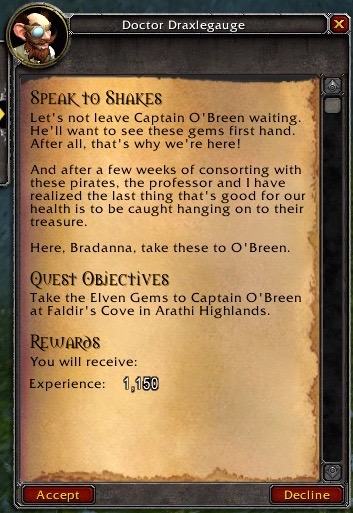
Doctor Draxlegauge: Let’s not leave Captain O’Breen waiting. He’ll want to see these gems first hand. After all, that’s why we’re here!
And after a few weeks of consorting with these pirates, the professor and I have realized the last thing that’s good for our health is to be caught hanging on to their treasure. Here, Bradanna, take these to O’Breen.
Players are asked to take the Elven Gems to Captain O’Breen. But, before we do that, let’s go pick up the quest from Captain Steelgut.
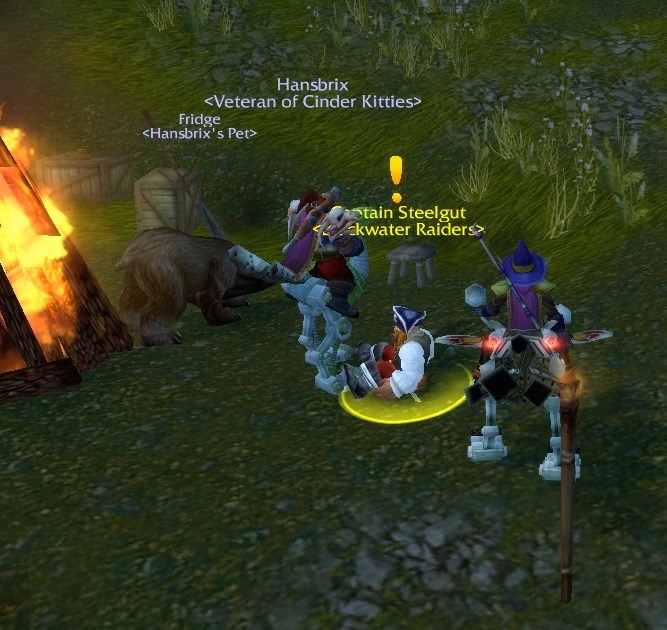
This poor Dwarf feels very sad.
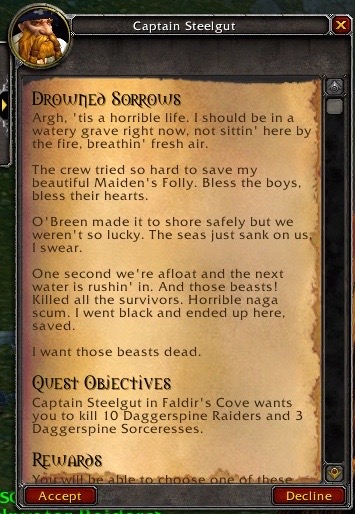
Captain Steelgut: Argh, ’tis a horrible life. I should be in a watery grave right now, not sittin’ here by the fire, breathin’ fresh air.
The crew tried so hard to save my beautiful Maiden’s Folly. Bless the boys, bless their hearts.
O’Breen made it to the shore safely but we weren’t so lucky. The seas just sank on us, I swear.
One second we’re afloat and the next water is rushin’ in. And those beasts! Killed all the survivors. Horrible naga scum. I went black and ended up here, saved.
I want those beasts dead.
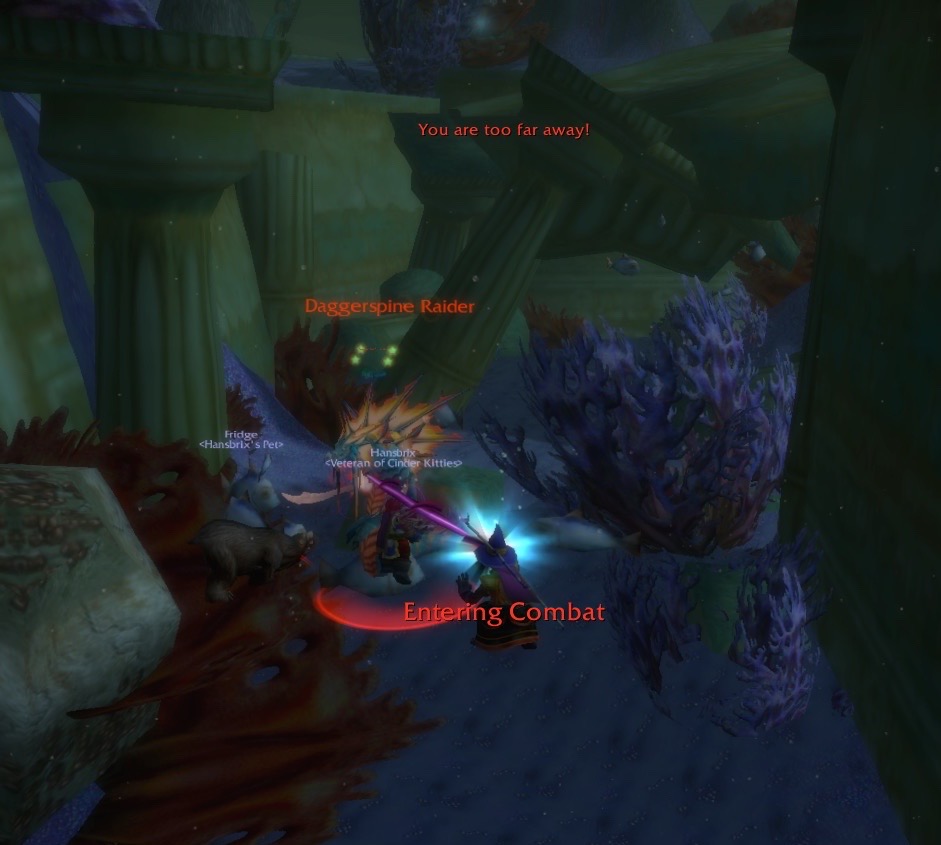
The players are asked to go underwater and kill a certain amount of Naga for poor, depressed, Captain Steelgut.
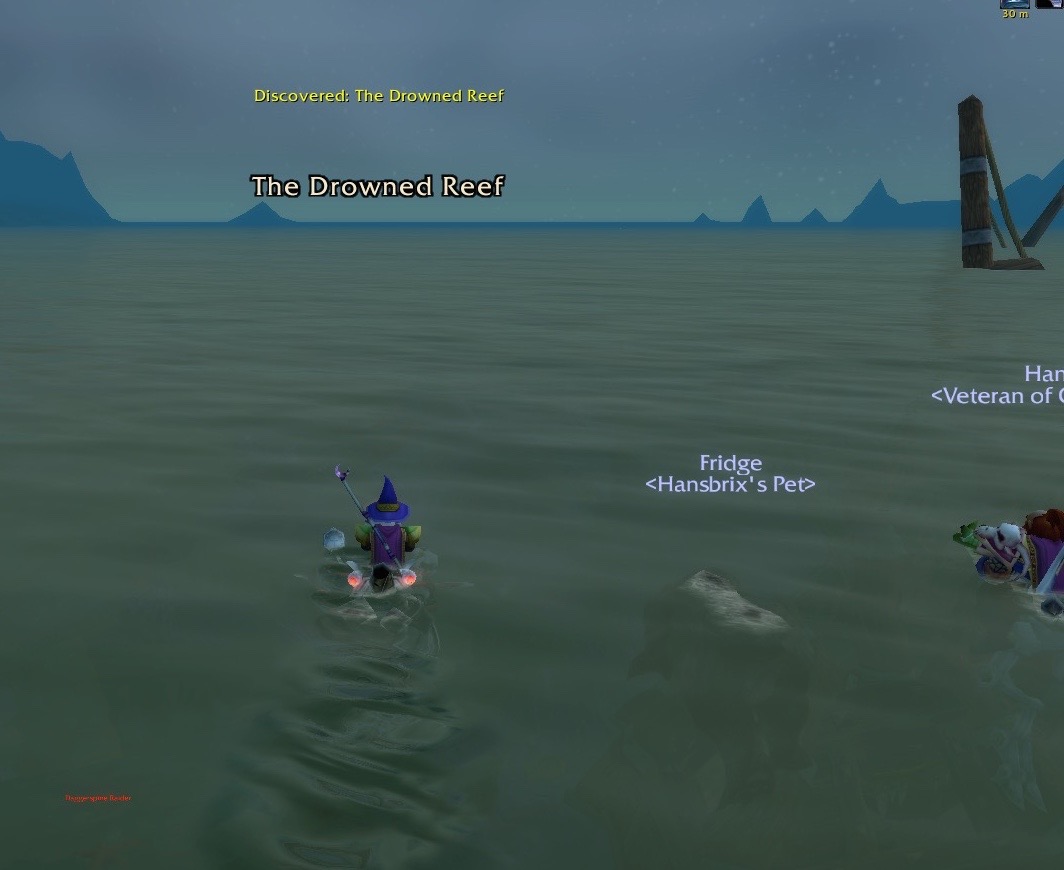
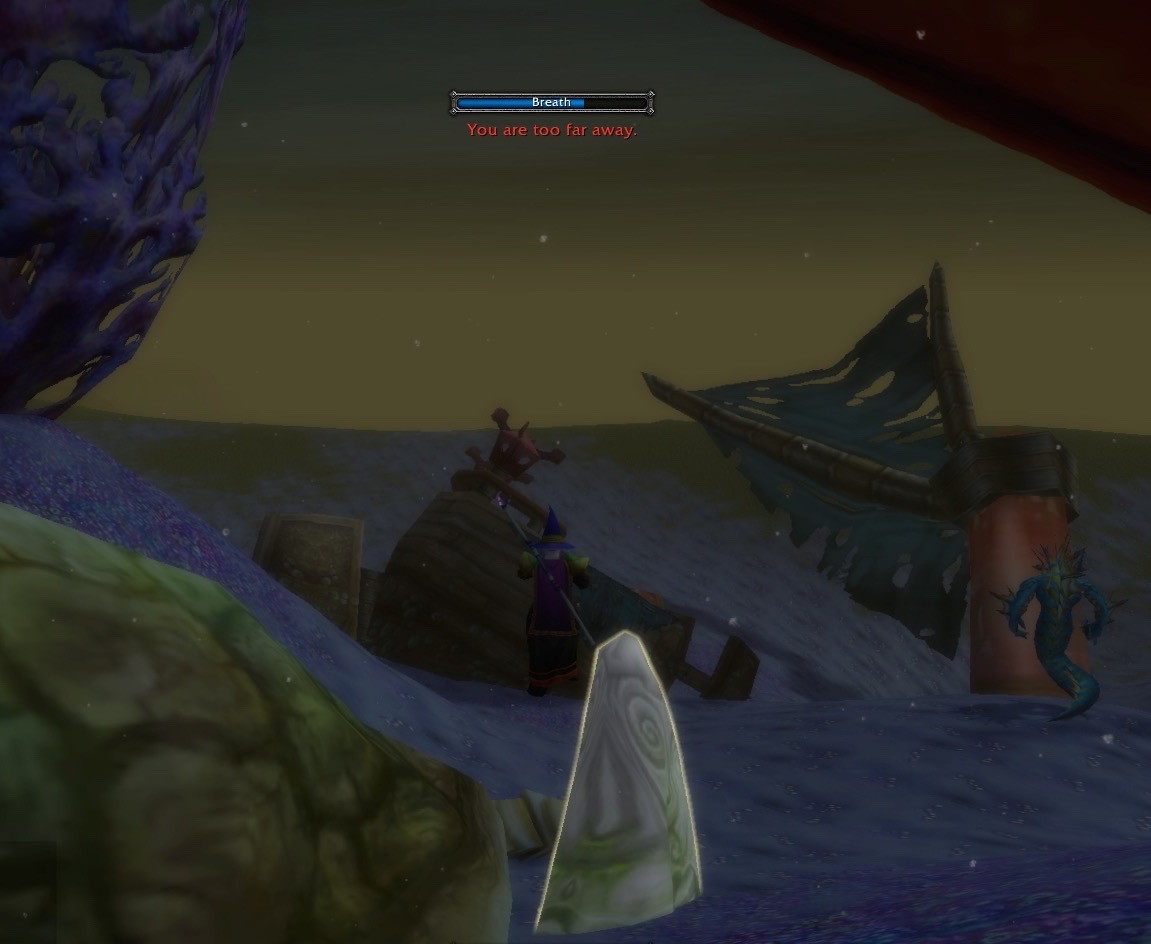
The Dwarves have discovered the Drowned Reef. Time to go underwater and kill some Naga!
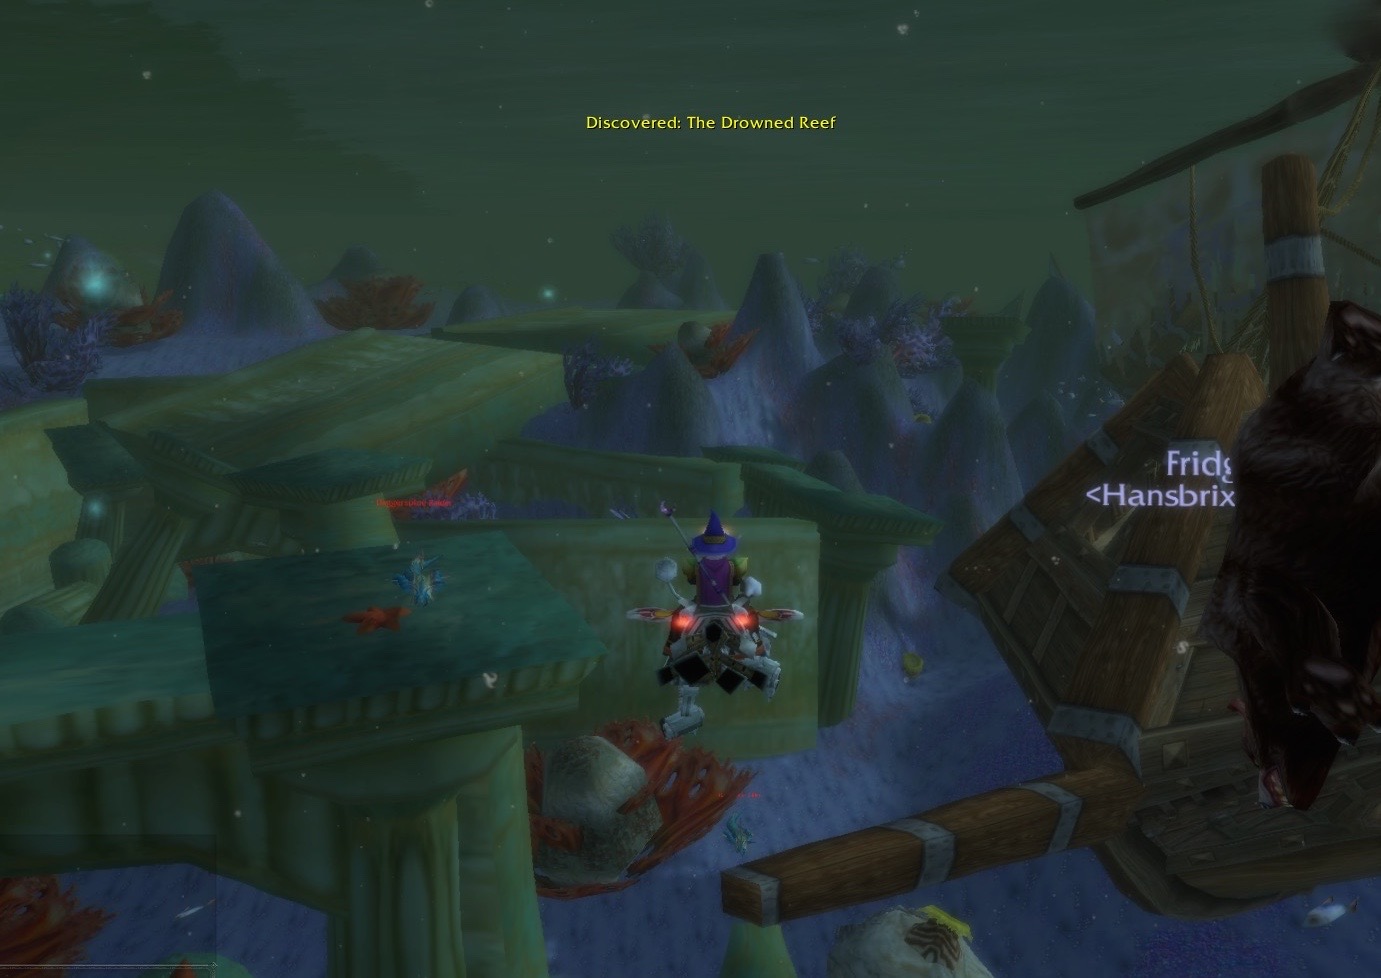
There’s an entire sunken, ruined, city down here!
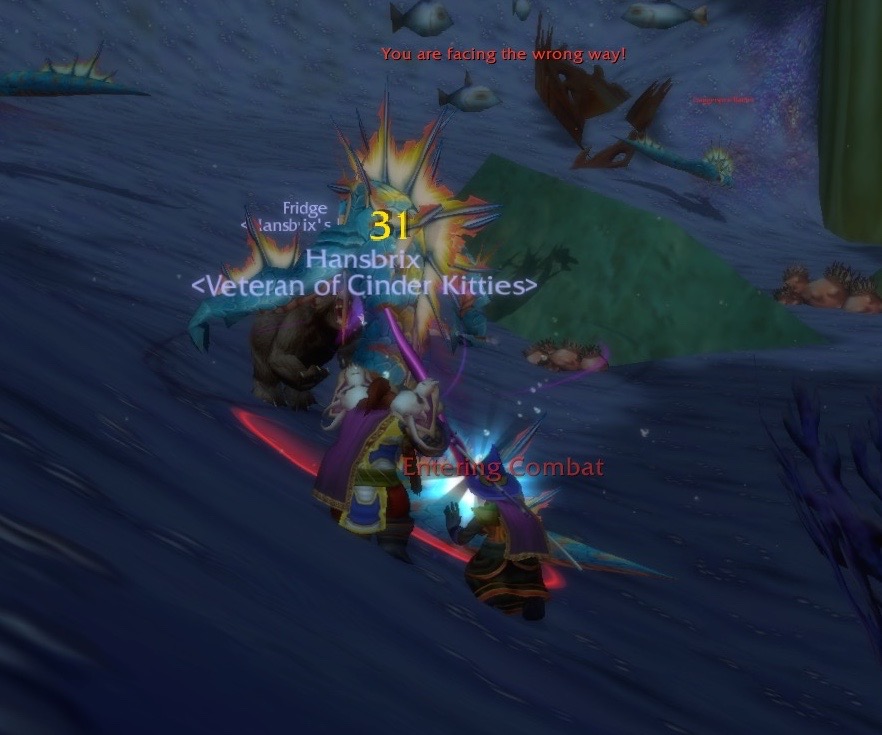
The Dwarves were able to kill the required amount of Naga rather quickly.
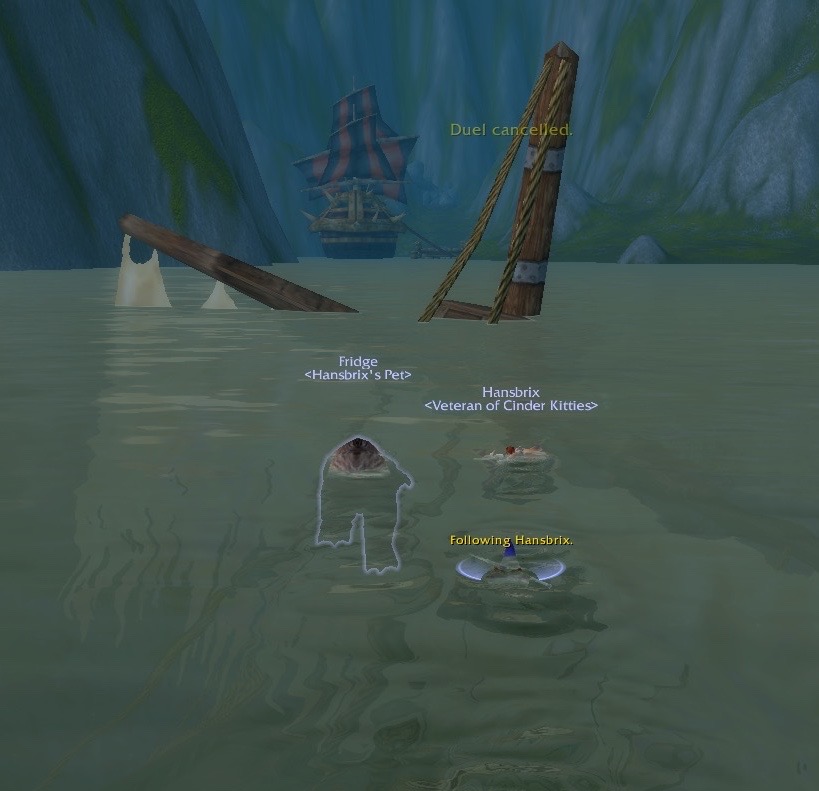
Swim back to where the pirates are. (Pro tip: Try your best to hit the “Follow” link when you intend to follow another player. The “Duel” link won’t do you any good at all for that sort of thing.)
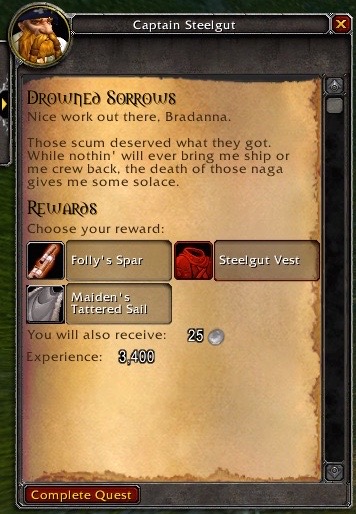
Captain Steelgut: Nice work out there, Bradanna. Those scum deserved what they got. While nothin’ will ever bring me ship or me crew back, the death of those naga gives me some solace.
Ok, now The Dwarves are ready to go over and talk to Captain O’Breen. So far, this quest hub has been fun. It’s got a variety of quests: escort quest, collection quest, kill x number of monsters quest, and things worked quite smoothly.
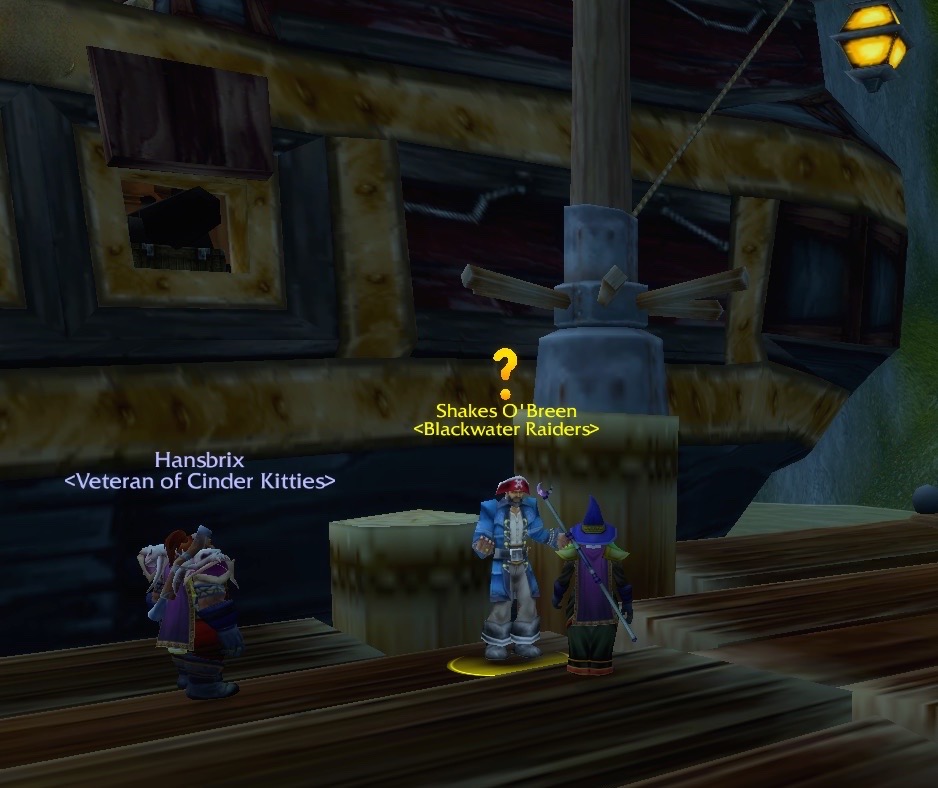
Shakes O’Breen: Ahoy, priest. What brings you to the bridge?
The Dwarves give Captain Shakes O’Breen the Elven Gems that they collected up.
Shakes O’Breen: So the little gnomes proved their worth after all? I knew we kept those ankle biters around for a reason!
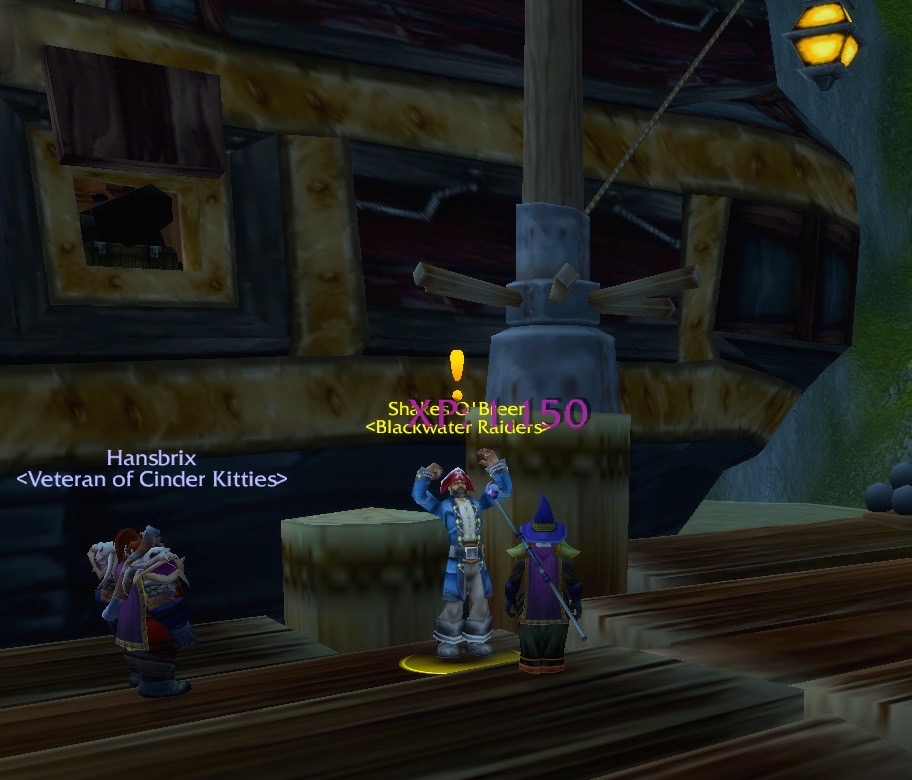
Captain Shakes O’Breen gives The Dwarves a quest. It could have been super fun. Unfortunately, there are key parts of this quest that are broken.
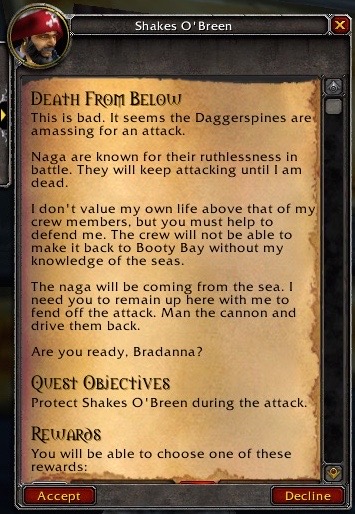
Shakes O’Breen: This is bad. It seems the Daggerspines are amassing for an attack.
Naga are known for their ruthlessness in battle. They will keep attacking until I am dead.
I don’t value my own life above that of my crew members, but you must help to defend me. The crew will not be able to make it back to Booty Bay without my knowledge of the seas.
The naga will be coming from the sea. I need you to remain up here with me to fend off the attack. Man the cannon and drive them back.
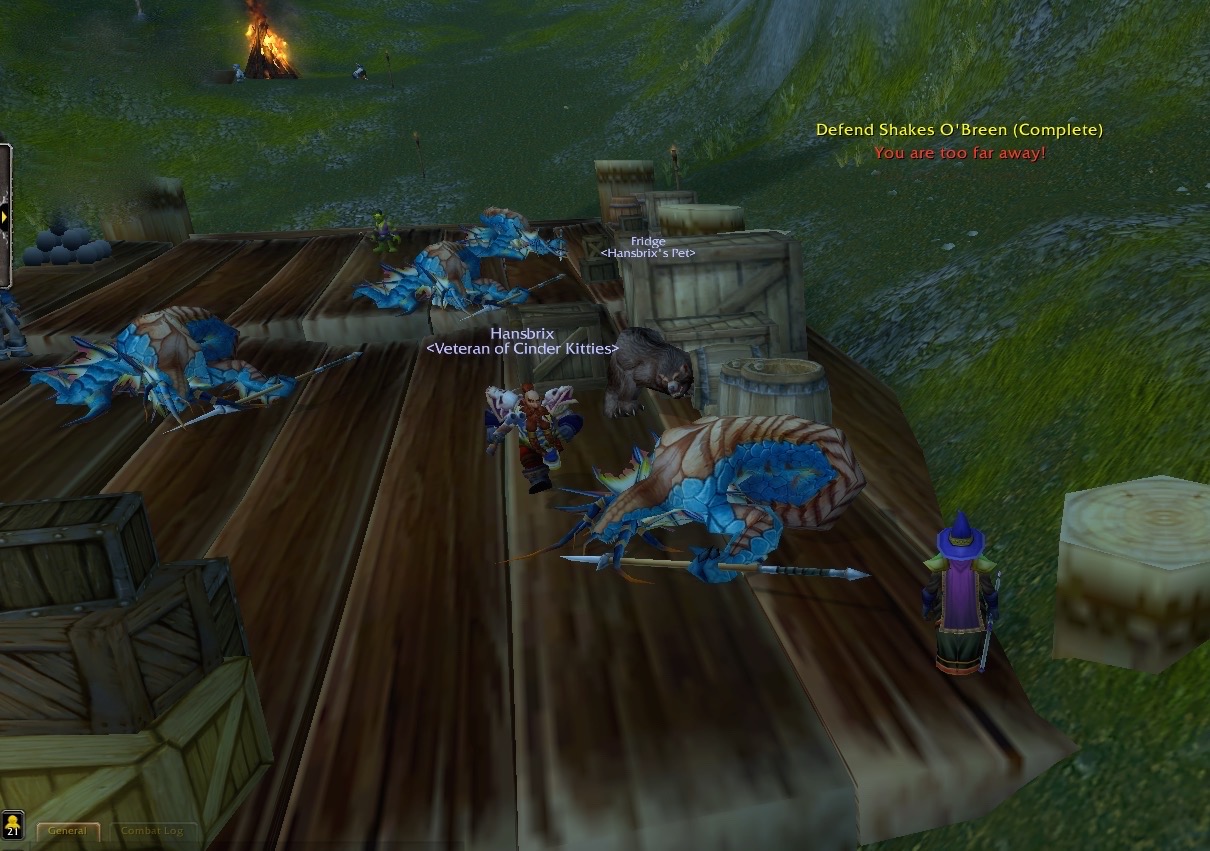
Let me take a moment to pick this apart a bit. First, Captain Shakes O’Breen asks The Dwarves “What brings you to the bridge?” They aren’t at the bridge, though. All of them are standing on the dock. They aren’t even on the boat!
Now, The Dwarves are specifically told: “I need you to remain up here with me to fend off the attack. Man the cannon and drive them back.”
Captain Shakes O’Breen is on the dock. The cannon he wants The Dwarves to man is on the boat. It simply isn’t possible for The Dwarves to be in both places at once. I suspect that this particular quest was written when Captain Shakes O’Breen was actually standing on the bridge of his ship. The way it is written no longer makes sense. We tried to play through this quest and found it very much broken.
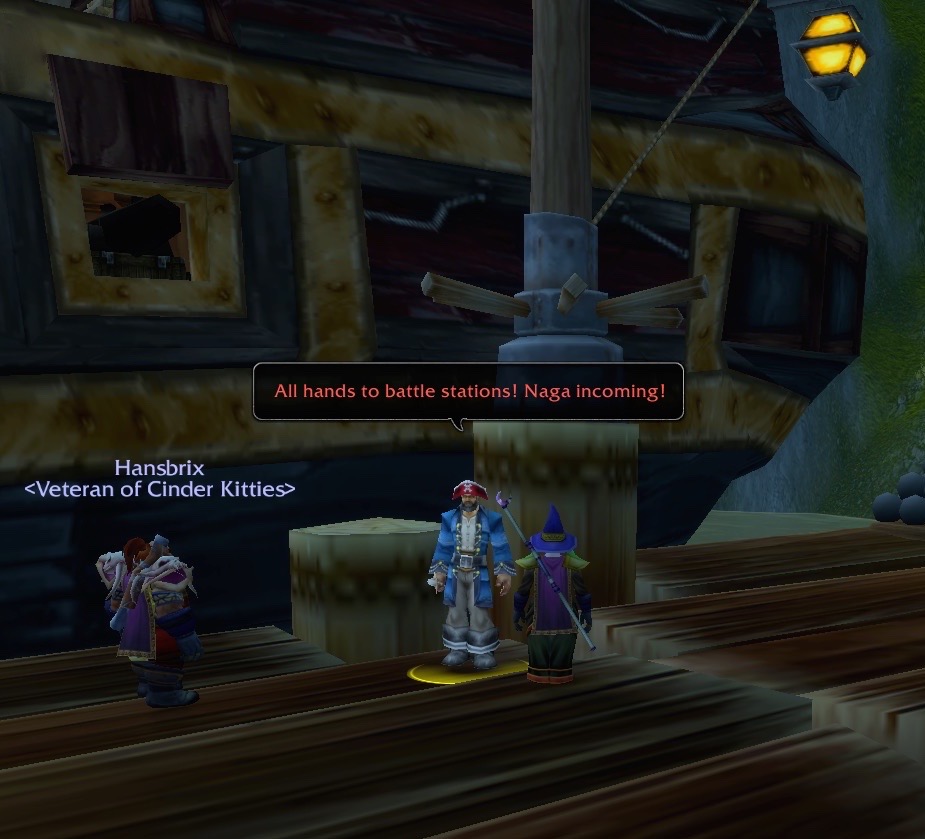
Captain Shakes O’Breen: All hands to battle stations! Naga incoming!
The Dwarves were told to “man the cannon”, so that must be the battle station that Captain O’Breen is asking them to go to – right now.
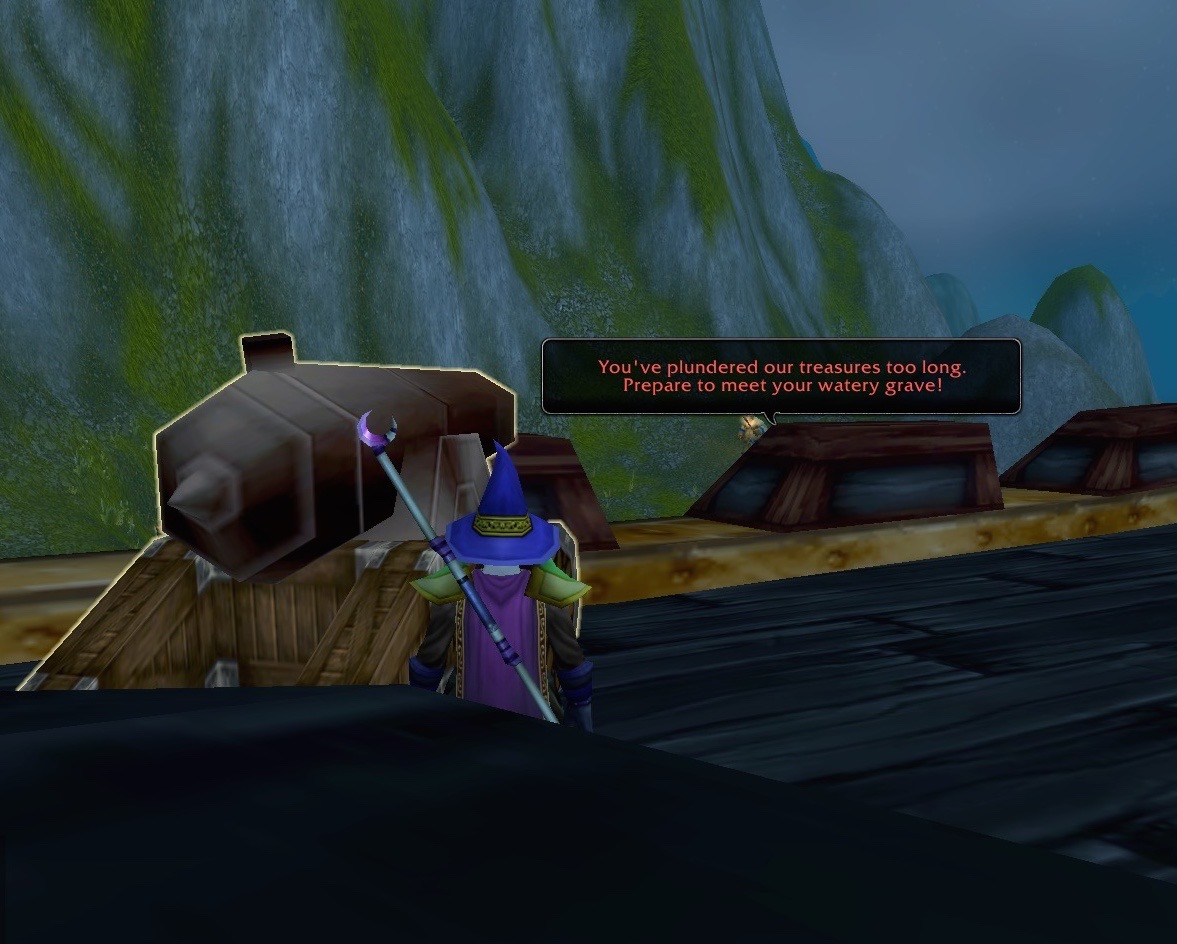
Take a close look at that cannon. It’s glowing, and has that special outline thing, that indicates that this is the thing the player must click on. It appeared that the player was supposed to click on the cannon and use it to shoot at the naga who were coming out of the water.
Daggerspine Marauder: You’ve plundered our treasures too long. Prepare to meet your watery grave!
No amount of clicking on that glowing cannon mattered. It does absolutely nothing at all. This was extremely frustrating! It made me feel anxious that the quest was “timed” (so to speak). What happens if I can’t get this cannon to work before the mob of Naga Marauder’s overrun Captain Shakes O’Breen? This was not a good feeling. Meanwhile, the battle continued down on the dock.
Daggerspine Marauder: Nothing will stop us! You will die!
Captain Shakes O’Breen: If we can just hold them now, I am sure we will be in the clear.
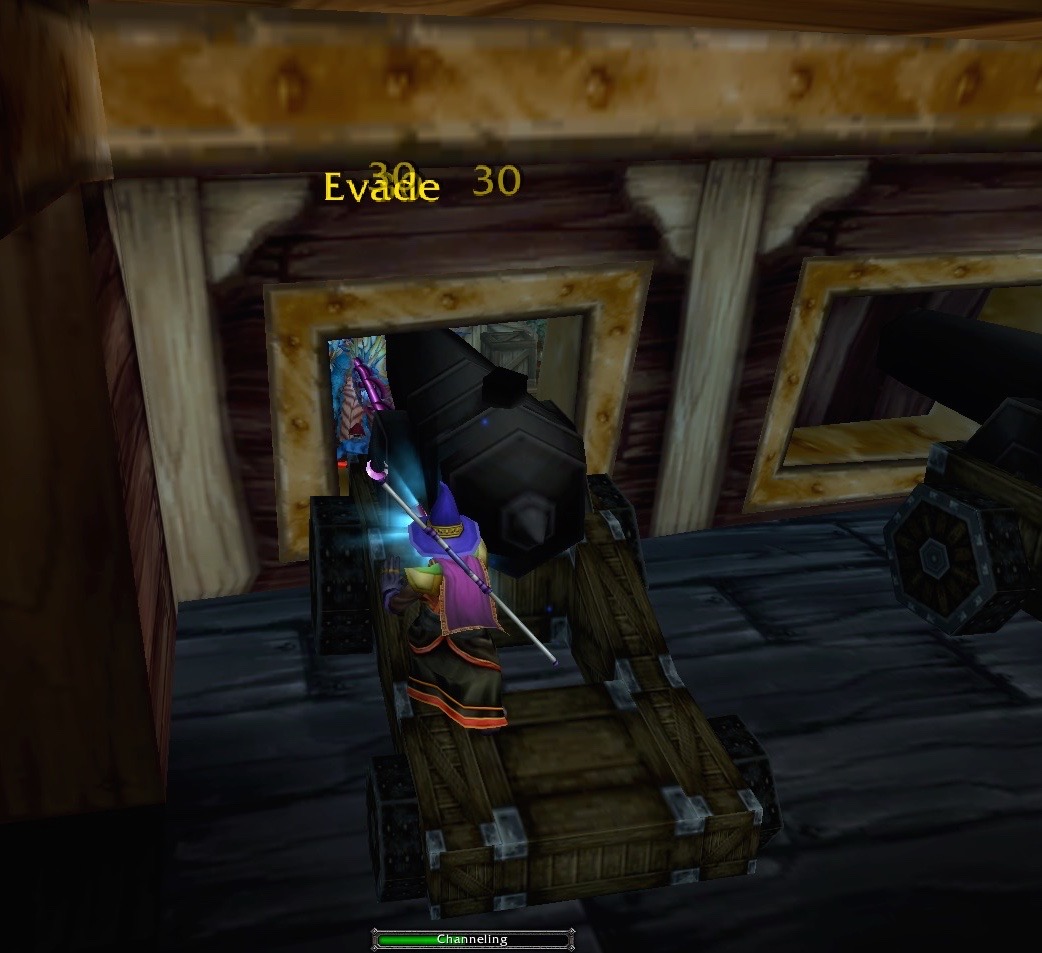
I got desperate enough to rush around trying other cannons – but none of them worked, either. In the screenshot above, you can see that I tried to shoot Mind Sear at the incoming Naga. It looks like it hit at least one, but somehow, they all were able to “evade”.
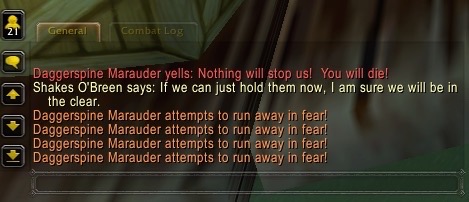
And then… for some reason I cannot fathom…. all the Daggerspine Marauders who were still alive decided to turn tail and run away in fear.
What? Captain Shakes O’Breen said: Naga are known for their ruthlessness in battle. They will keep attacking until I am dead. He’s quite clearly still alive!
So, the good news is that this little turn of events makes it impossible for a player to fail this particular quest. You can literally do absolutely nothing and still end up completing the quest.
The bad news, of course, is that this is a terribly unsatisfying way to complete a quest.
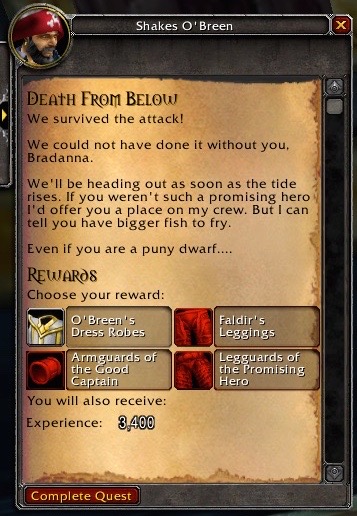
Captain Shakes O’Breen: We survived the attack! We could not have done it without you, Bradanna.
We’ll be heading out as soon as the tide rises. If you weren’t such a promising hero I’d offer you a place on my crew. But, I can tell you have bigger fish to fry. Even if you are a puny dwarf….
This is where things end for The Dwarves in Arathi Highlands. What’s next? The Dwarves had a few options to choose from. There are some “odds and ends” type of things that they could go after and finish up. They also got a quest to enter Gnomeregan, and they got another quest to move on into the next zone – The Hinterlands. Upcoming blogs will show where they went and how their adventure turned out.